As the mercury drops and winter's grip tightens, our canine companions face a silent, often overlooked adversary: the harsh conditions underfoot. ❄️ While we bundle up in boots and coats, our dogs’ first line of defense is their resilient yet vulnerable paw pads. Dry air, icy surfaces, and corrosive de-icing chemicals conspire to strip away natural oils, leading to painful dryness, cracking, and even infections. This comprehensive guide delves beyond store-bought solutions, offering you a safe, effective, and natural home remedy for dry cracked paw pads. We'll equip you with everything you need to create a healing DIY dog paw balm, apply it effectively, and fortify your dog's paw health all season long.
🐾 Understanding Paw Pad Health: More Than Just Tough Skin
Think of your dog's paw pads as sophisticated, all-terrain tires. They provide cushioning, traction, insulation, and shock absorption. Composed of a thick layer of fatty tissue and keratinized skin, they are designed to be durable. However, they are not indestructible. During winter, several factors attack their integrity:
- Thermal Stress: Alternating between freezing ground and warm indoor floors can cause the pads to dry out and become brittle.
- Chemical Burns: Rock salt, calcium chloride, and other ice melts are highly irritating and can cause burns, cracking, and toxicity if licked.
- Desiccation: Cold air holds less moisture, and indoor heating further reduces humidity, leading to a loss of natural pad moisture.
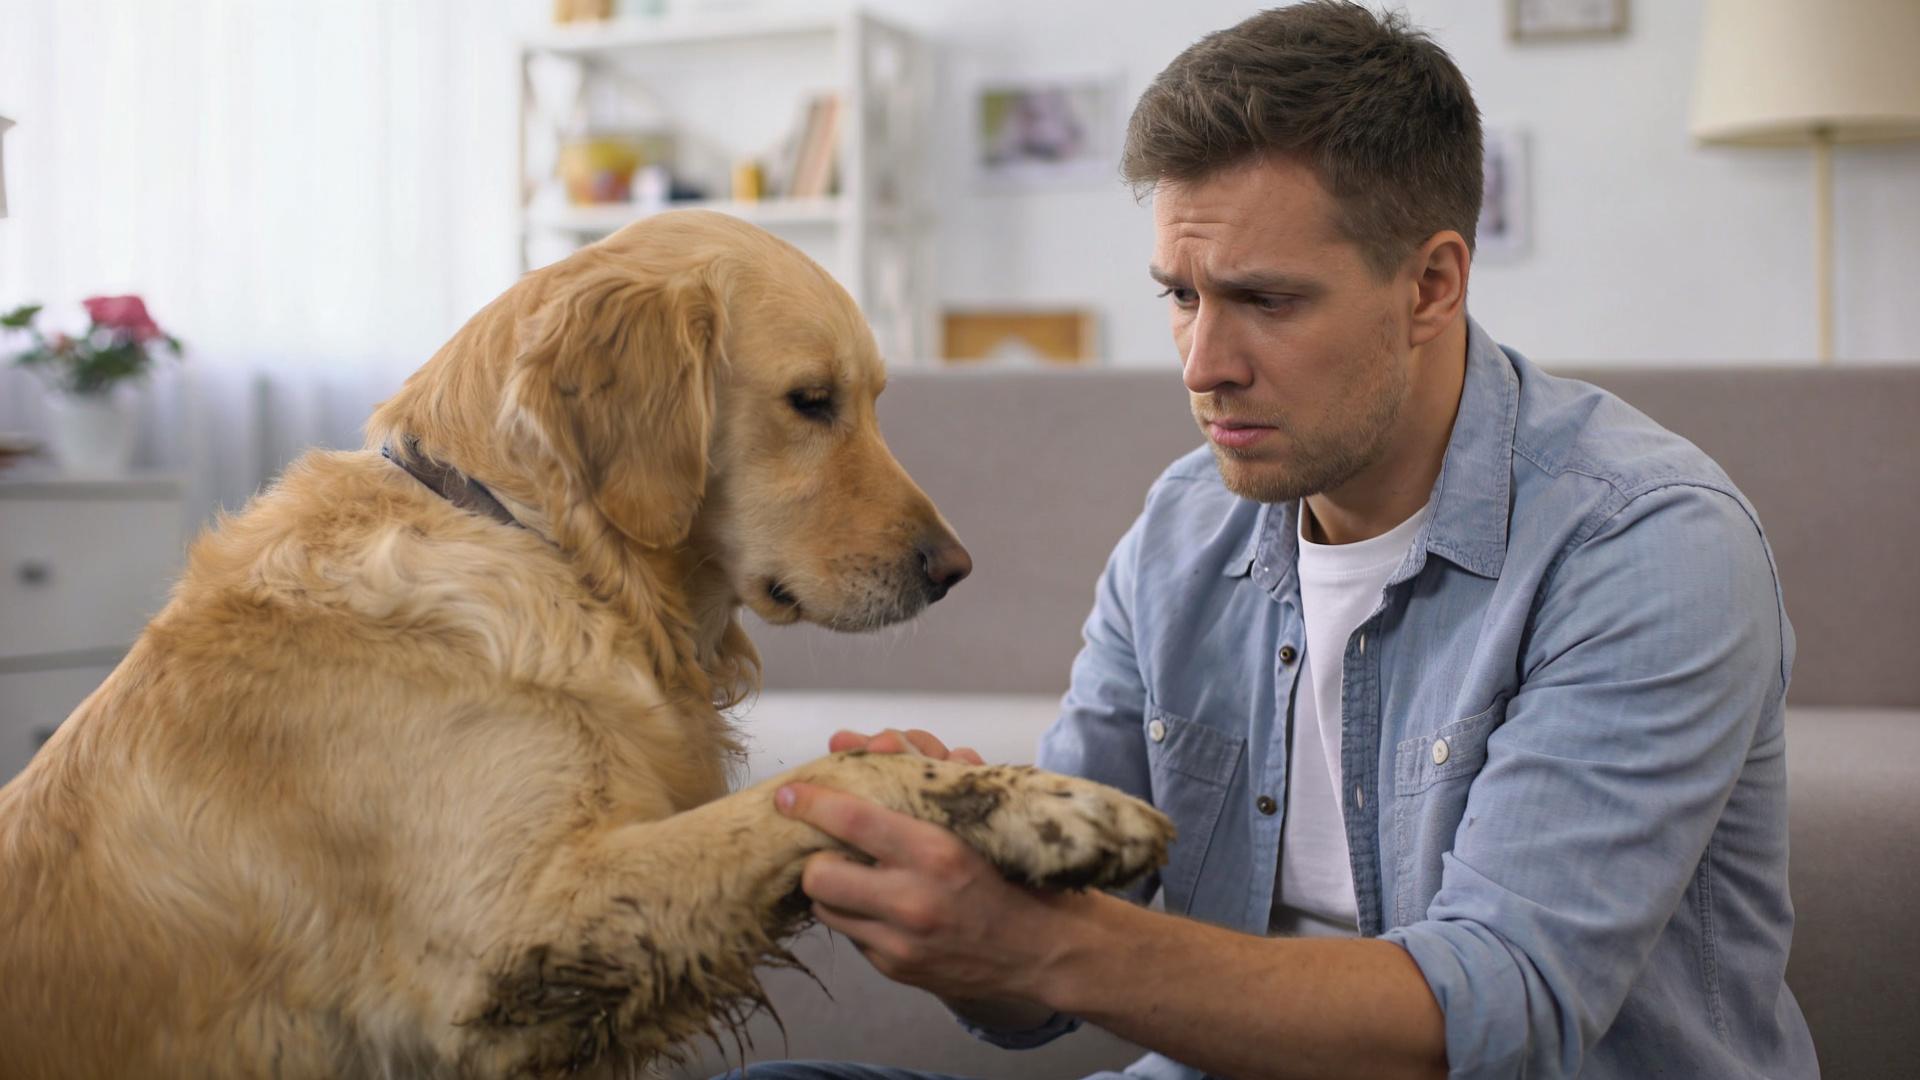
Neglected, minor dryness can escalate into deep, painful cracks that bleed and are prone to bacterial infection. Proactive canine paw care treatment is not a luxury; it's an essential component of responsible winter pet ownership.
✨ Benefits of a Homemade Paw Pad Cream
Why go DIY when shelves are stocked with commercial products? The advantages are significant for your dog's health and your peace of mind.
- Ingredient Control: You know exactly what is going on your dog's skin—no parabens, artificial fragrances, or questionable chemicals.
- Potency & Purity: Natural ingredients like shea butter and coconut oil offer profound moisturization and healing properties in their purest forms.
- Cost-Effectiveness: A single batch of homemade paw balm recipe yields multiple applications for a fraction of the cost of premium commercial balms.
- Tailored Application: You can adjust the consistency (softer in deep cold, firmer for a more protective barrier) to suit your specific climate and dog's needs.
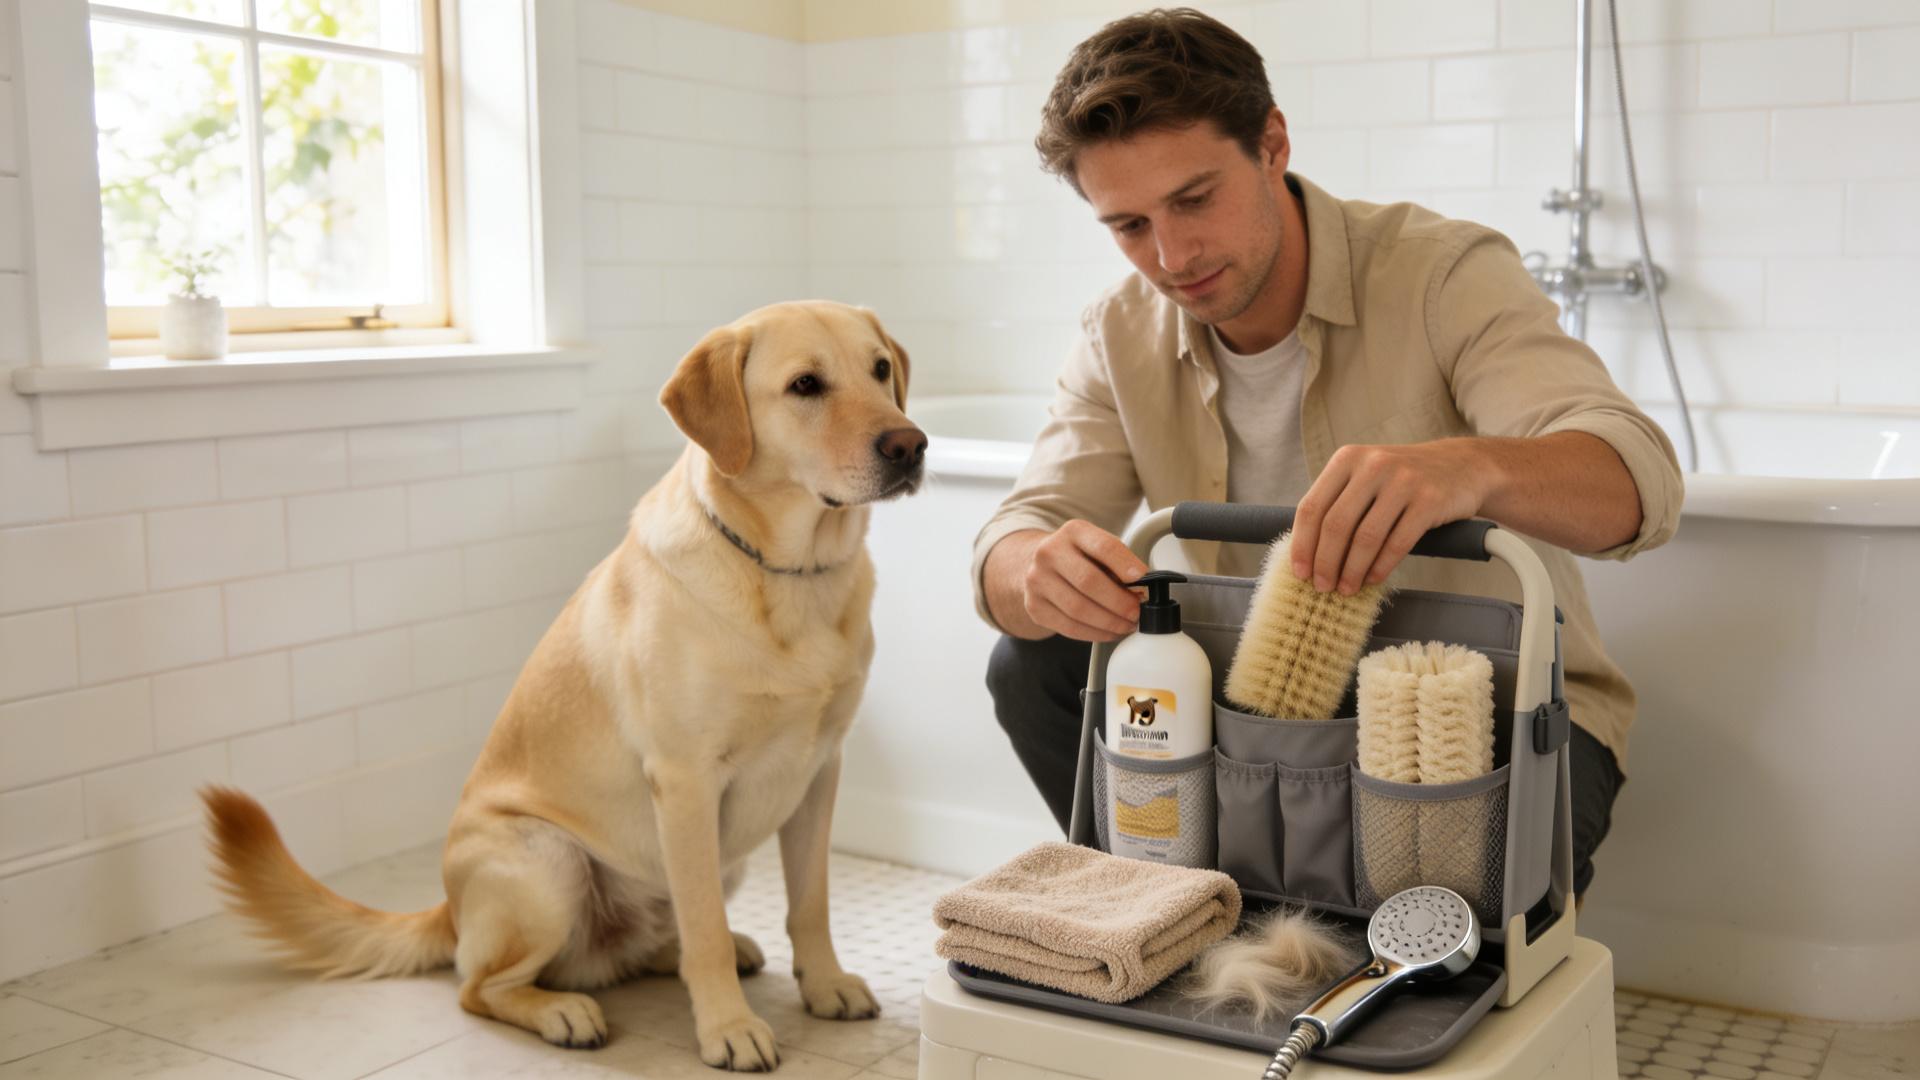
🛒 Required Ingredients & Tools: Your Natural Pharmacy
This recipe leverages the synergistic power of four core, easily sourced ingredients. Each plays a specific role in healing cracked paw pads and providing robust winter paw protection for dogs.
Core Ingredients:
- Shea Butter (2 tbsp): A superstar natural paw pad moisturizer. Rich in vitamins A and E, it offers intense, long-lasting hydration and promotes skin elasticity.
- Coconut Oil (1 tbsp): Renowned for its soothing and antibacterial/antifungal properties. It penetrates quickly to soothe dry paw pads and provides a layer of protection.
- Beeswax (1 tbsp, grated): The key to creating a protective barrier. It seals in moisture and creates a semi-occlusive layer that shields pads from salt, ice, and moisture.
- Vitamin E Oil (1 tsp): A powerful antioxidant that accelerates skin repair and helps prevent scarring from existing cracks.
Optional Enhancements:
A note on essential oils for paw care: Use extreme caution. Many are toxic to dogs. If desired, only use 1-2 drops of lavender or chamomile essential oil (100% pure, therapeutic grade) for additional soothing properties, and only if you are certain your dog will not ingest it.
Tools You'll Need:
- A double boiler (or a heat-safe bowl over a pot of simmering water)
- A small whisk or spoon for stirring
- A clean container for storage (a small glass jar or tin works perfectly)
- A kitchen scale (optional but recommended for accuracy)
🔬 Step-by-Step Preparation Instructions
Follow these precise steps to create your batch of paw pad butter for dogs.
- Prepare Your Workspace: Ensure all tools and your storage container are clean and dry.
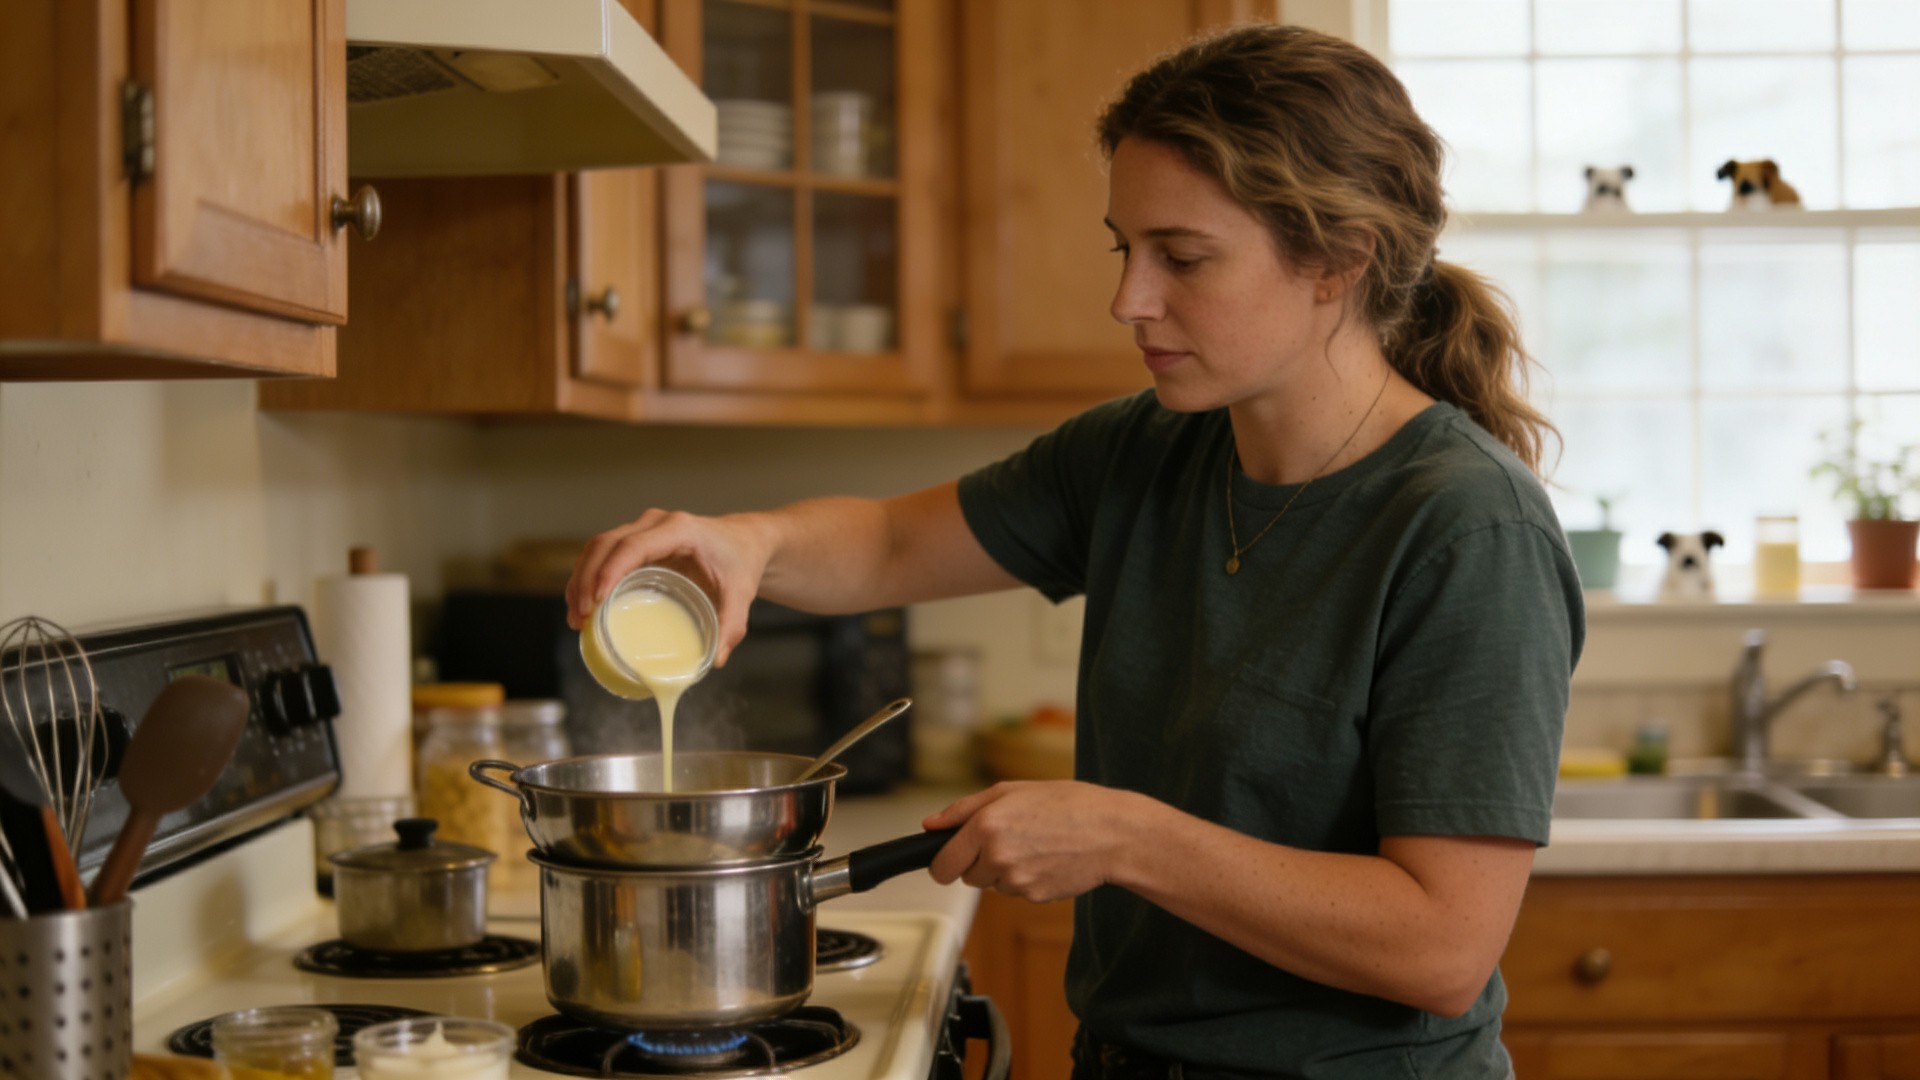
- Create a Double Boiler: Fill a small pot with 1-2 inches of water and bring to a gentle simmer. Place a heat-safe glass or metal bowl on top, ensuring the bottom does not touch the water.
- Melt the Base: To the bowl, add 2 tablespoons of shea butter and 1 tablespoon of coconut oil. Allow them to melt slowly over low heat, stirring occasionally.
- Incorporate the Beeswax: Once the butter and oil are liquid, add 1 tablespoon of grated beeswax. Stir continuously until the beeswax is completely melted and the mixture is smooth.
- Remove from Heat & Fortify: Carefully remove the bowl from the heat. Quickly stir in 1 teaspoon of vitamin E oil (and any optional essential oil).
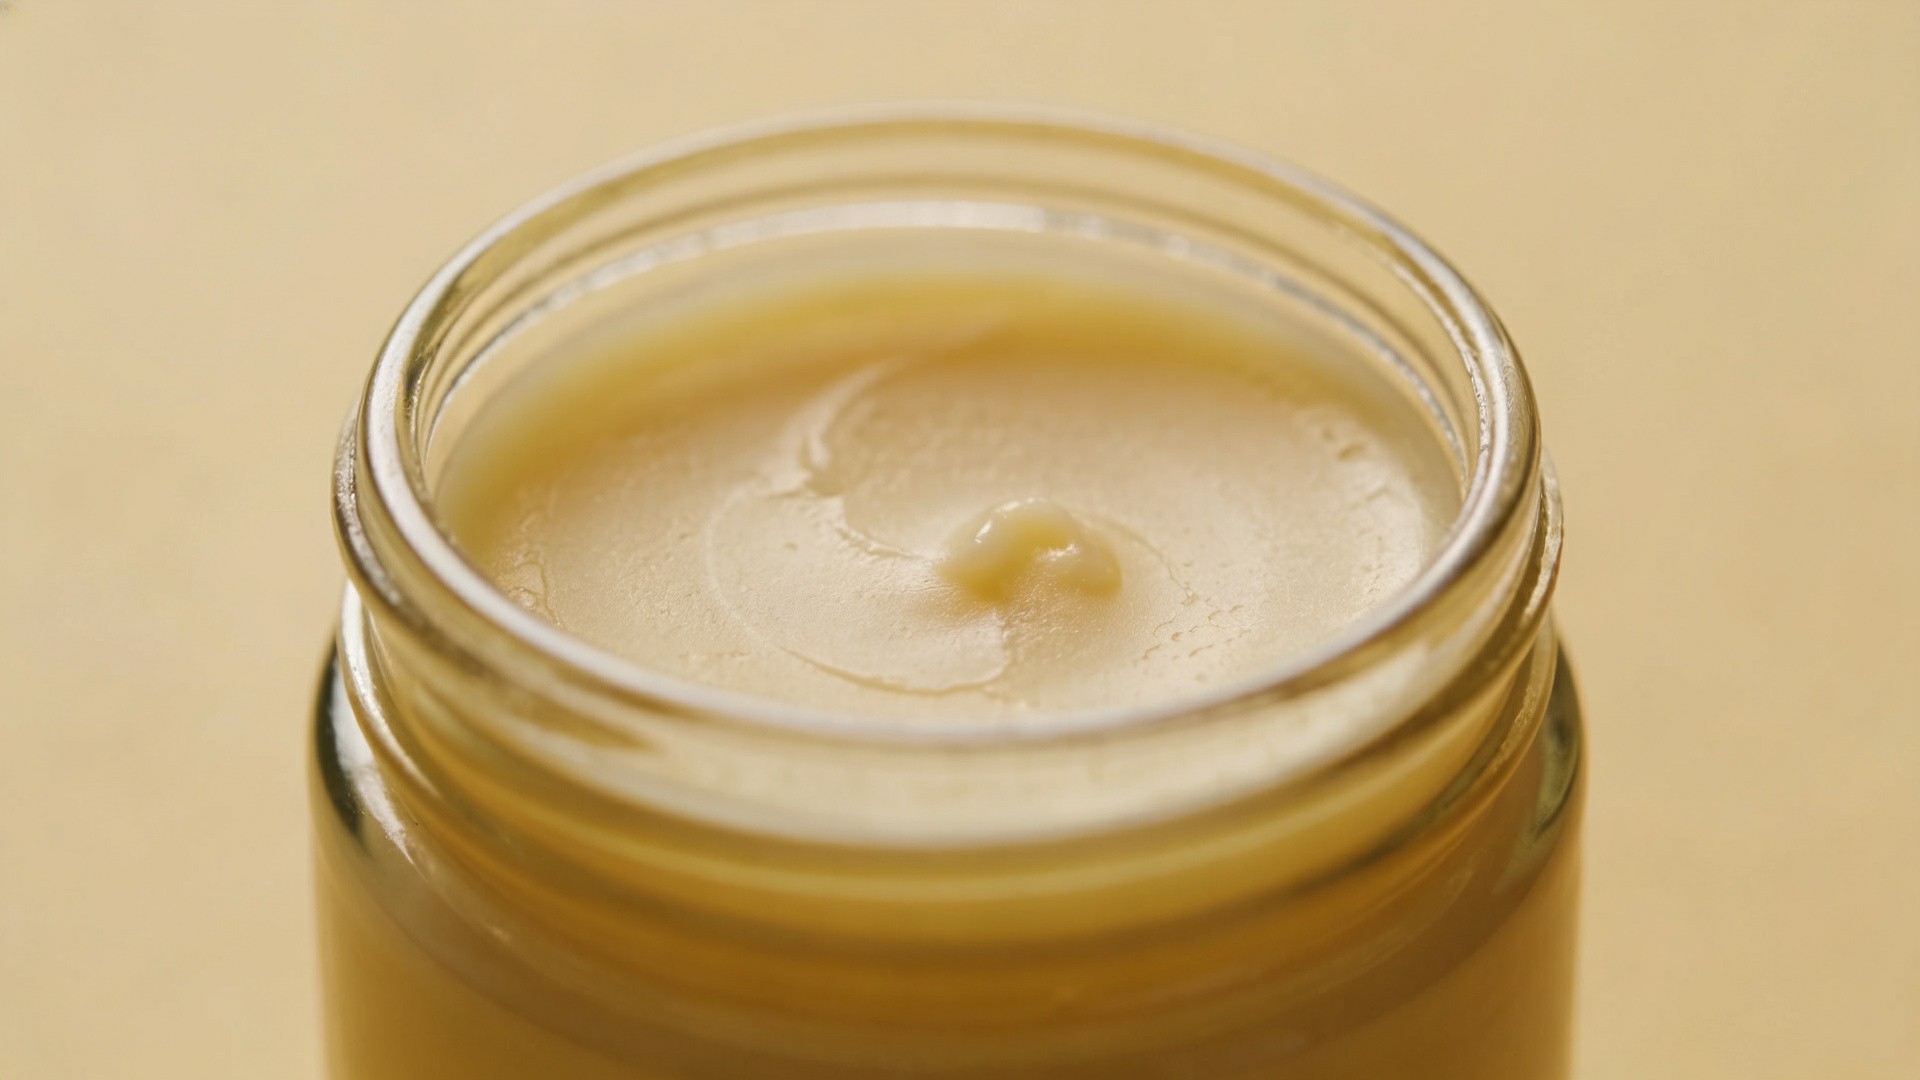
- Pour & Set: Immediately pour the liquid balm into your clean container. Let it sit undisturbed at room temperature until it solidifies completely. This usually takes 1-2 hours.
Special Reminder: Never microwave the ingredients, as this can destroy their beneficial properties and create uneven hotspots.
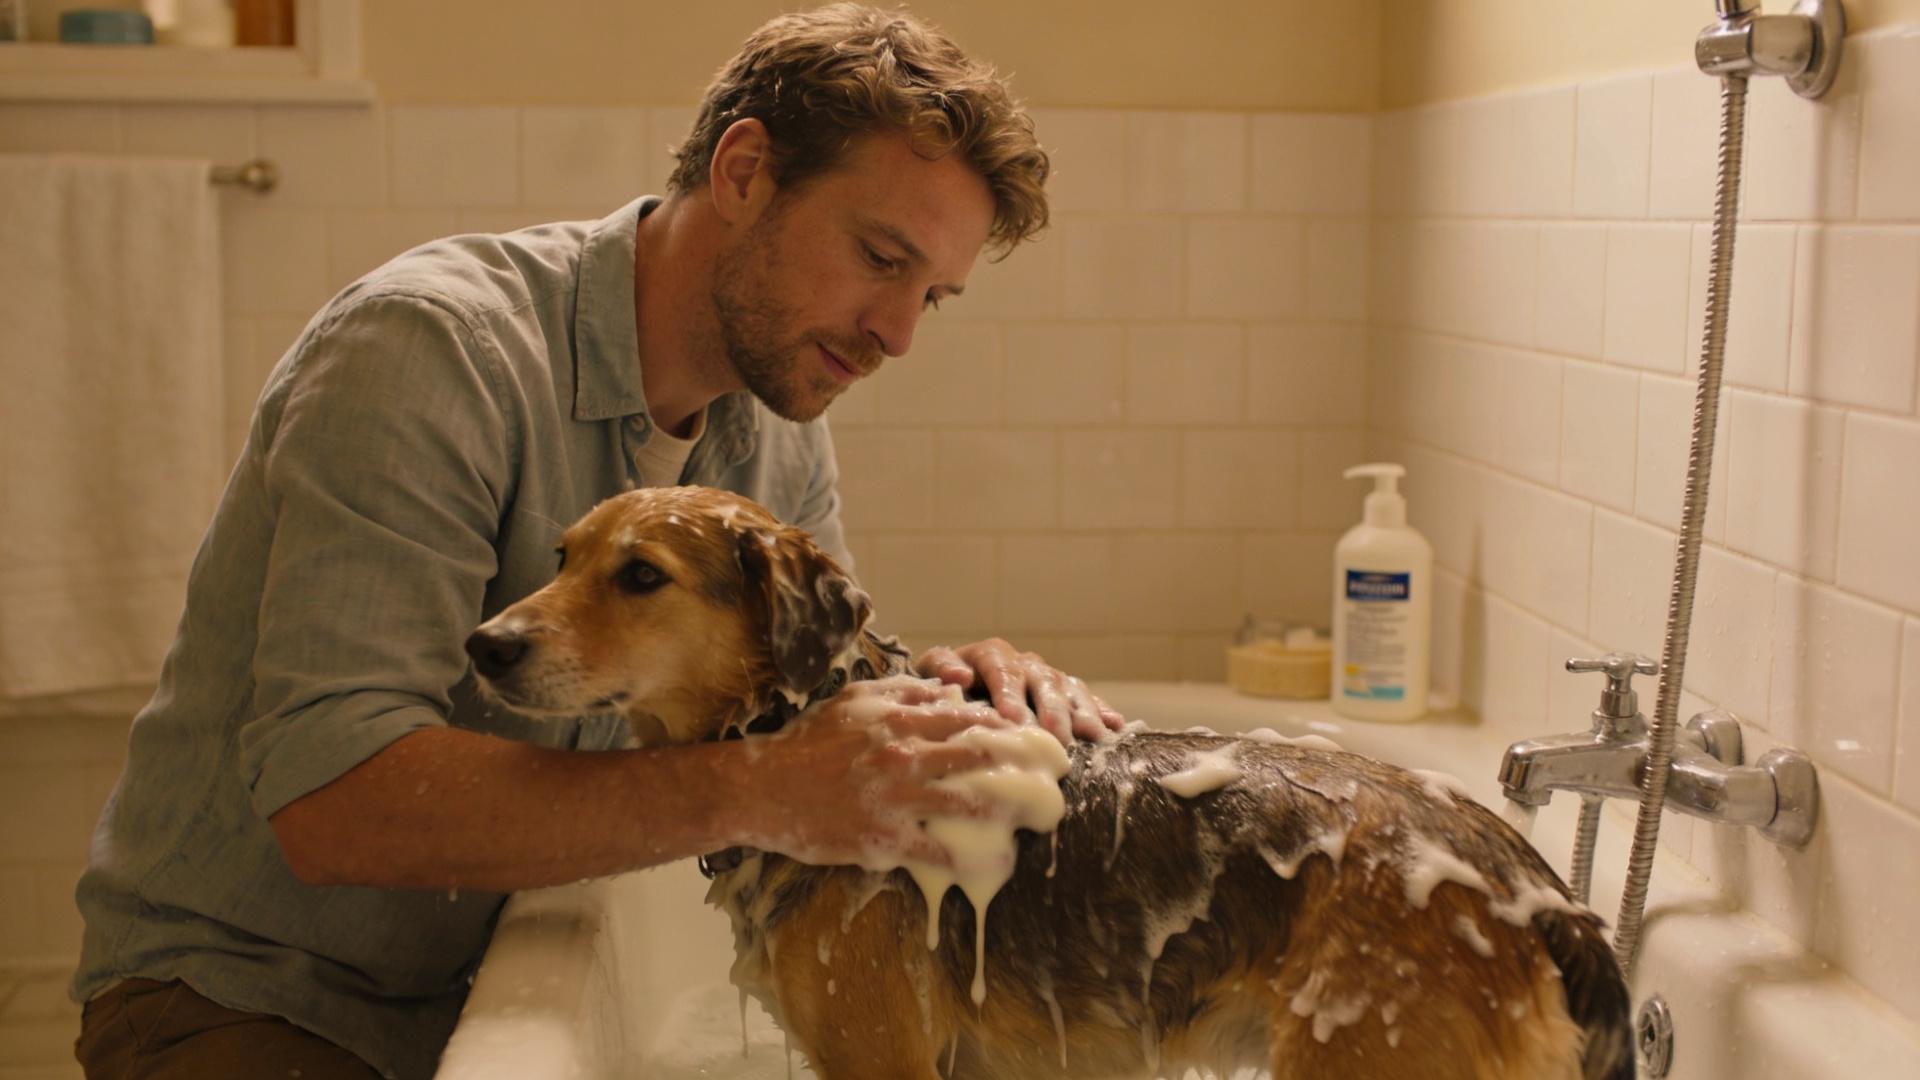
👐 How to Apply the Paw Cream: A Ritual of Care
Proper application ensures the dog foot care cream is effective and safe.
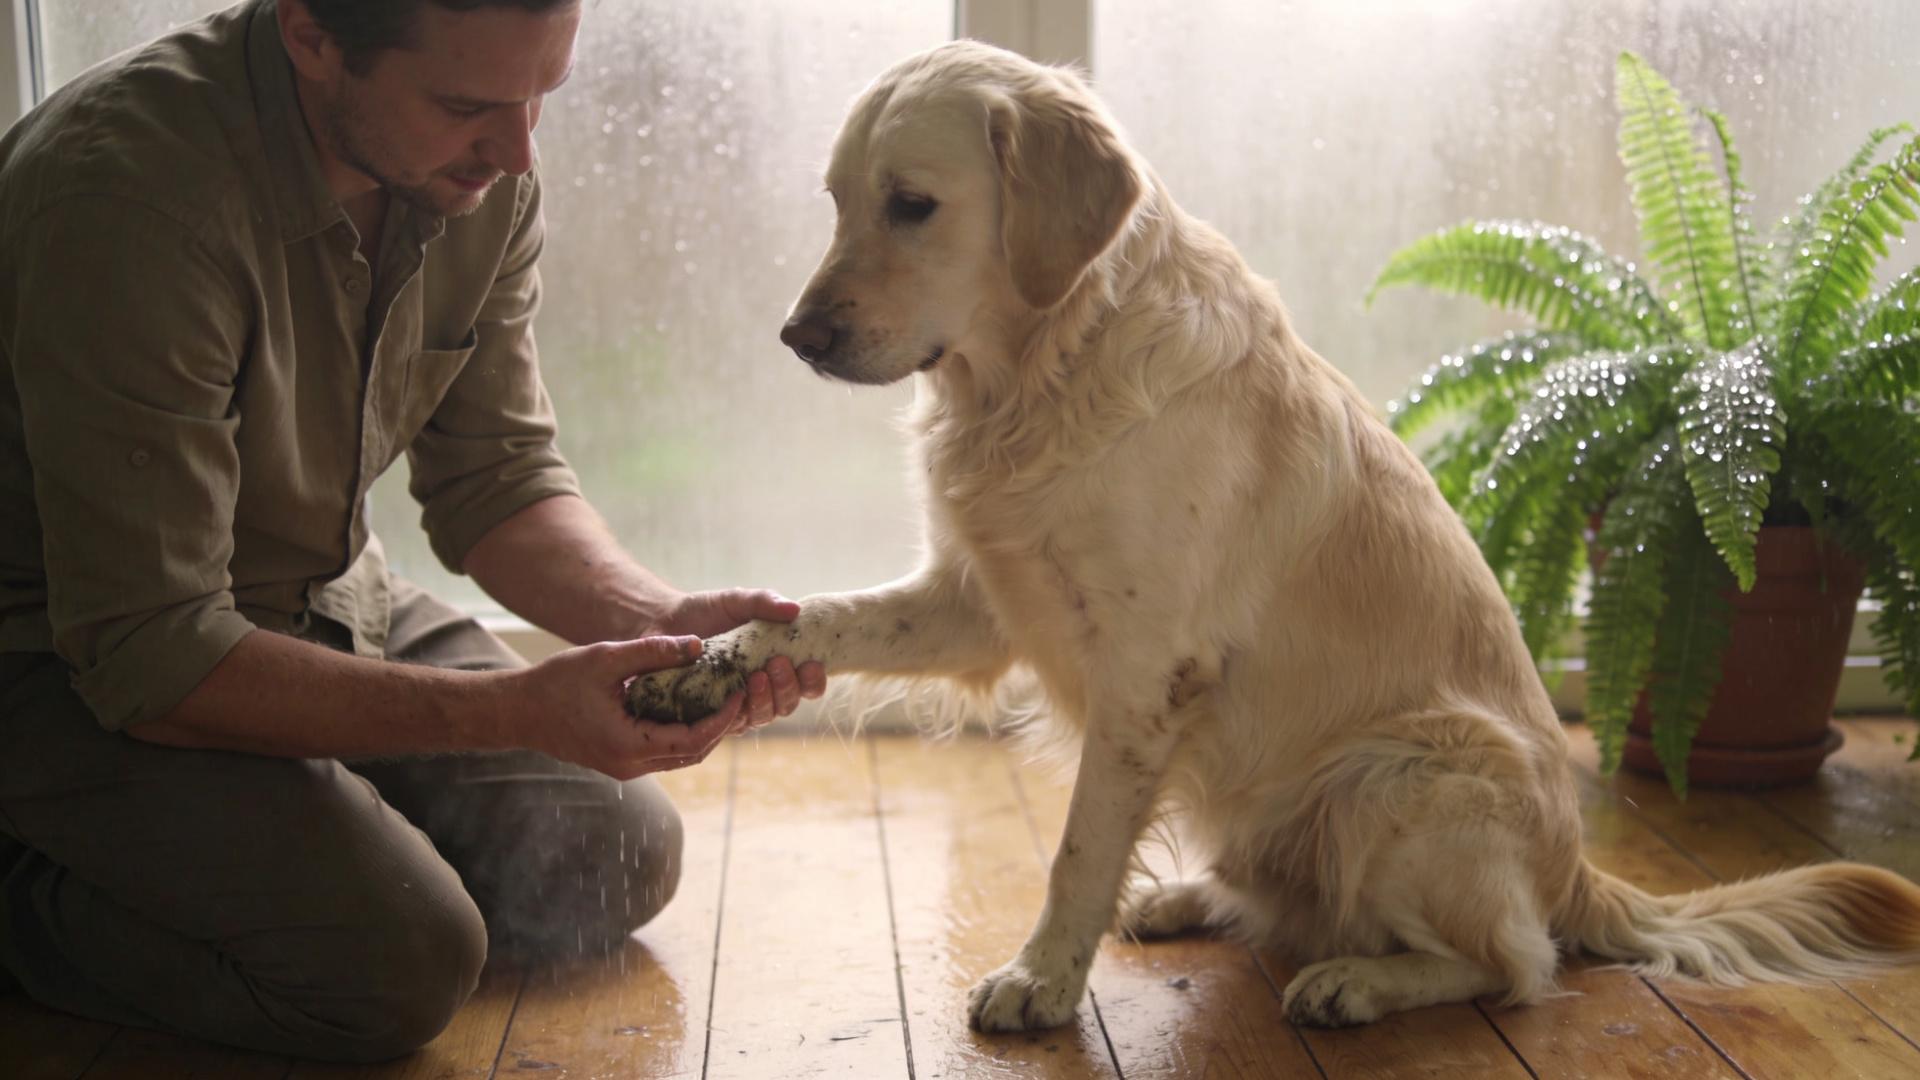
- Clean and Dry: After a walk, always wipe your dog's paws with a damp cloth to remove salt, chemicals, and debris. Pat them thoroughly dry. Never apply balm to wet or dirty paws.
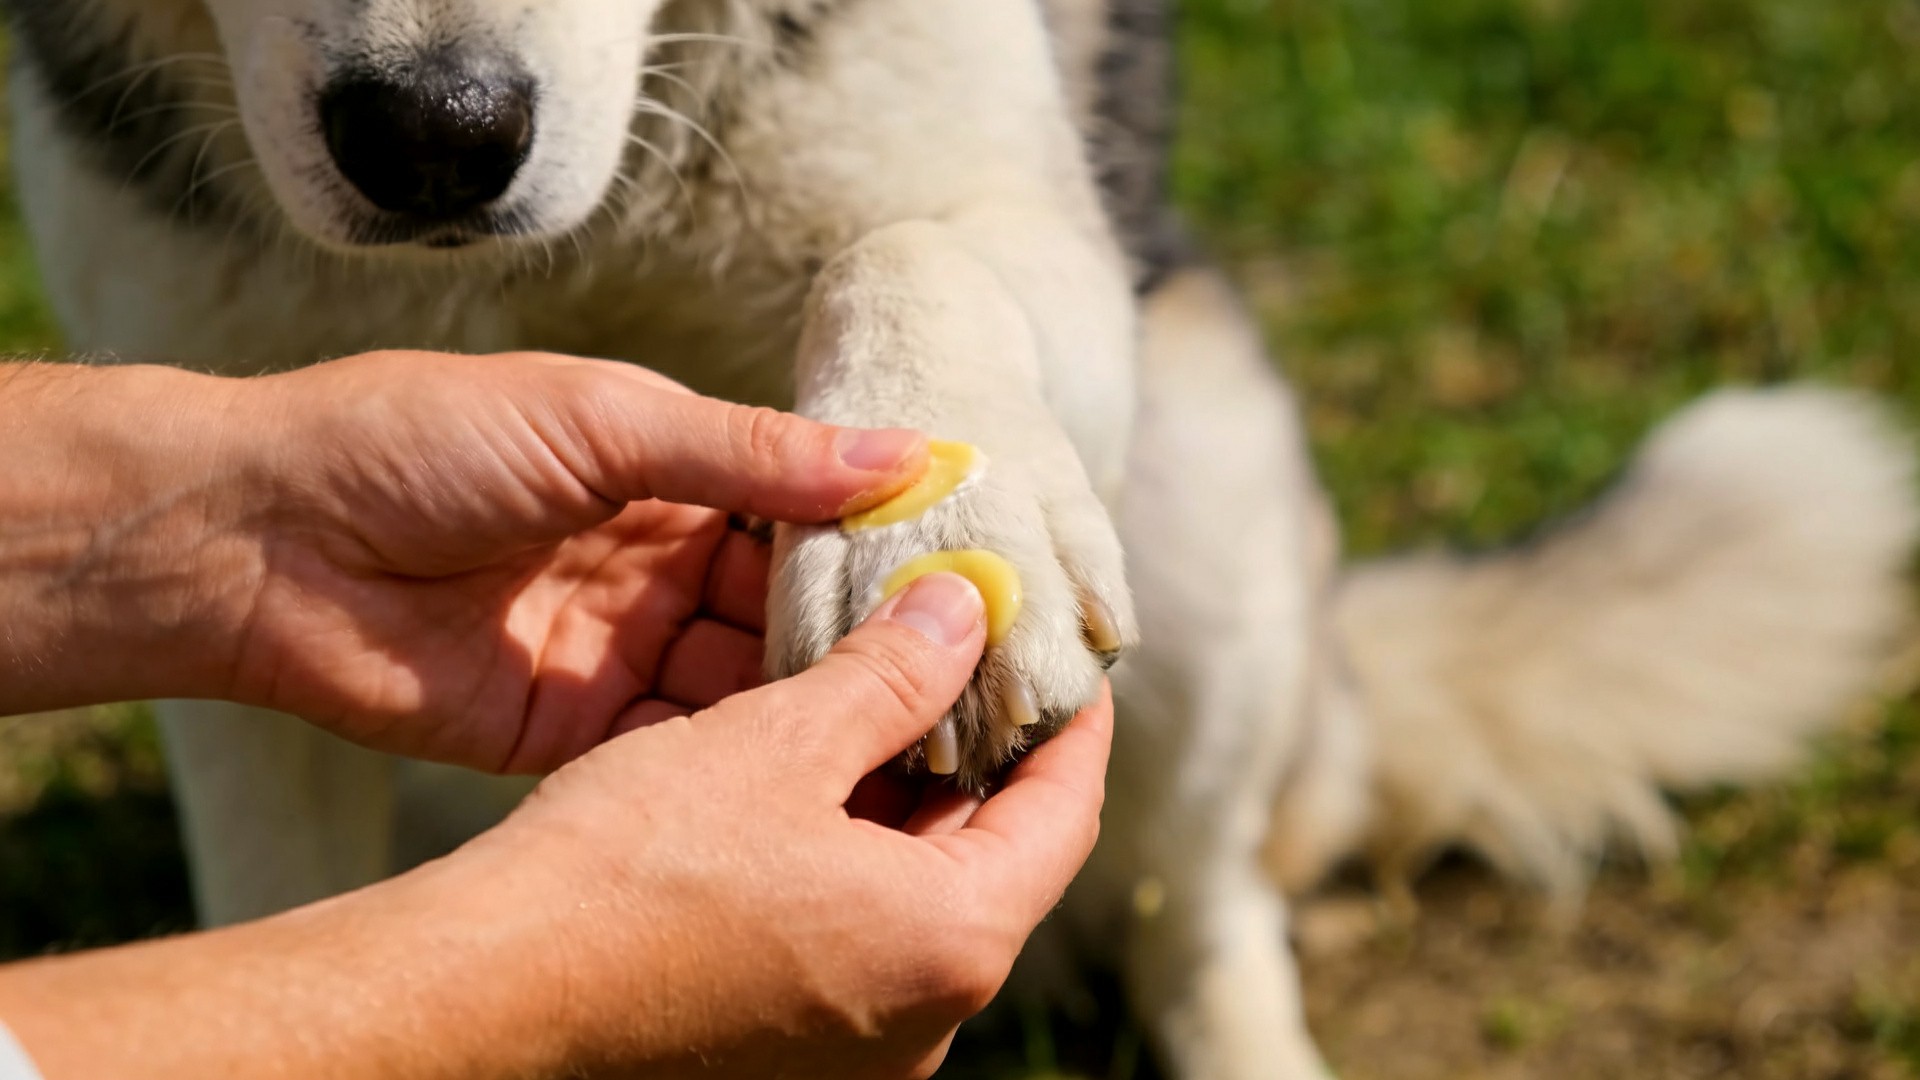
- Warm the Balm: Scoop a small pea-sized amount of balm onto your fingertip. Rub it between your fingers to soften it slightly, which makes application easier.
- Massage Gently: Lift your dog's paw and massage the balm directly into each paw pad, between the toes, and around the top of the pad if the skin looks dry. Use a calm, reassuring tone.
- Distract for Absorption: Most balms absorb within 5-10 minutes. Distract your dog with a short cuddle session, a favorite chew, or their dinner to prevent immediate licking. While the ingredients are safe if ingested in small amounts, you want them to absorb into the skin for maximum benefit.
- Frequency: For preventing paw cracks in winter, apply daily as part of your evening routine. Always apply after walks in harsh conditions for immediate winter dog paw health support.
❄️ Additional Winter Paw Care Tips
Your homemade cream is a powerful tool, but it works best as part of a holistic strategy to protect dog paws in snow and ice.
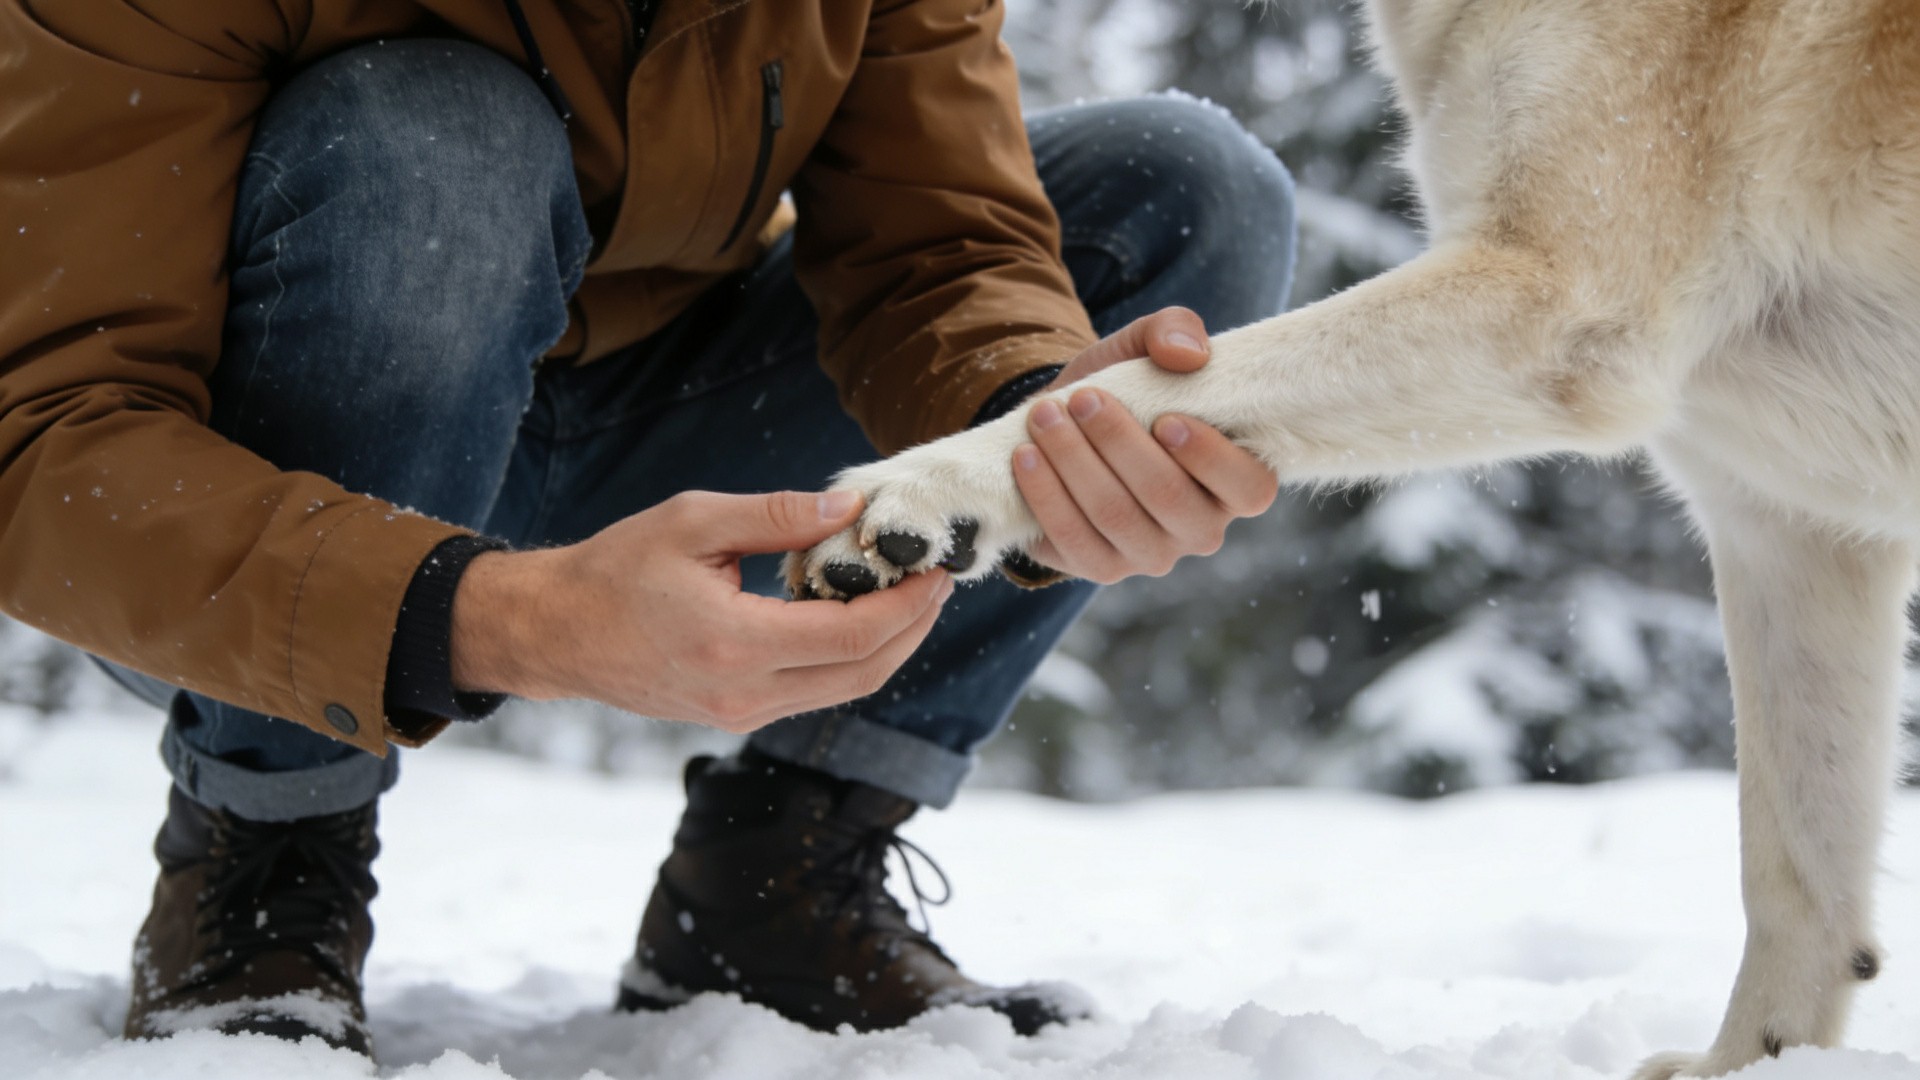
- The Post-Walk Wipe-Down: This non-negotiable step physically removes irritants before they can cause damage.
- Consider Dog Boots: For extreme cold, long walks, or areas heavily treated with salt, well-fitted dog boots offer the ultimate physical barrier.
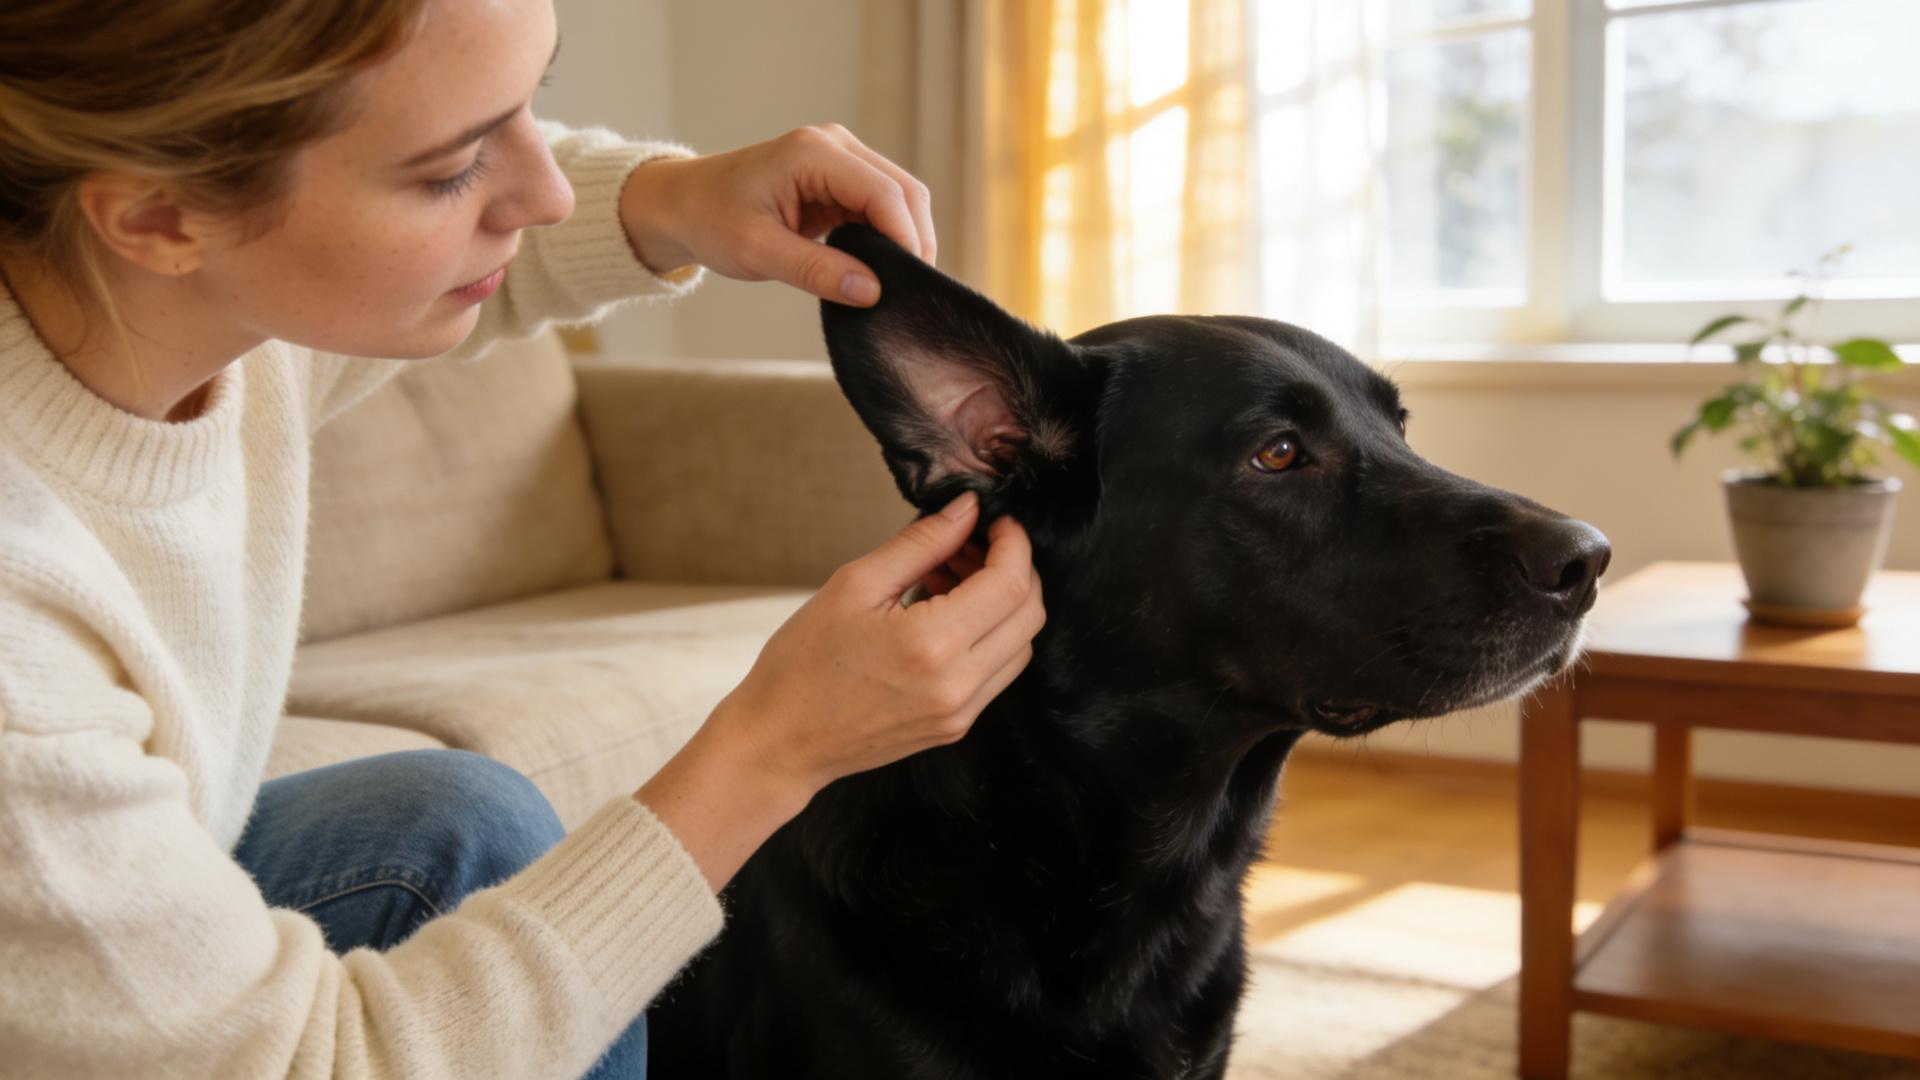
- Regular Inspections: Weekly, get hands-on. Check between toes and pads for cracks, cuts, lodged ice balls, or signs of redness and inflammation.
- Trim Interdigital Hair: Keep the hair between the pads neatly trimmed to prevent ice ball accumulation, which can pull on the skin and cause cracks.
- Hydrate & Nutrition: Support skin health from the inside out. Ensure your dog has access to fresh water and a high-quality diet rich in omega-3 fatty acids.

🏁 Conclusion: Happy Paws, Happy Winter Walks
Your dog's unwavering enthusiasm for a walk, regardless of the weather, is a joy to behold. Protecting their paws is a fundamental way we can return that loyalty with care. This natural paw pad moisturizer is more than just a salve; it's a labor of love that provides safe, effective, and chemical-free relief. By understanding paw health, mastering the simple recipe, and incorporating it into a consistent winter routine, you are proactively safeguarding your dog's comfort and mobility. Embrace this empowering cracked paw pad remedy and step forward into the winter season with confidence, knowing you have the perfect dog paw pad healing solution right at your fingertips. Here's to many more joyful, comfortable winter adventures with your four-legged friend! 🐕💕