The final stitch is placed, and your beloved canine companion is safely home after their sterilization surgery. While the major procedure is over, the crucial chapter of recovery has just begun. Central to this phase is a simple yet profoundly important device: the Elizabethan collar, or E-collar. Often met with sighs (from both dog and owner), this "cone of shame" is, in reality, a cone of protection and healing. This comprehensive guide delves into the critical why and how of Elizabethan collar use, providing you with the detailed knowledge to navigate your dog's post-operative period with confidence, ensuring their health and comfort.

🛡️ Understanding the Non-Negotiable Role of the Elizabethan Collar
Before addressing fit or cleaning, it's vital to internalize the collar's purpose. A dog's instinct to lick, bite, or scratch a wound is powerful and counterproductive to healing. Their saliva contains bacteria, and their tongue is abrasive. Interference with the surgical site can lead to:
- Infection: Introducing bacteria into the sterile wound environment.
- Suture Damage: Ripping internal or external stitches, potentially requiring emergency re-suturing.
- Delayed Healing: Constant irritation prevents the formation of healthy granulation tissue.
- Seroma Formation: Excessive licking can disrupt the body's natural fluid management, leading to painful swelling.
Your veterinarian's instruction for 10-14 days of continuous wear is not a suggestion—it is a medical requirement. The collar must be on at all times, even (and especially) when you are not directly supervising your pet. A determined dog can inflict significant damage in mere seconds.
Beyond the Plastic Cone: Modern Alternatives and Their Caveats
While the traditional plastic cone is the gold standard for guaranteed protection, alternatives exist:
Inflatable/Donut Collars: Resemble a travel pillow. They work for chest or leg wounds but may not prevent a flexible dog from reaching an abdominal incision.
Soft Fabric Cones: More comfortable but can become soggy, dirty, and may not provide sufficient length.
Recovery Suits/Bodysuits: Cover the torso entirely. An excellent option for some, but ensure the fabric is breathable and the suit fits perfectly to prevent chafing.
Special Reminder: Always consult your vet before using an alternative. The primary goal is 100% prevention of wound access. If there is any doubt, the traditional E-collar is the safest choice.
📏 The Art of the Perfect Fit: Putting On and Adjusting the E-Collar
A poorly fitted collar is a source of misery and a potential failure point. Follow this step-by-step fitting guide.
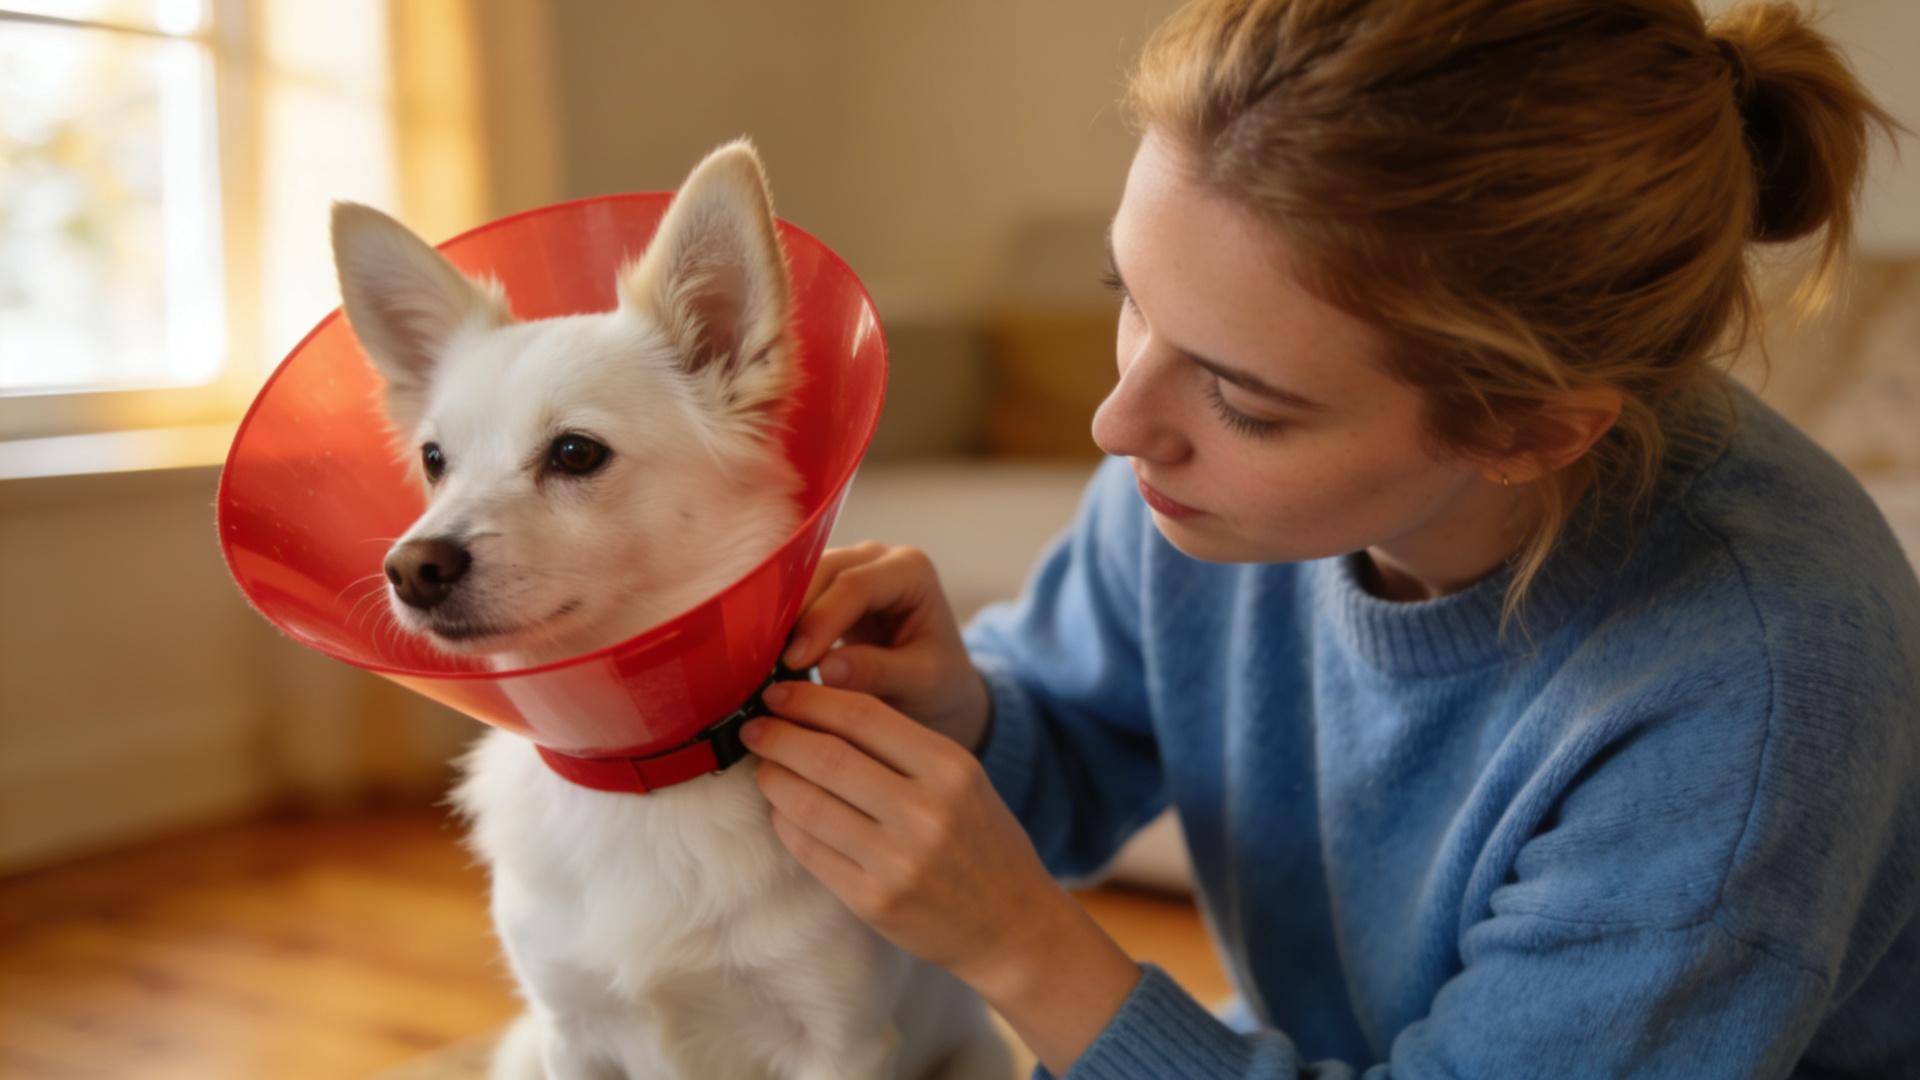
Step 1: The Neck Measurement
The collar should be fastened snugly around your dog's neck, using the attached straps or loops. The universal rule: you should be able to comfortably slide two fingers between the collar and your dog's neck. This ensures it's secure enough not to slip off, but not so tight as to cause chafing or difficulty swallowing.
Step 2: The Length Check (The Most Critical Step)
This is where most mistakes happen. With your dog in a normal standing position, the rim of the collar must extend at least 1-2 inches beyond the tip of their nose. Perform the "Snoot Test": if your dog can touch their nose to their body or bend enough to reach the incision, the collar is too short. You may need to size up for proper length even if the neck hole seems large.
Step 3: Initial Adjustment and Observation
Once secured, observe your dog closely for the first hour.
For Eating and Drinking: Raise the food and water bowls. Use a elevated stand or place bowls on a small platform. A shallower, wider bowl is often easier than a deep one.
For Navigation: Your dog will initially bump into walls and furniture. Guide them gently, clear pathways, and temporarily move fragile items. They will learn spatial awareness remarkably quickly.
For Resting: Remove or lower bed sides. Provide a flat, soft bed in a corner to help them feel secure and prevent the collar from catching.
👀 Monitoring and Ensuring Comfort During the Recovery Period
Your role now shifts to supportive supervisor and comforter.
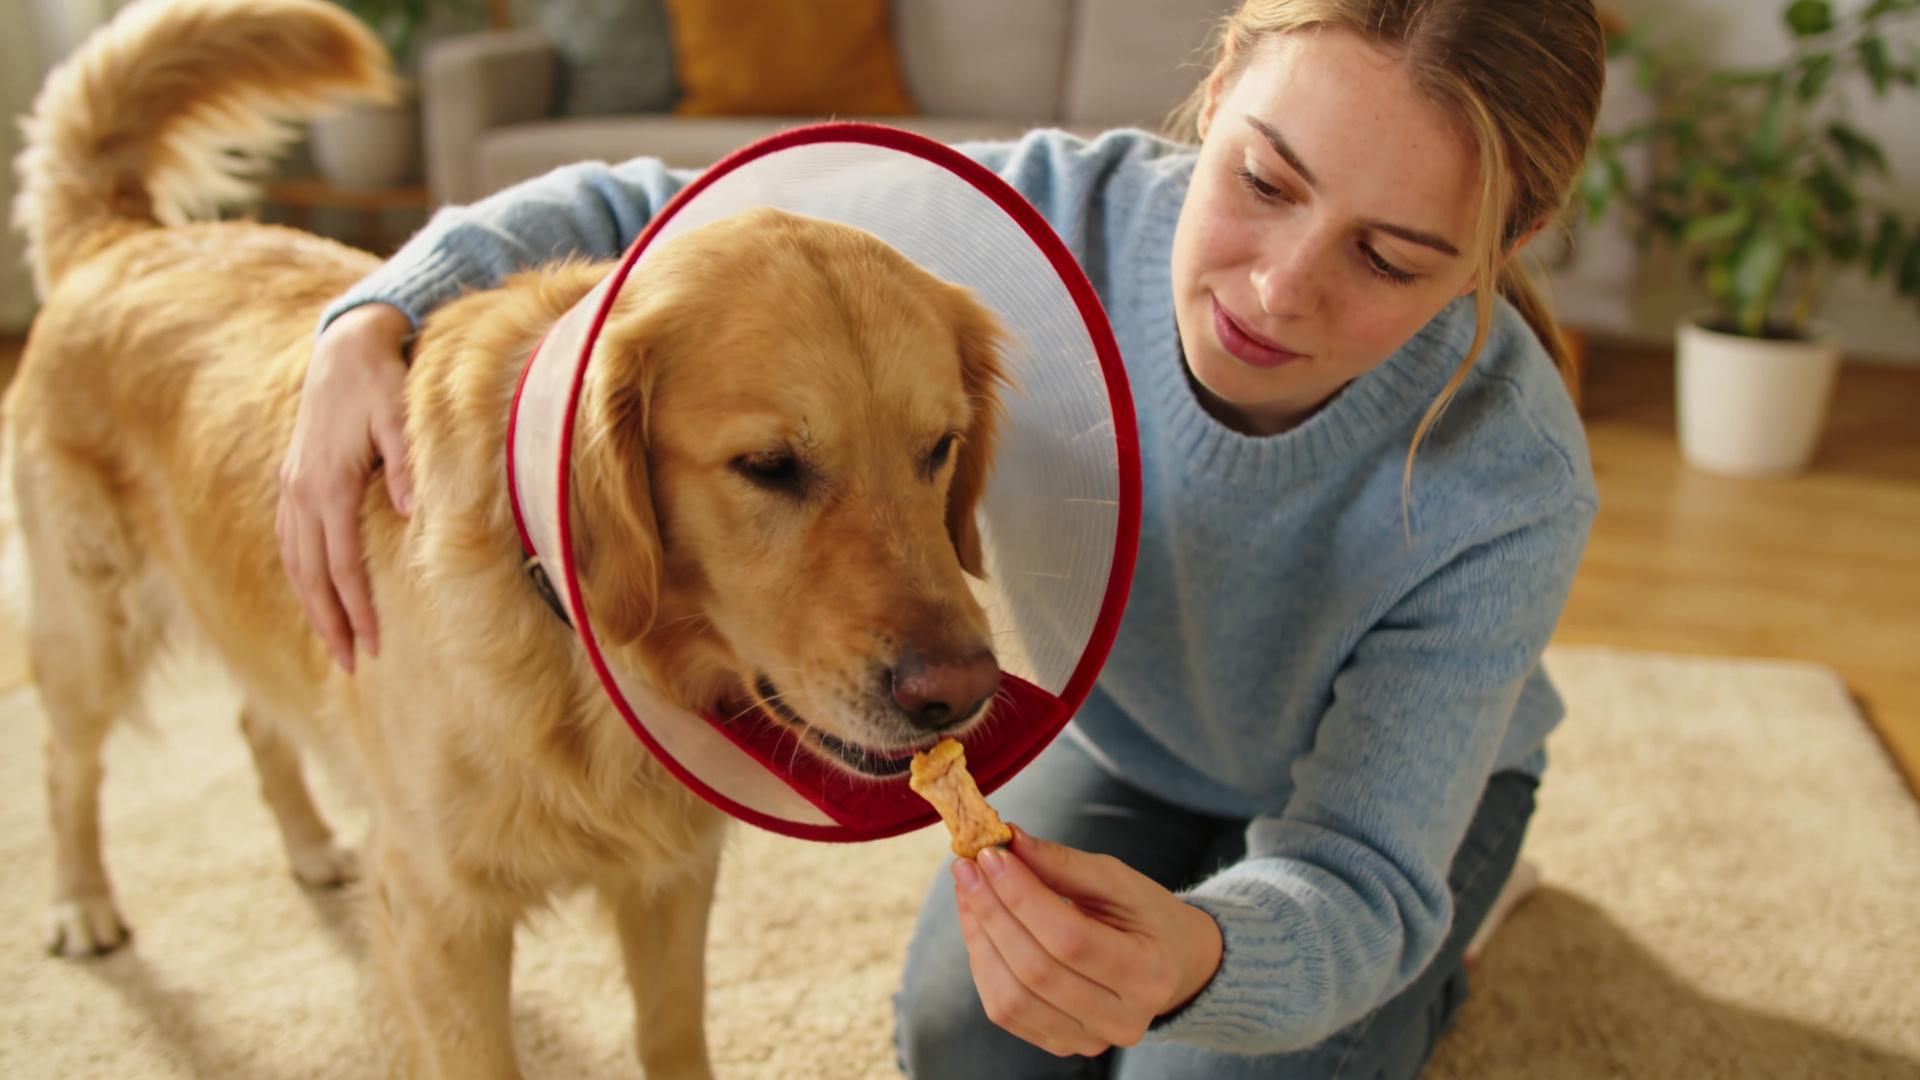
- Patience with Initial Distress: Whining, clumsy movement, and general dejection are normal for the first 24-48 hours. Do not remove the collar out of pity. Offer calm reassurance, treats for calm behavior, and their favorite blanket.
- Supervised Exploration: Always supervise your dog in new environments. Be cautious near stairs, sharp furniture corners, and doggy doors.
- Creating Positive Associations: Periodically give high-value treats (like peanut butter smeared inside the collar, or a special chew) while they are wearing the collar. This helps build a positive mental link.
- The Cardinal Rule: The collar stays on until your veterinarian gives the all-clear after a final post-operative exam. Even if the wound looks healed to you, internal sutures take longer to dissolve and weaken.
🧼 Hygiene First: How to Clean and Sanitize the Elizabethan Collar
A dirty collar is a breeding ground for bacteria and can cause skin irritation or wound contamination. A regular cleaning routine is non-negotiable.
Cleaning a Standard Plastic E-Collar
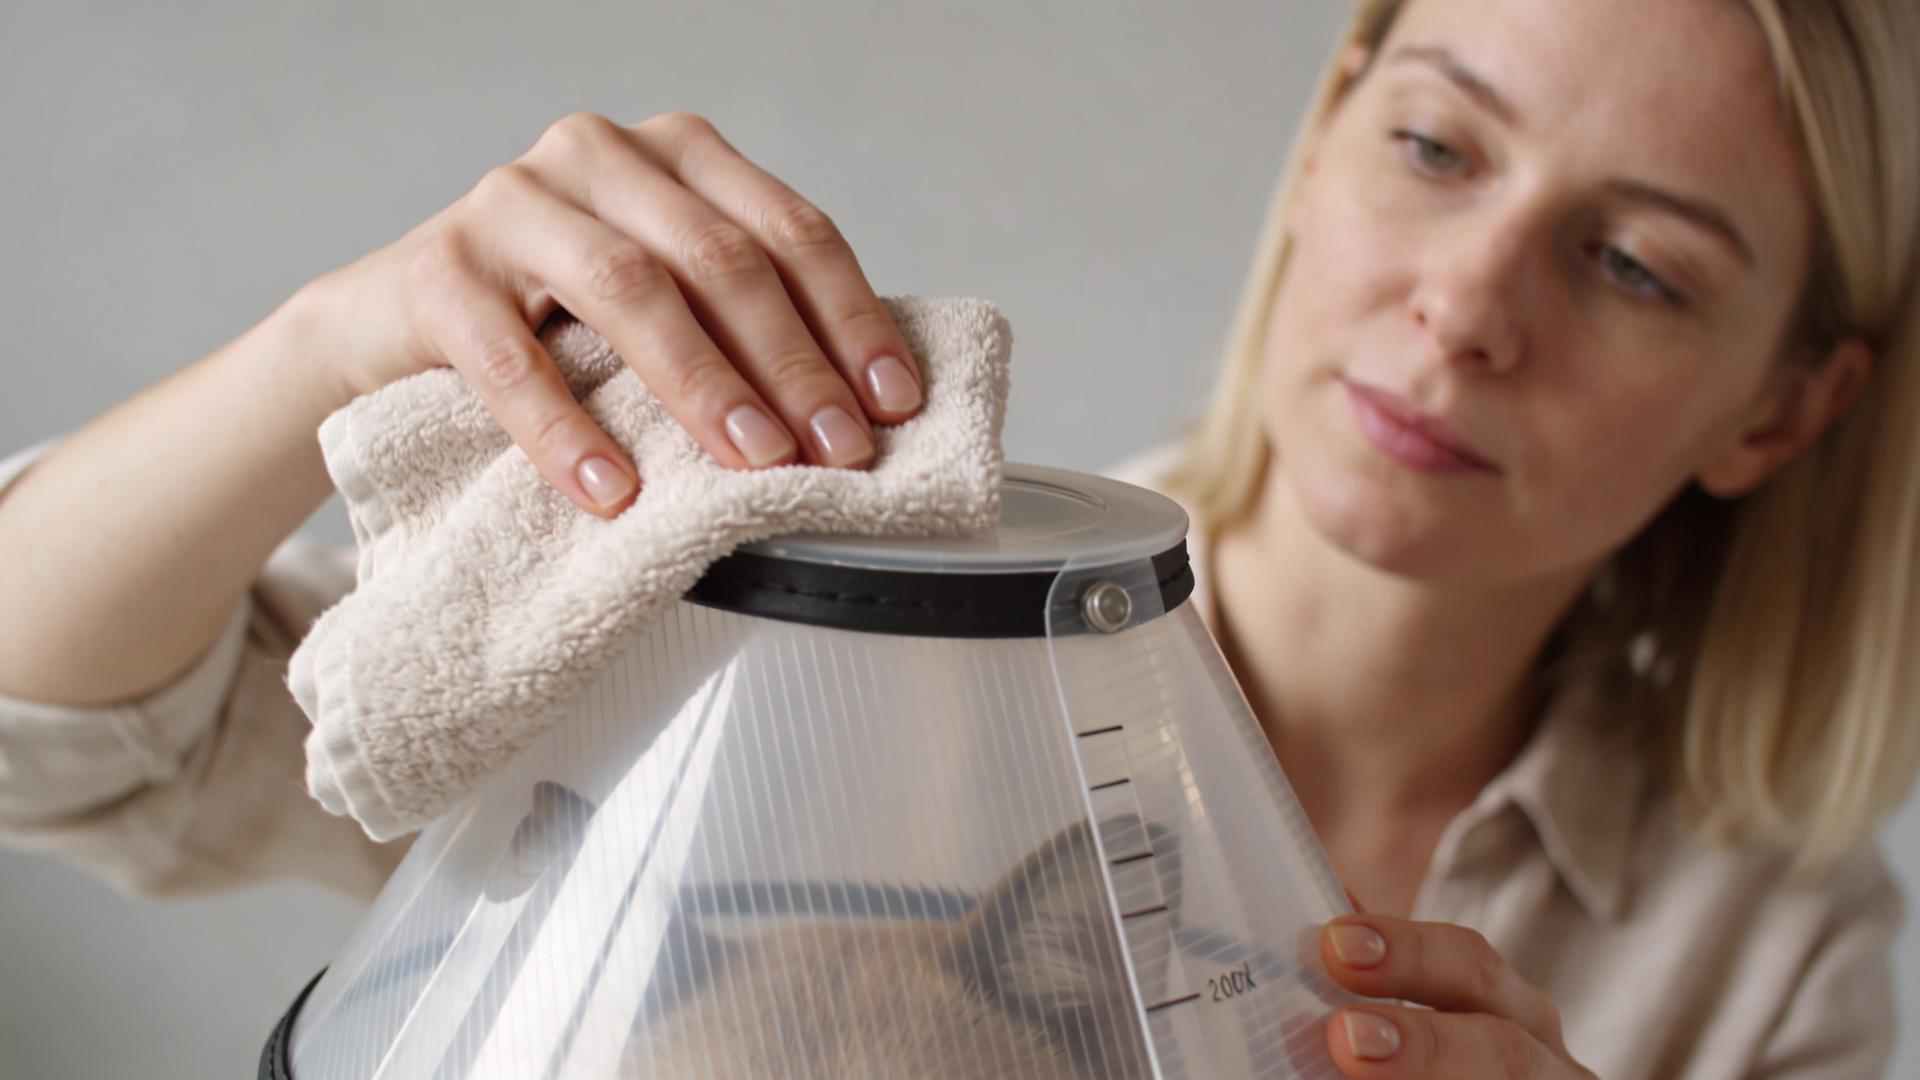
- Daily Wipe-Down: Use a soft cloth dampened with a mild soap solution (dog shampoo or dish soap works) to wipe away food, drool, and dirt. Avoid harsh chemicals like bleach or ammonia near your recovering pet.
- Weekly Deep Clean: Remove the collar. In a sink or tub, wash it with warm, soapy water. Use a brush for stuck-on debris. Rinse thoroughly to remove all soap residue.
- Complete Drying: This is crucial. Wipe it dry with a towel and then let it air dry completely in a well-ventilated area or in the sun. A damp collar against the neck can cause hot spots or fungal infections.
Cleaning Fabric, Padded, or Inflatable Collars
Always refer to the manufacturer's label first. Generally:
Fabric Cones: Often have a removable cover that is machine washable on a gentle cycle. Air dry.
Inflatable Donuts: Wipe clean with a mild disinfectant wipe or damp cloth. Ensure the valve area is completely dry to prevent air leaks.
🔬 Integrating Collar Care with Direct Wound Inspection
The collar-off time for cleaning is your designated window for a safe, quick wound check. Have your clean collar ready to re-apply before you start.
- Secure your dog in a calm area, perhaps with a helper to gently distract them.
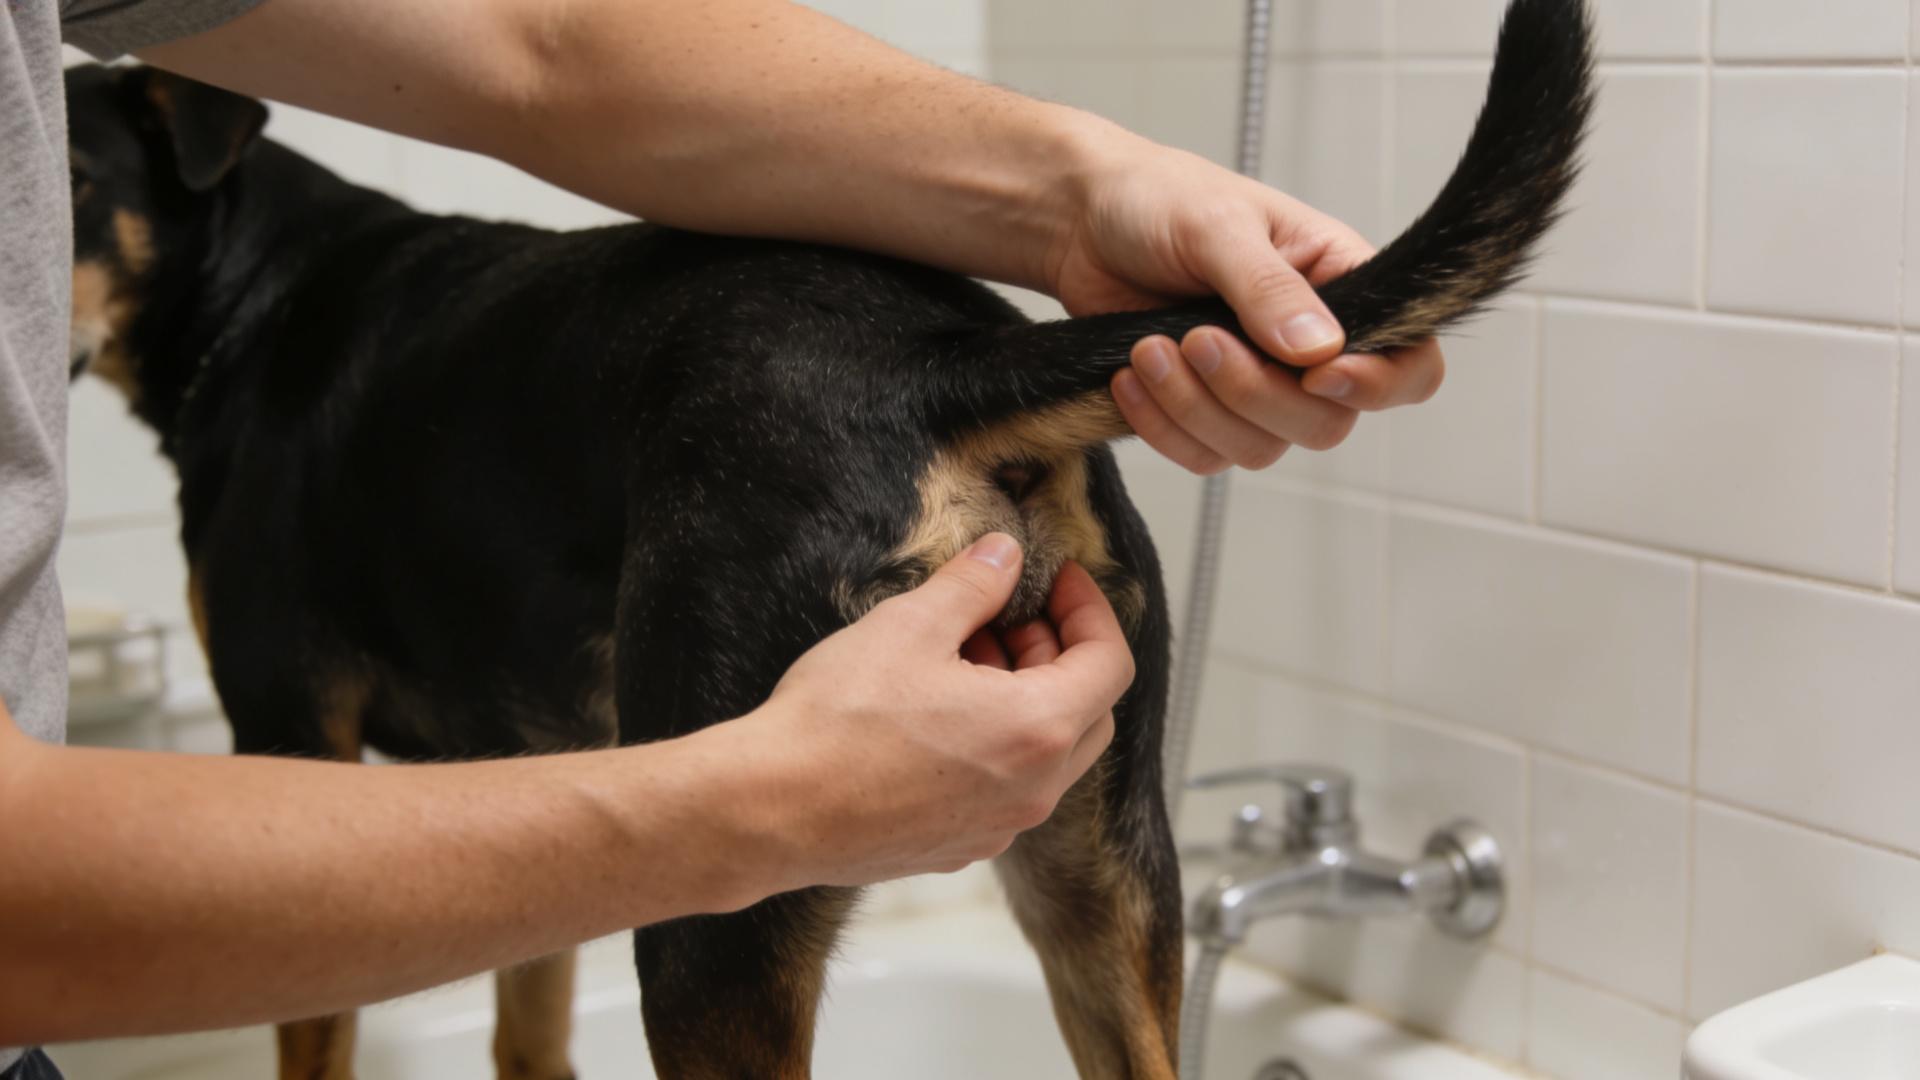
- Remove the soiled collar and immediately focus on the incision site.
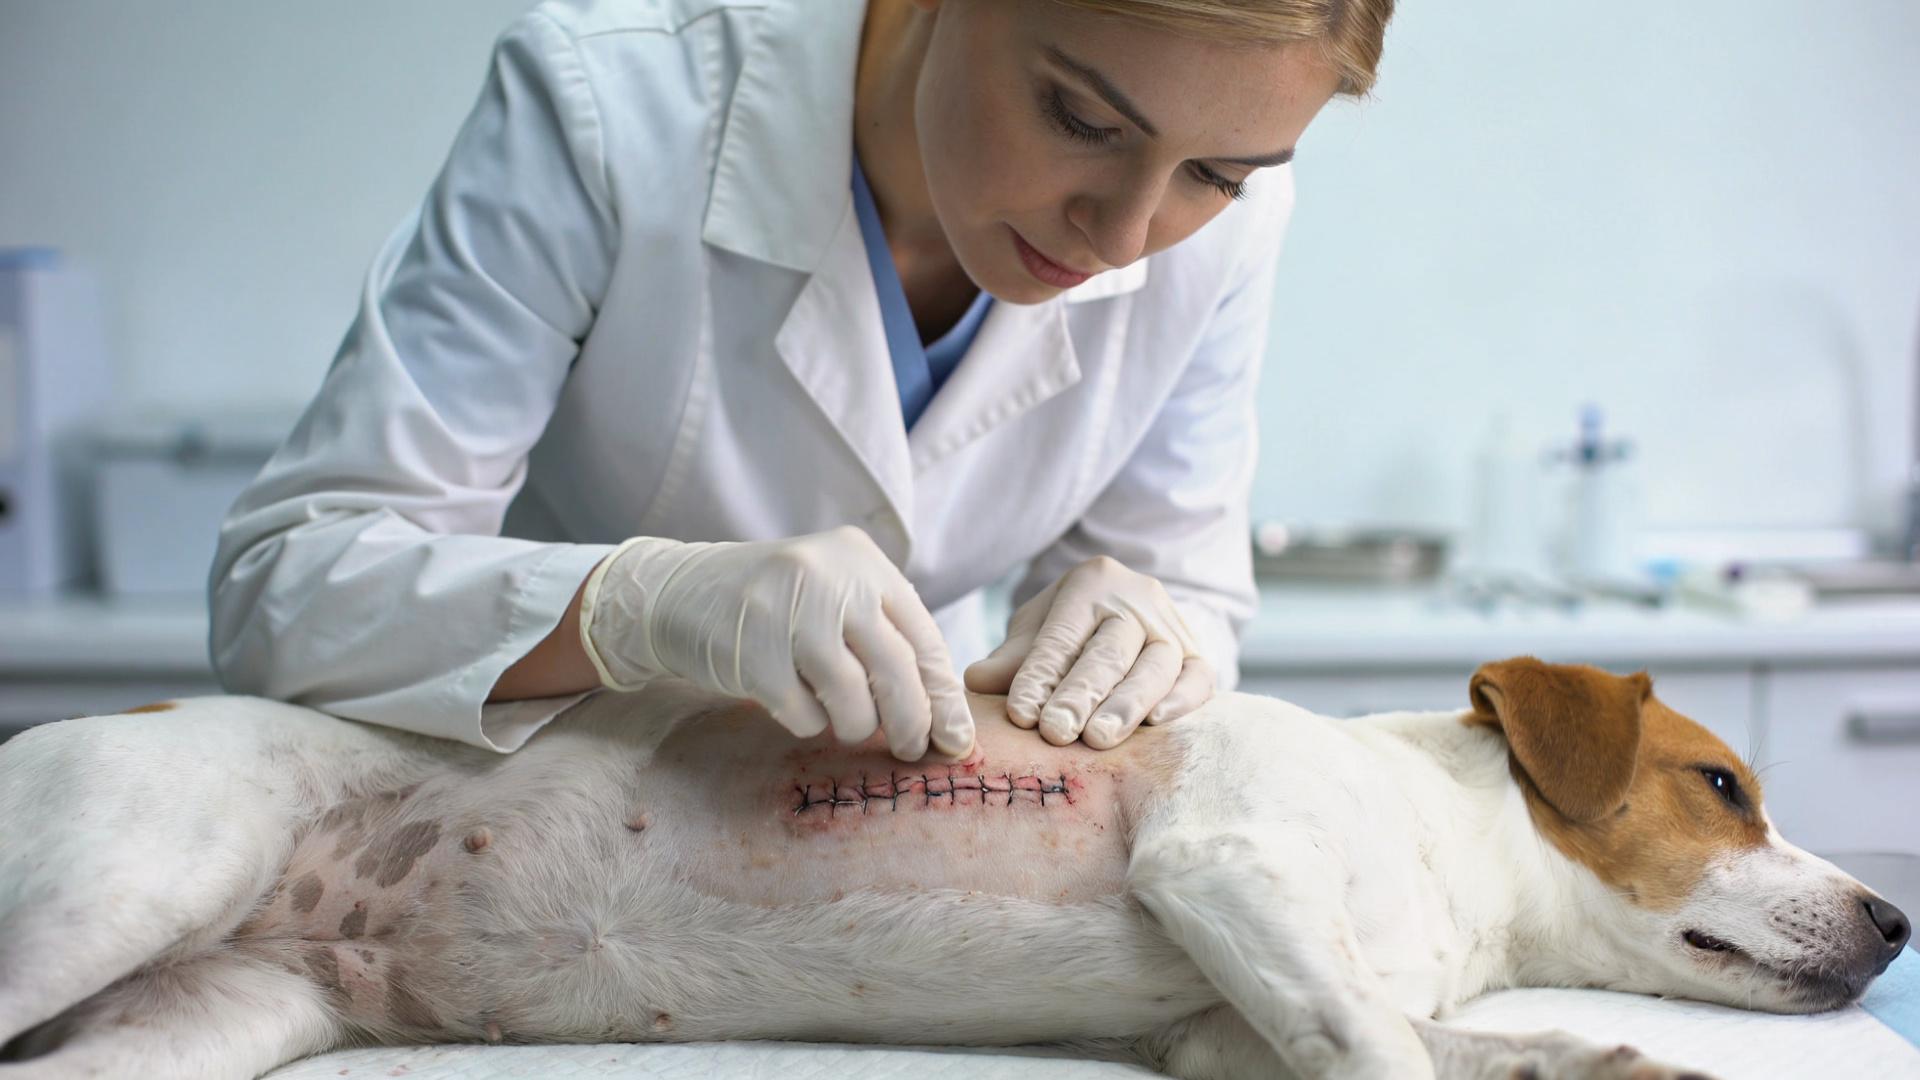
- Look for:
- Normal Healing: A clean, dry, slightly pinkish line that is gradually becoming less prominent.
- Warning Signs: Significant redness, swelling, yellow/green discharge, a foul odor, gaping of the wound, or continuous bleeding.
- Do Not Clean the Wound unless your vet has given you specific antiseptic and instructions. Over-cleaning can disrupt healing.
- Within 2-3 minutes, secure the clean, dry collar back on your dog. This routine, done every 1-2 days, maintains hygiene without compromising safety.

💝 Final Recommendations for a Smooth and Successful Recovery
Your diligent care during this 10-14 day period is the greatest gift you can give your healing friend. Persistence with the Elizabethan collar is the cornerstone of post-sterilization wound care. Remember:
1. Consistency is Key: No "just for a minute" breaks.
2. Comfort is a Priority: A well-fitted, clean collar is more tolerable.
3. You Are the Advocate: If you have concerns about the fit, your dog's extreme distress, or the wound's appearance, contact your veterinarian immediately. Do not wait.
4. The Light at the End of the Tunnel: When your vet finally says the cone can come off for good, celebrate with a gentle brush, a favorite activity, and the satisfaction of knowing you expertly guided your canine companion through a critical phase of their health journey.