As our beloved canine companions enter their golden years, we witness a gentle shift in their needs. One of the most common, yet often daunting, changes for pet parents is the transformation of their dog's nails. What was once a routine grooming task can become a significant challenge. Thickened, hard, and sometimes overgrown nails are not just a Grooming issue; they can affect your dog's posture, comfort, and mobility. The mission, therefore, evolves from simple trimming to a careful, patient process of safe nail reduction. This guide is dedicated to helping you navigate this task with confidence, with the cardinal rule always in mind: Avoid compressing the nail bed.
🦴 Understanding the Problem: Why Do Older Dog Nails Thicken?
The nails of a senior dog are a world apart from those of a spry puppy. This transformation isn't arbitrary; it's a result of physiological changes tied to aging. Understanding the "why" is the first step to mastering the "how."
The Anatomy of Aging Nails
In a younger, active dog, nails are naturally worn down on pavement or hard surfaces. As activity levels decrease due to arthritis or general aging, this natural filing ceases. The keratin—the protein that makes up the nail—continues to be produced, leading to overgrowth. Over time, this overgrown keratin can become denser and more brittle.
More critically, the quick—the living, sensitive tissue containing blood vessels and nerves—lengthens along with the nail. In an overgrown nail, the quick may extend far closer to the tip than you'd expect. This makes the already tricky task of avoiding the quick even more perilous with a thickened nail that obscures visibility.
Contributing Health Factors
Thickening can also be influenced by underlying conditions. Reduced circulation, hormonal imbalances, or certain metabolic issues can alter nail growth and texture. Nails may become dry, crumbly, or develop a rough, gnarled appearance. This is why a sudden change in your dog's nails should always prompt a veterinary check-up to rule out systemic health concerns.
🛠️ Essential Tools for the Job: Your Grooming Arsenal
Attempting this task with inadequate tools is a recipe for stress and potential injury. The right equipment provides control, precision, and safety.
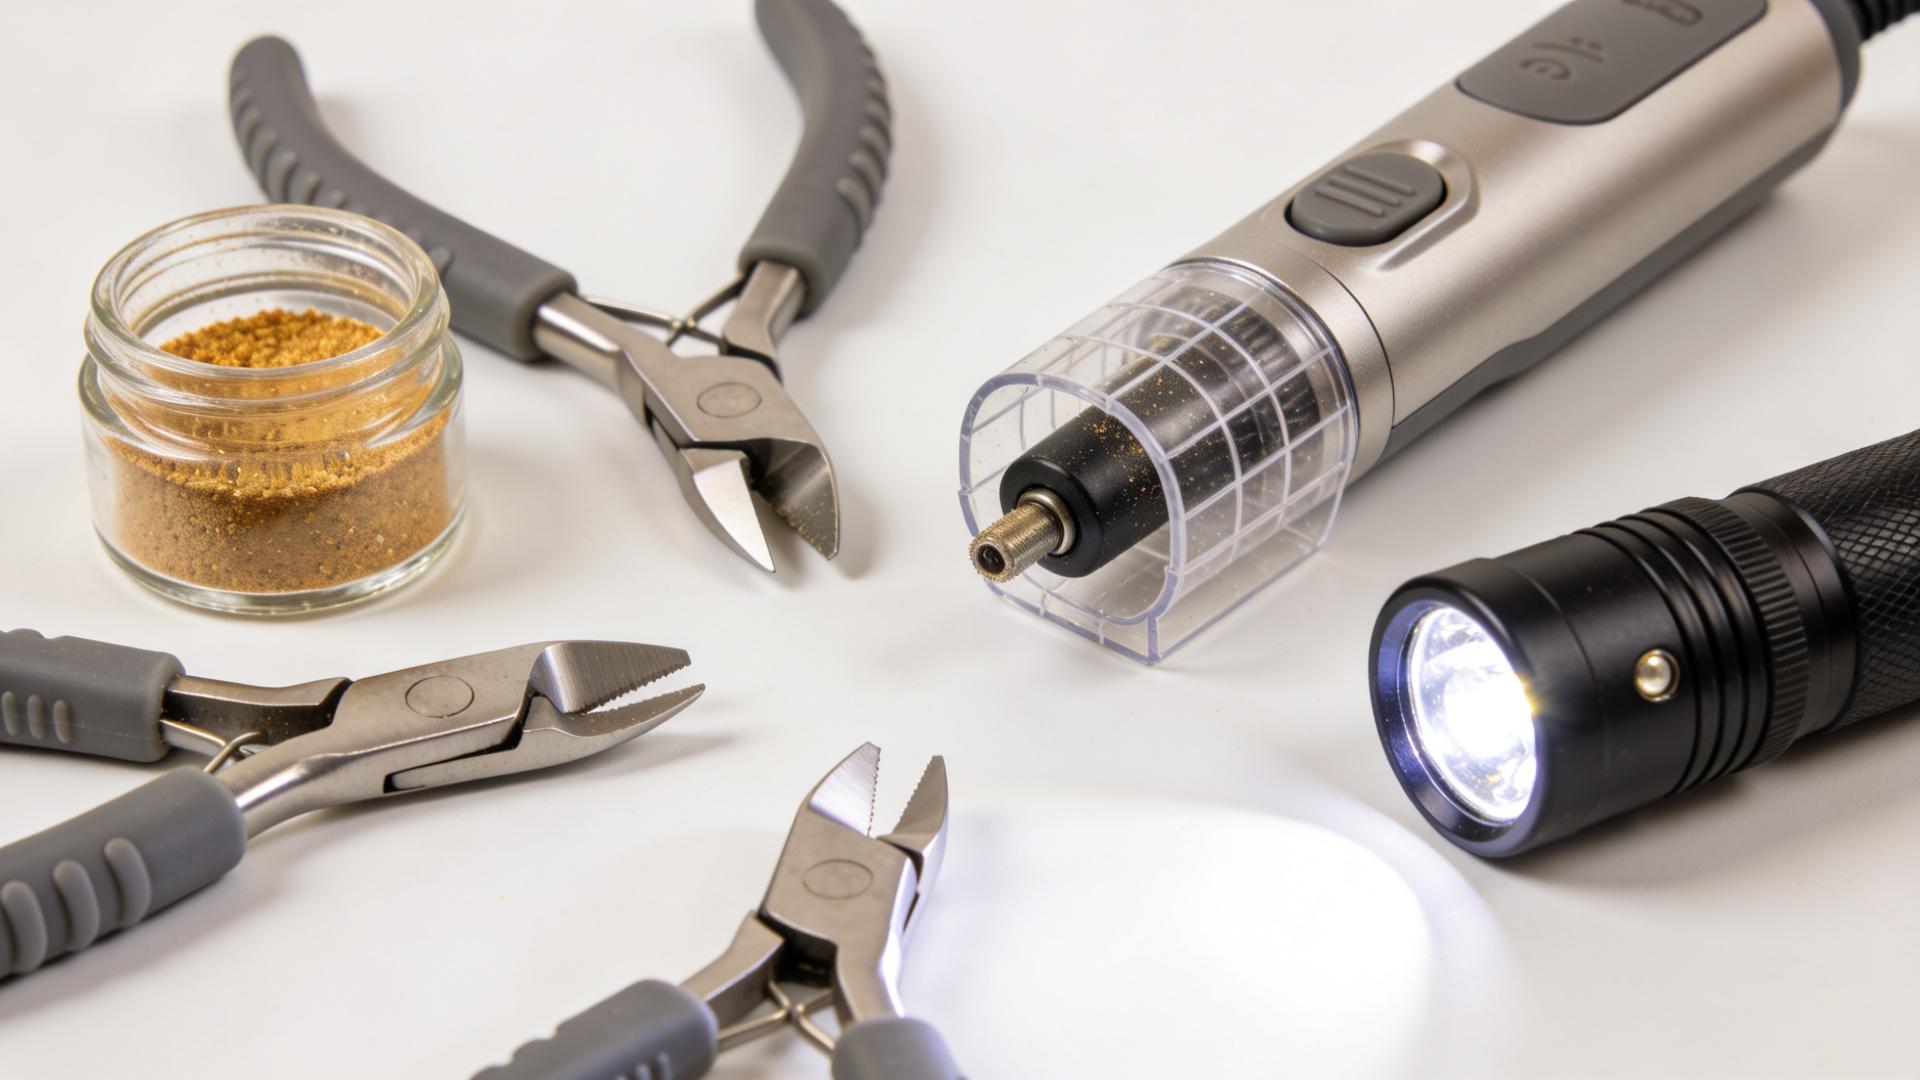
- High-Quality Clippers: Dull clippers crush and splinter. Opt for a sharp, guillotine-style trimmer for straight-across cuts on large nails, or a sturdy scissor-style trimmer with strong blades designed for hard nails. Your clippers must be capable of making a clean, decisive cut.
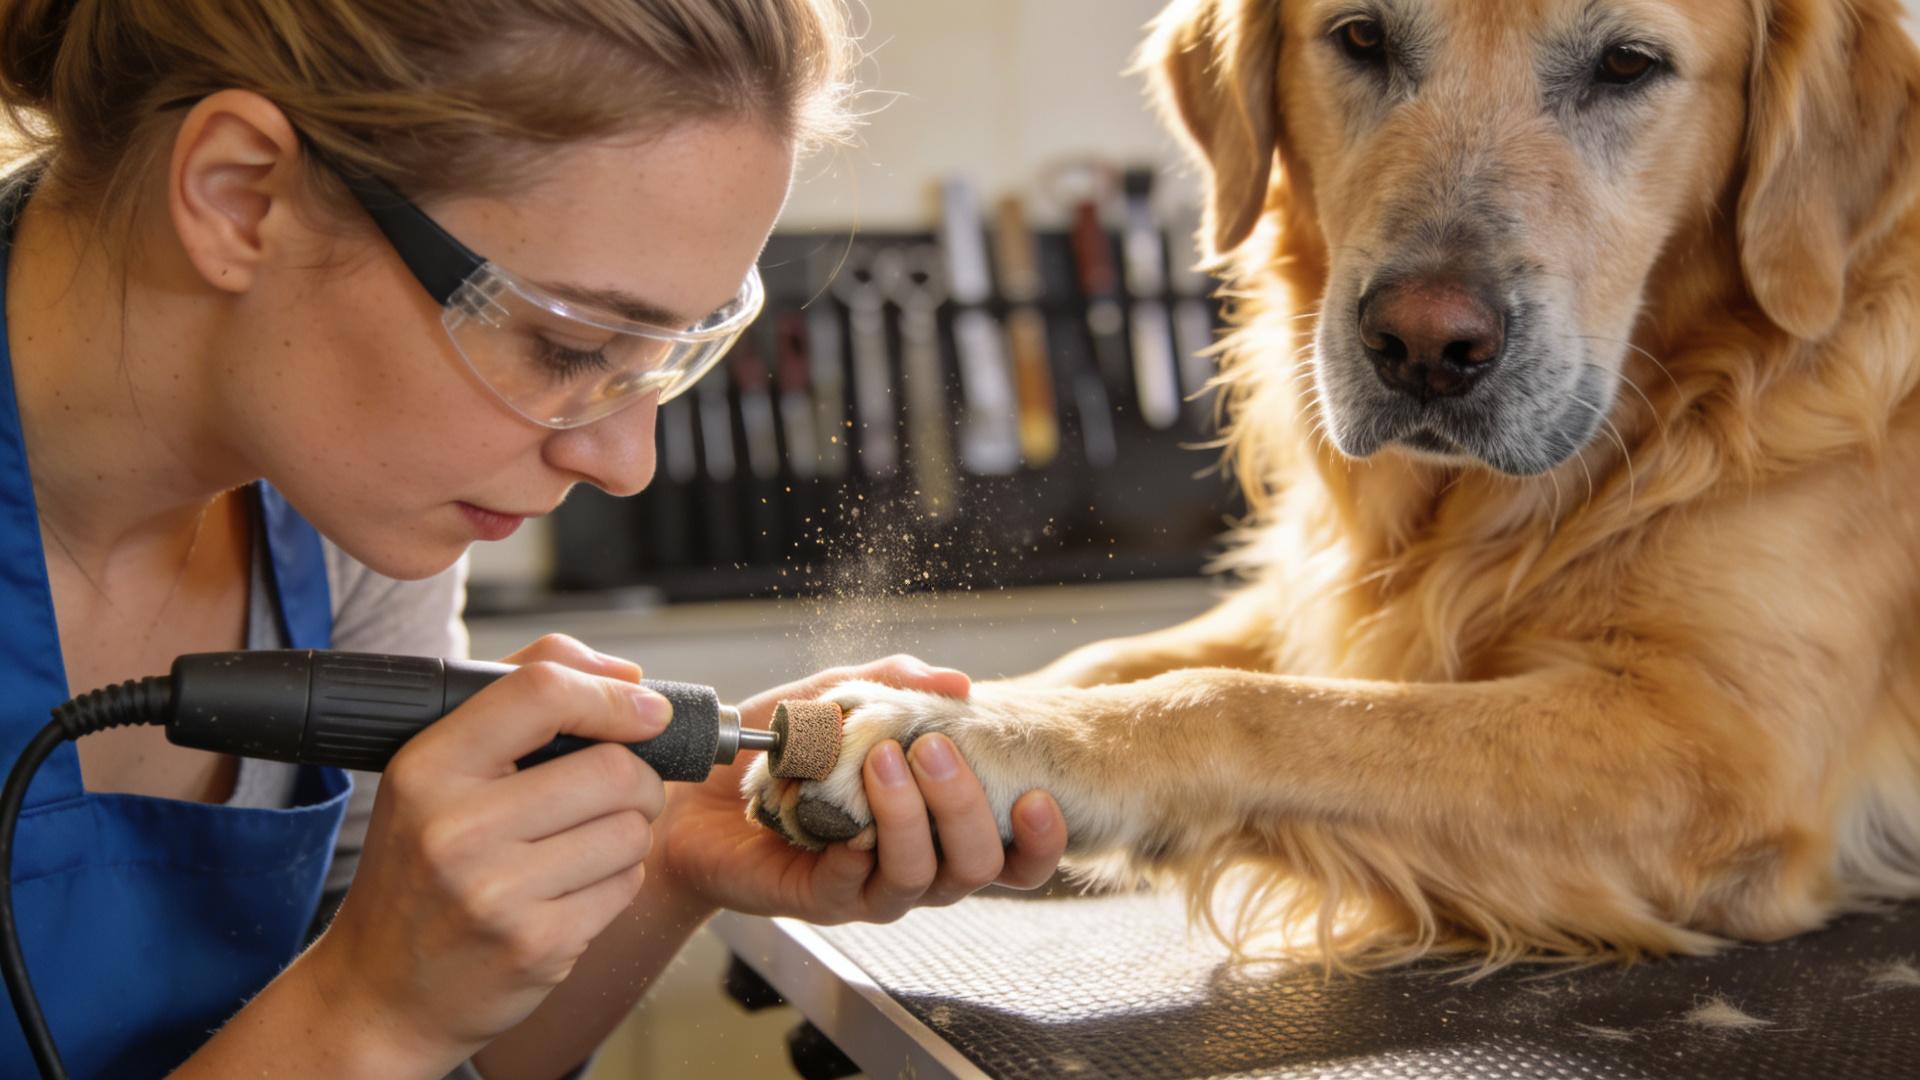
- Rotary Grinder/Dremel: This tool is a game-changer for thickened nails. Instead of cutting, it sands the nail down incrementally. This allows for unparalleled control in reducing thickness and shaping without the risk of a crushing motion. Look for a pet-specific model with variable speed and quiet operation.
- Styptic Powder or Gel: Non-negotiable. Having a quick-clotting agent on hand provides immediate solution if you accidentally nick the quick. It stops bleeding and discomfort rapidly.
- Bright Light & Magnifier (Optional): A headlamp or bright desk lamp is invaluable. For very dark nails, a magnifying glass can help you spot the subtle pulp cavity as you grind.
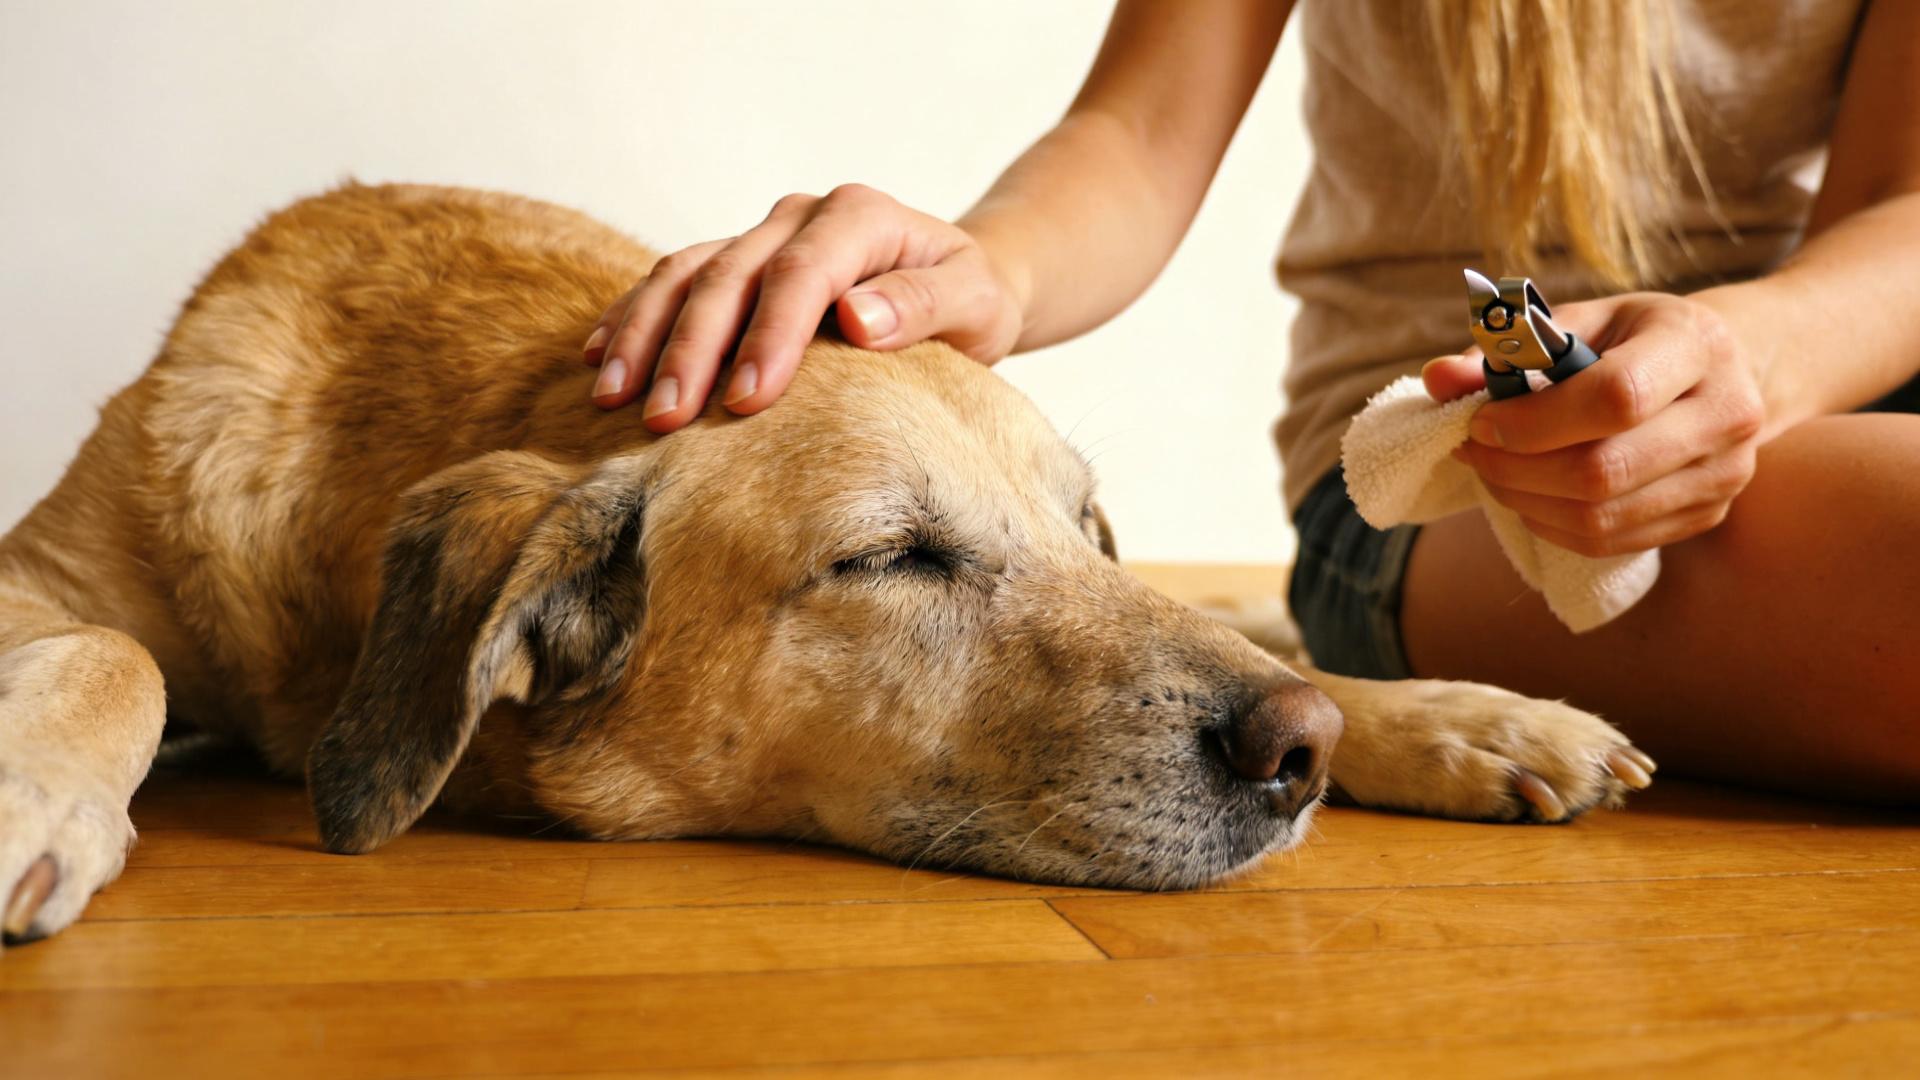
🧘 Preparation is Key: Setting the Stage for Success
The battle is half-won before you even touch a nail. A stressed dog and a hurried owner are the primary causes of grooming accidents.
Create a Calm Environment: Choose a quiet, familiar room. Place your dog on a non-slip surface like a yoga mat. If your dog is anxious, consider using an adaptil diffuser or playing soft music.
Acclimate and Desensitize: For dogs unfamiliar with handling or the grinder's sound, spend days or weeks on positive association. Touch the paws, offer a treat. Turn the grinder on at a distance, offer a treat. Progress slowly until you can touch the tool to a nail briefly.
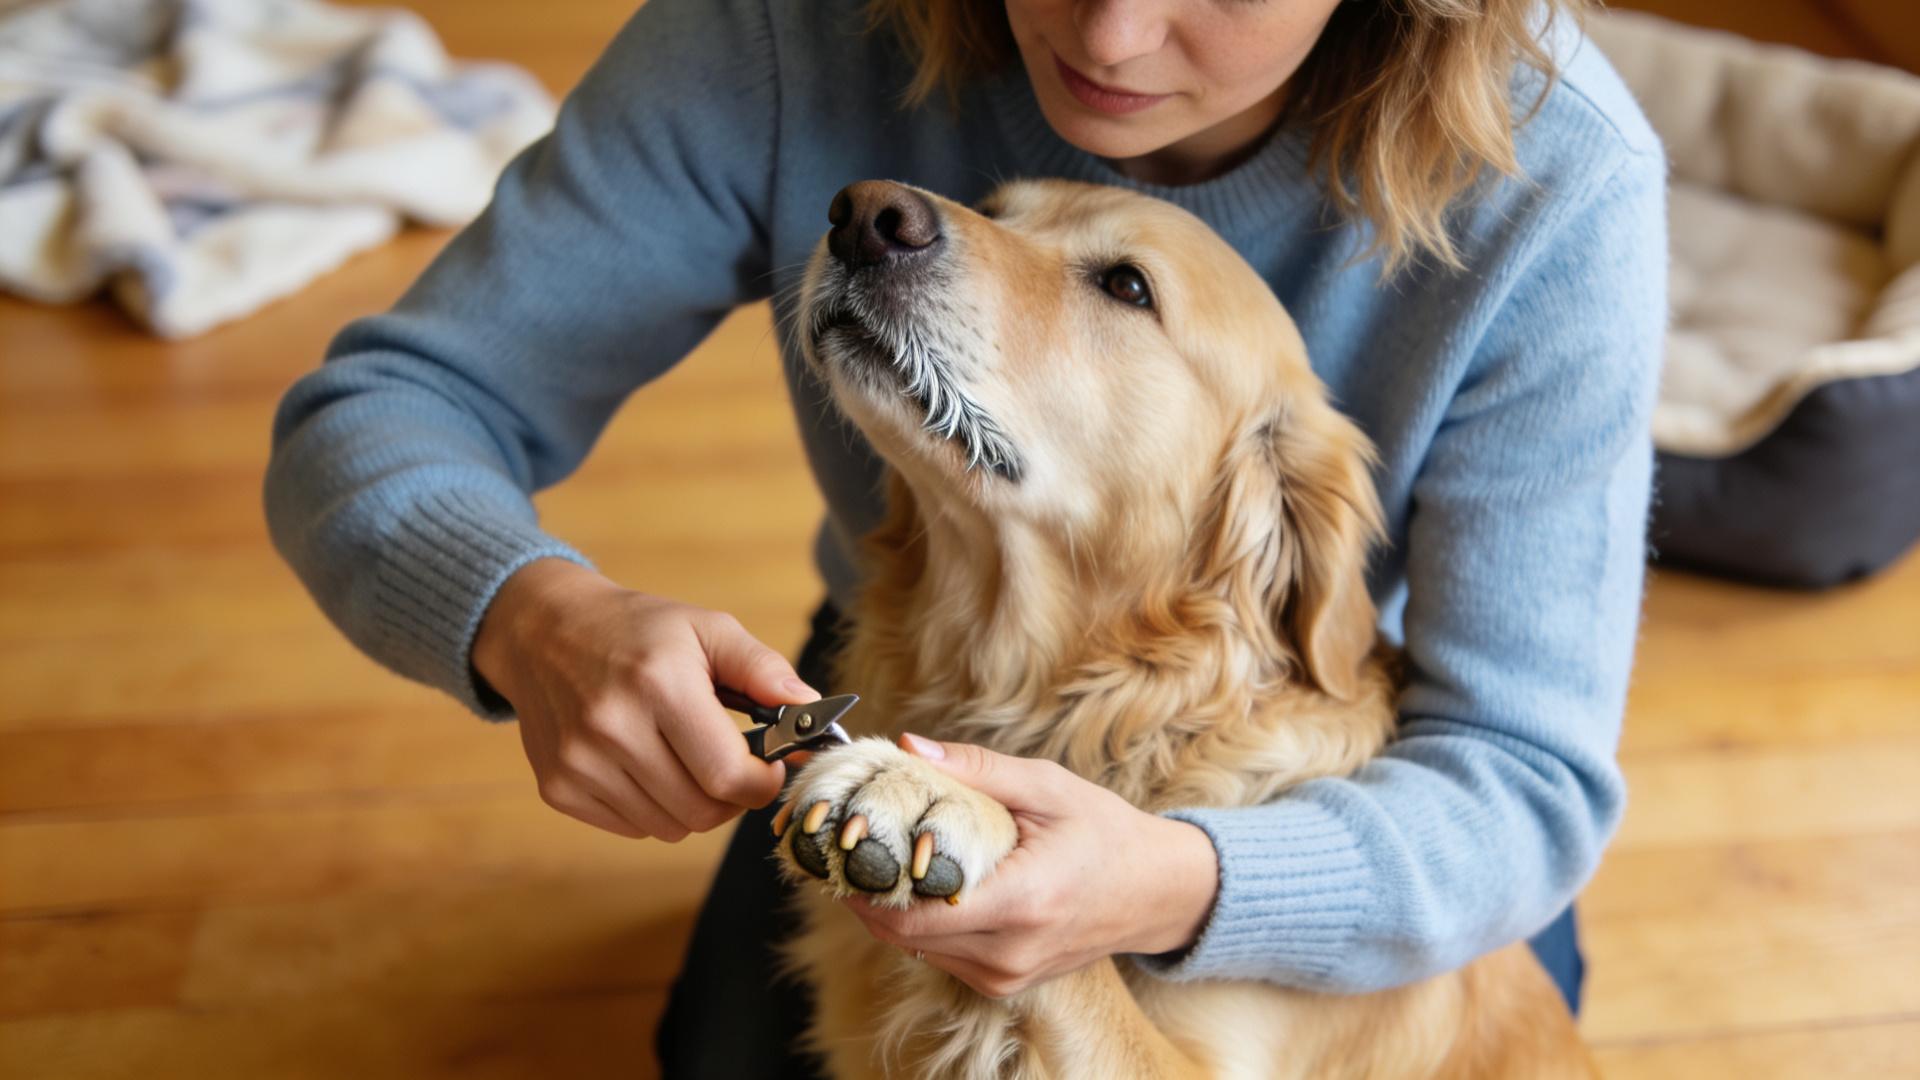
Positioning is Everything: Ensure both you and your dog are comfortable. You might need to sit on the floor with a large dog or have a smaller dog on a stable table. The goal is to have the paw held firmly but gently, with clear access to each nail.
📝 Step-by-Step Guide to Safe Trimming & Grinding
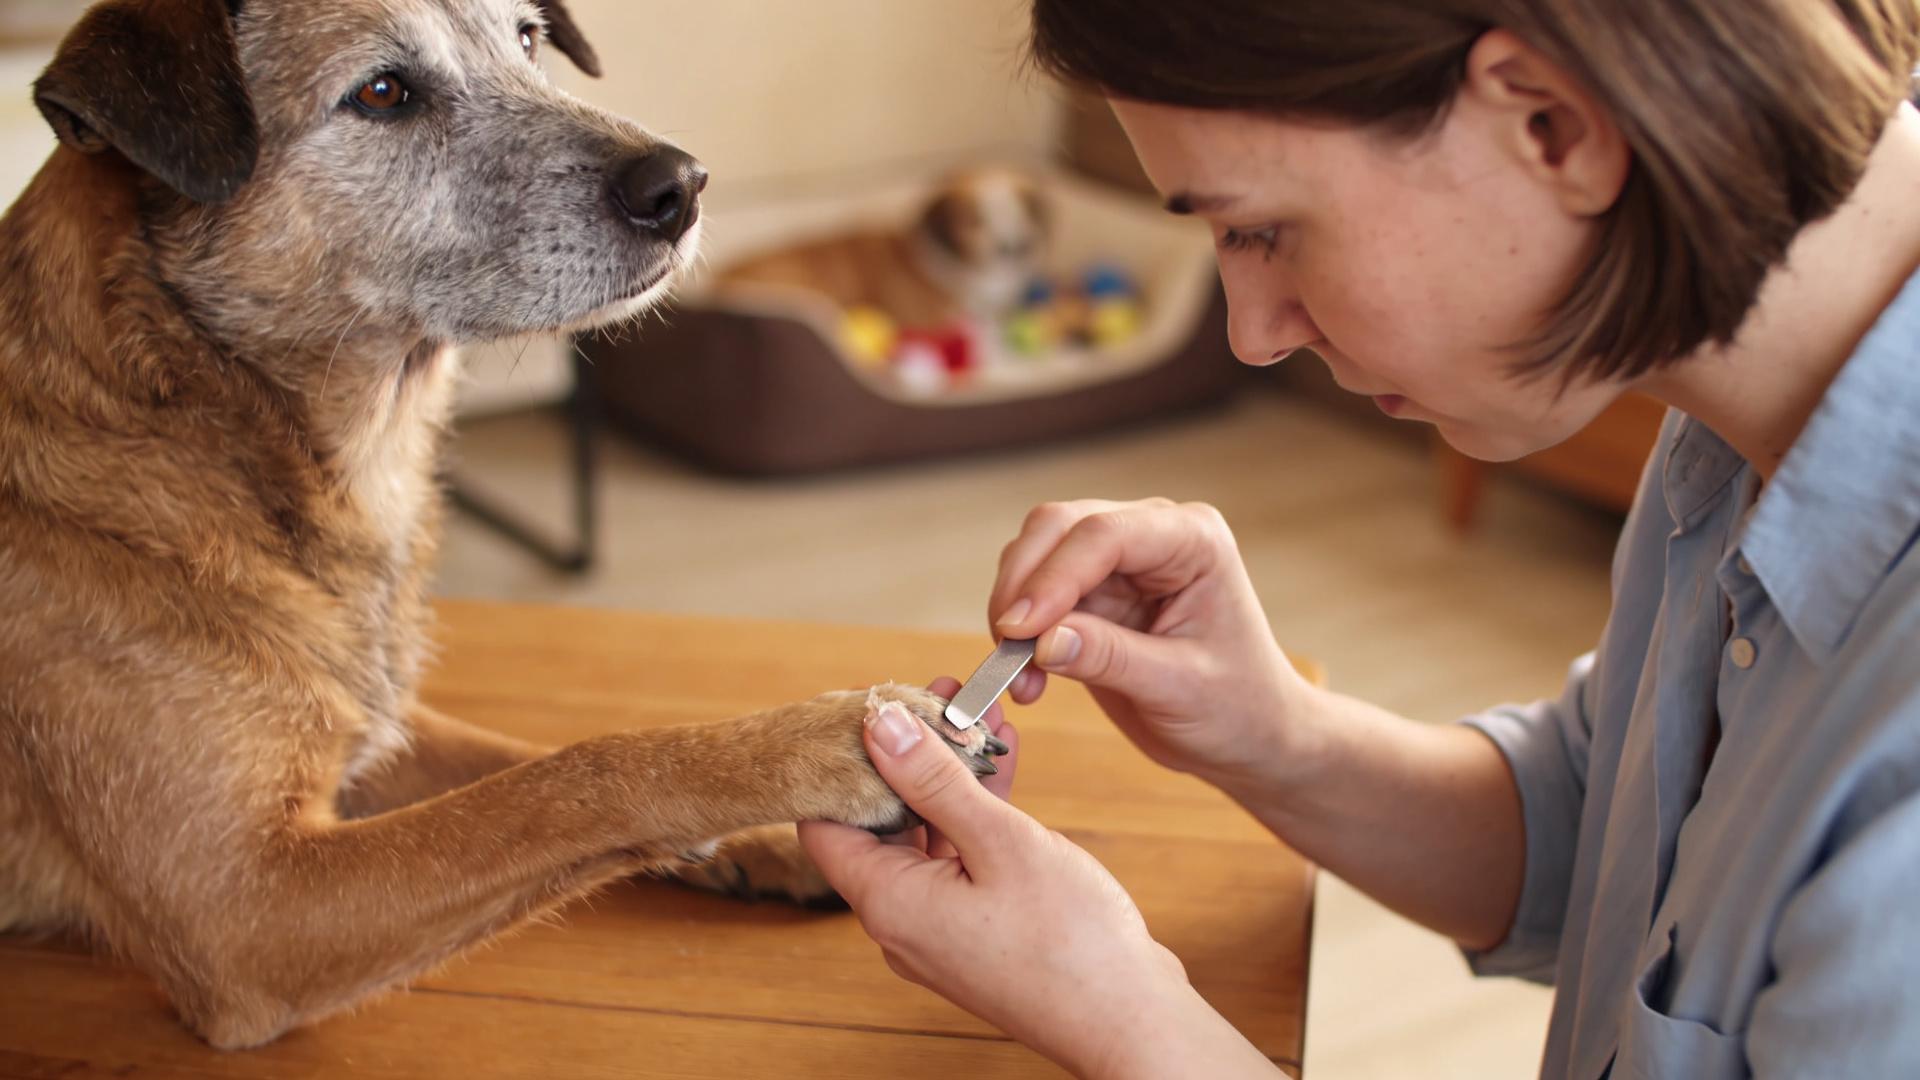
1. Initial Assessment and Hold
Gently take the paw. Isolate one toe at a time. Examine the nail from all angles—side and underside—to gauge its thickness and look for any visual cues. In light-colored nails, look for the pink quick and the chalky white section in front of it. In black nails, this is invisible, demanding extra caution.
2. The Incremental Reduction Method (Using Clippers)
Do NOT place the clippers at your desired length and squeeze. This is the "crush-cut" and is the primary cause of nail bed compression and pain.
- Start at the very tip of the overgrown nail.
- Make a small, angled cut (angling the clippers slightly downward, following the nail's natural curve).
- Look at the fresh cut. You will see a solid, grayish/white area.
- Move a millimeter back, make another tiny cut. Repeat this process.
- As you approach the quick, the center of the nail's cross-section will change. It may become darker, look softer, or show a faint pinkish or black dot (the pulp cavity). STOP IMMEDIATELY. This is your stopping point.
3. Managing Extreme Thickness: De-Bulking First
For massively thickened nails, shortening is a two-step process. Before attempting to shorten, you must reduce the nail's diameter.
- Using your clippers, carefully shave off thin slivers from the top or sides of the nail tip. Imagine whittling a stick.
- Alternatively, this is where the grinder excels. Use it to sand down the thickness from the top and sides of the overgrown section, creating a narrower profile before you start shortening from the tip.
4. The Grinder Technique: Patience and Pulse
If using a grinder, hold the tool steady and apply it to the nail tip in very brief, 1-2 second bursts.
- Check for Heat Constantly: The friction can generate heat. After every few touches, feel the nail with your finger. If it's warm, stop and move to another nail. Heat is painful.
- Grind a little, then look. You are searching for the same visual endpoint as with clippers—the appearance of the darker, softer pulp cavity.
- Use the grinder to round off sharp edges after shortening for a smooth finish.
🚨 Final Shaping and Troubleshooting
If a Nail Crumbles or Splinters
Do not panic and do not force a cut. A brittle nail that starts to crumble is telling you it cannot withstand shear force. Switch immediately to the grinder. Use it to gently smooth and even out the fractured area. The goal is damage control, not achieving a perfect length in that session.
If You Hit the Quick
- Stay Calm: Your dog will react to your energy. A calm voice soothes.
- Apply Direct Pressure: Immediately press a pinch of styptic powder directly onto the bleeding tip and hold for 30-60 seconds.
- Comfort and Reward: Once the bleeding stops, offer lavish praise and a high-value treat. You want to end the session on as positive a note as possible, despite the mishap.
Special Reminder for Dogs with Health Conditions
For dogs with liver disease, diabetes, or hormonal issues like Cushing's disease, nails can become exceptionally dry and brittle. Extra gentleness and even more incremental reduction are crucial. Consult your vet for condition-specific advice.
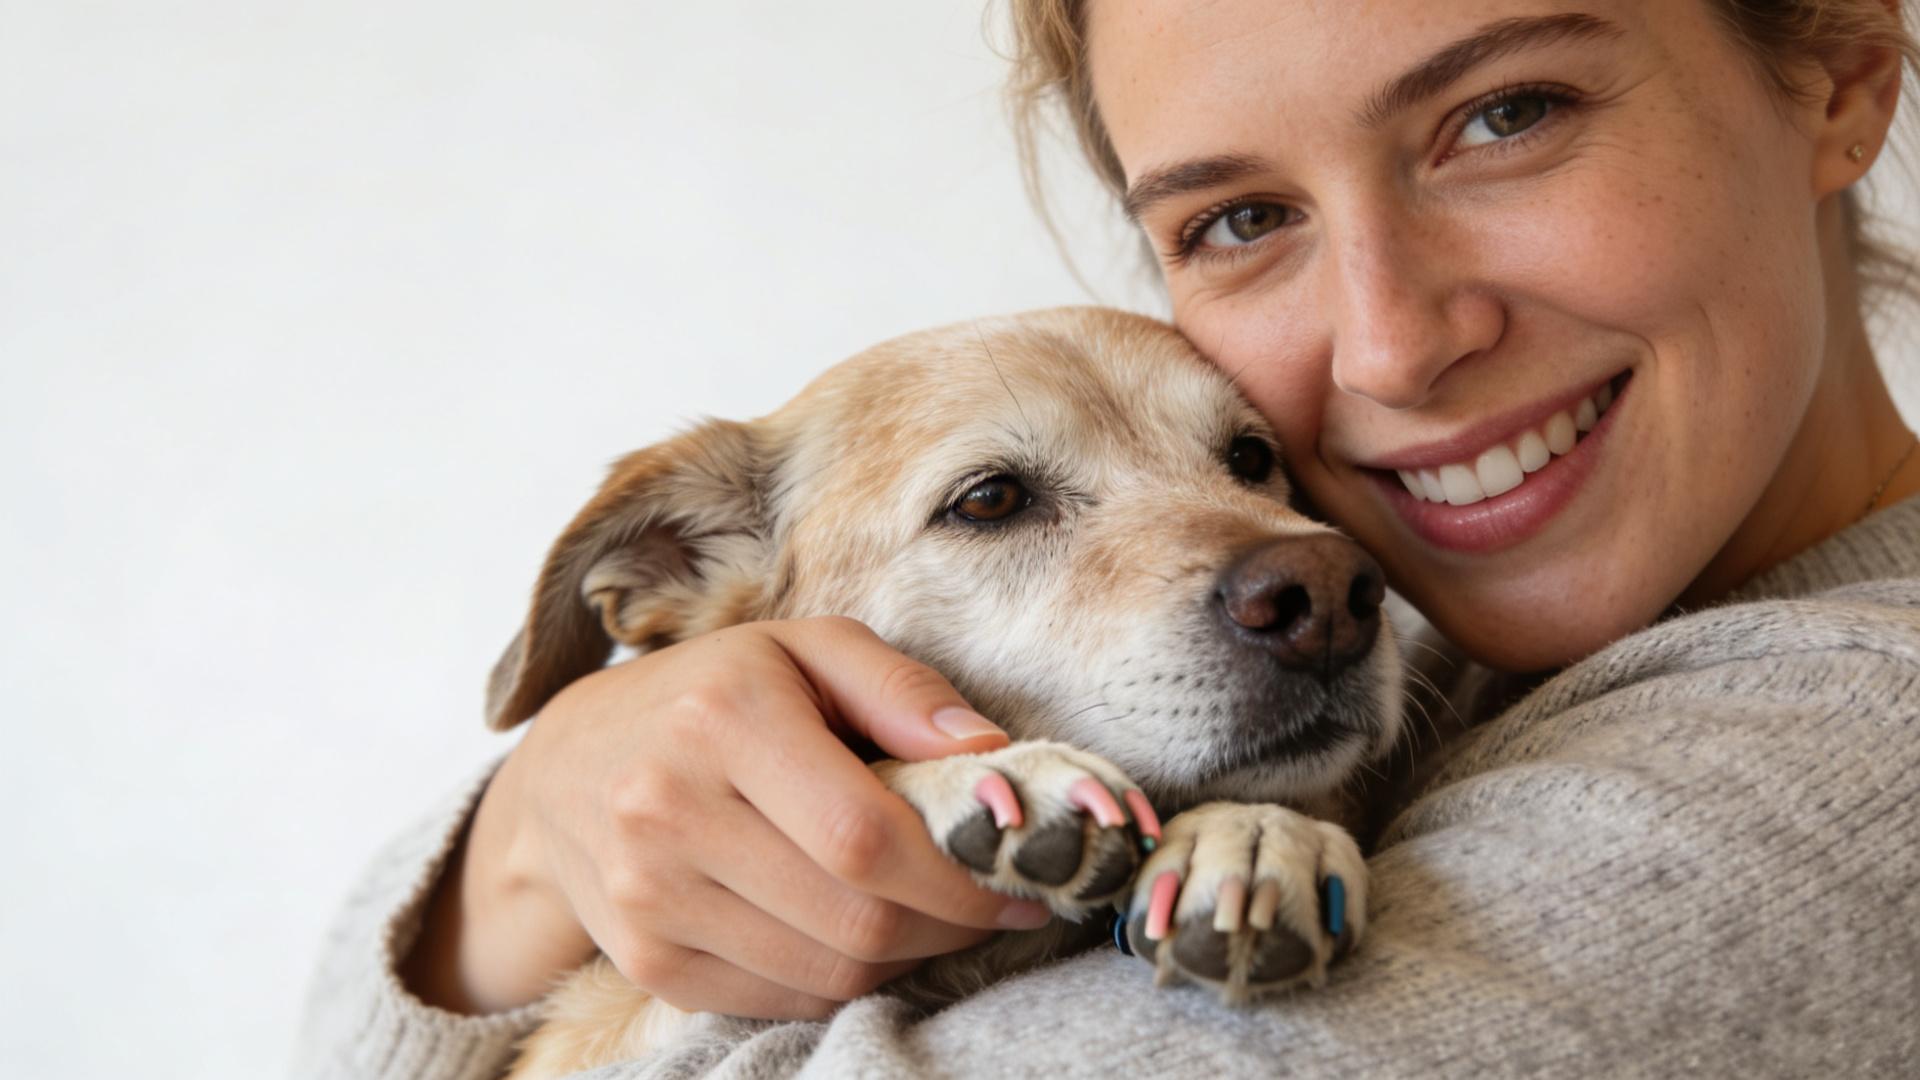
💖 Conclusion: The Ultimate Measure of Success
Trimming the thickened nails of your older dog is an act of care that goes beyond grooming. It is a practice in patience, observation, and trust-building. By prioritizing tiny increments, using the right tools, and vigilantly avoiding the crushing pressure that compresses the sensitive nail bed, you safeguard your dog's comfort and well-being. Remember, success is not measured by how short you get the nails in one session, but by maintaining your dog's trust and ensuring their continued comfort in their golden years. When in doubt, less is more, and seeking help from a professional groomer or veterinarian is always a wise choice.