Welcome to the Precision Cutting Series, your definitive guide to transforming your grooming from a simple tidy-up to a work of art. This series is built on a non-negotiable foundation: safety, patience, and the dog's comfort are always the first steps before any blade or scissor touches coat. Our goal is to empower you, whether you're a dedicated pet owner or an aspiring groomer, with the technique-first knowledge used in professional dog grooming and show dog grooming circles.
In this first installment, we tackle the single most transformative skill for achieving a natural, polished look: layering and blending with thinning shears. This technique is the secret to erasing harsh lines, creating smooth transitions, and giving that "born-with-it" finish, whether you're working on a precision poodle cut or simply softening a pet trim.
🛠️ The Purpose and Outcome: Why Master This?
The purpose of layering and blending is to seamlessly merge hair of different lengths, removing scissor marks and clipper lines to create a cohesive, flowing appearance. Unlike straight shears that cut a solid line, thinning shears remove selective hair, allowing you to graduate length without obvious steps. The outcome is a dog that looks professionally finished, not "hacked at." It enhances comfort by preventing heavy, blunt edges and is crucial for blending and finishing dog coat on areas like the neck, hips, and legs.
Prerequisites: Gearing Up for Success
Before you begin, ensure you have the right tools and context for practice.
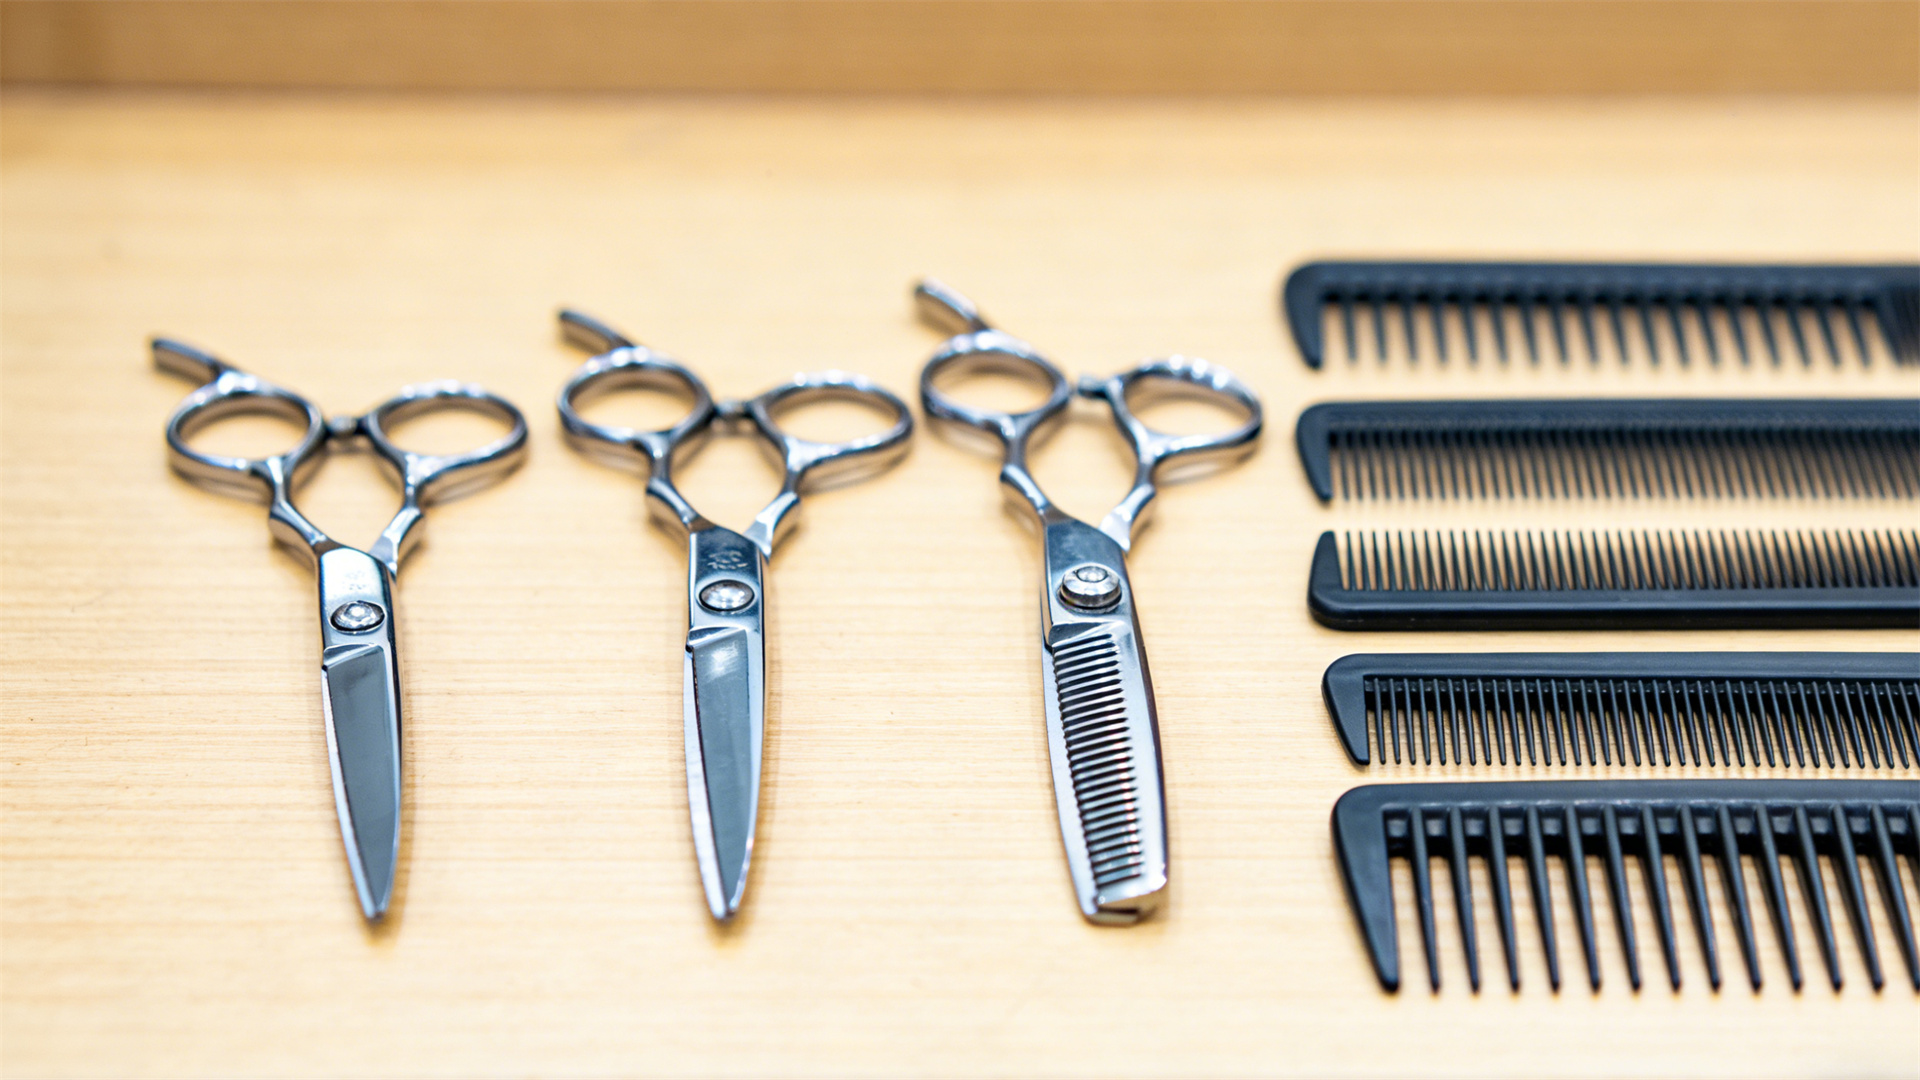
- Required Tools:
- Thinning Shears (40-50 teeth): The higher the tooth count, the smoother the blend. A 45-tooth shear is an excellent all-purpose tool for precision dog grooming. Invest in quality—it's the difference between blending and shredding the coat.
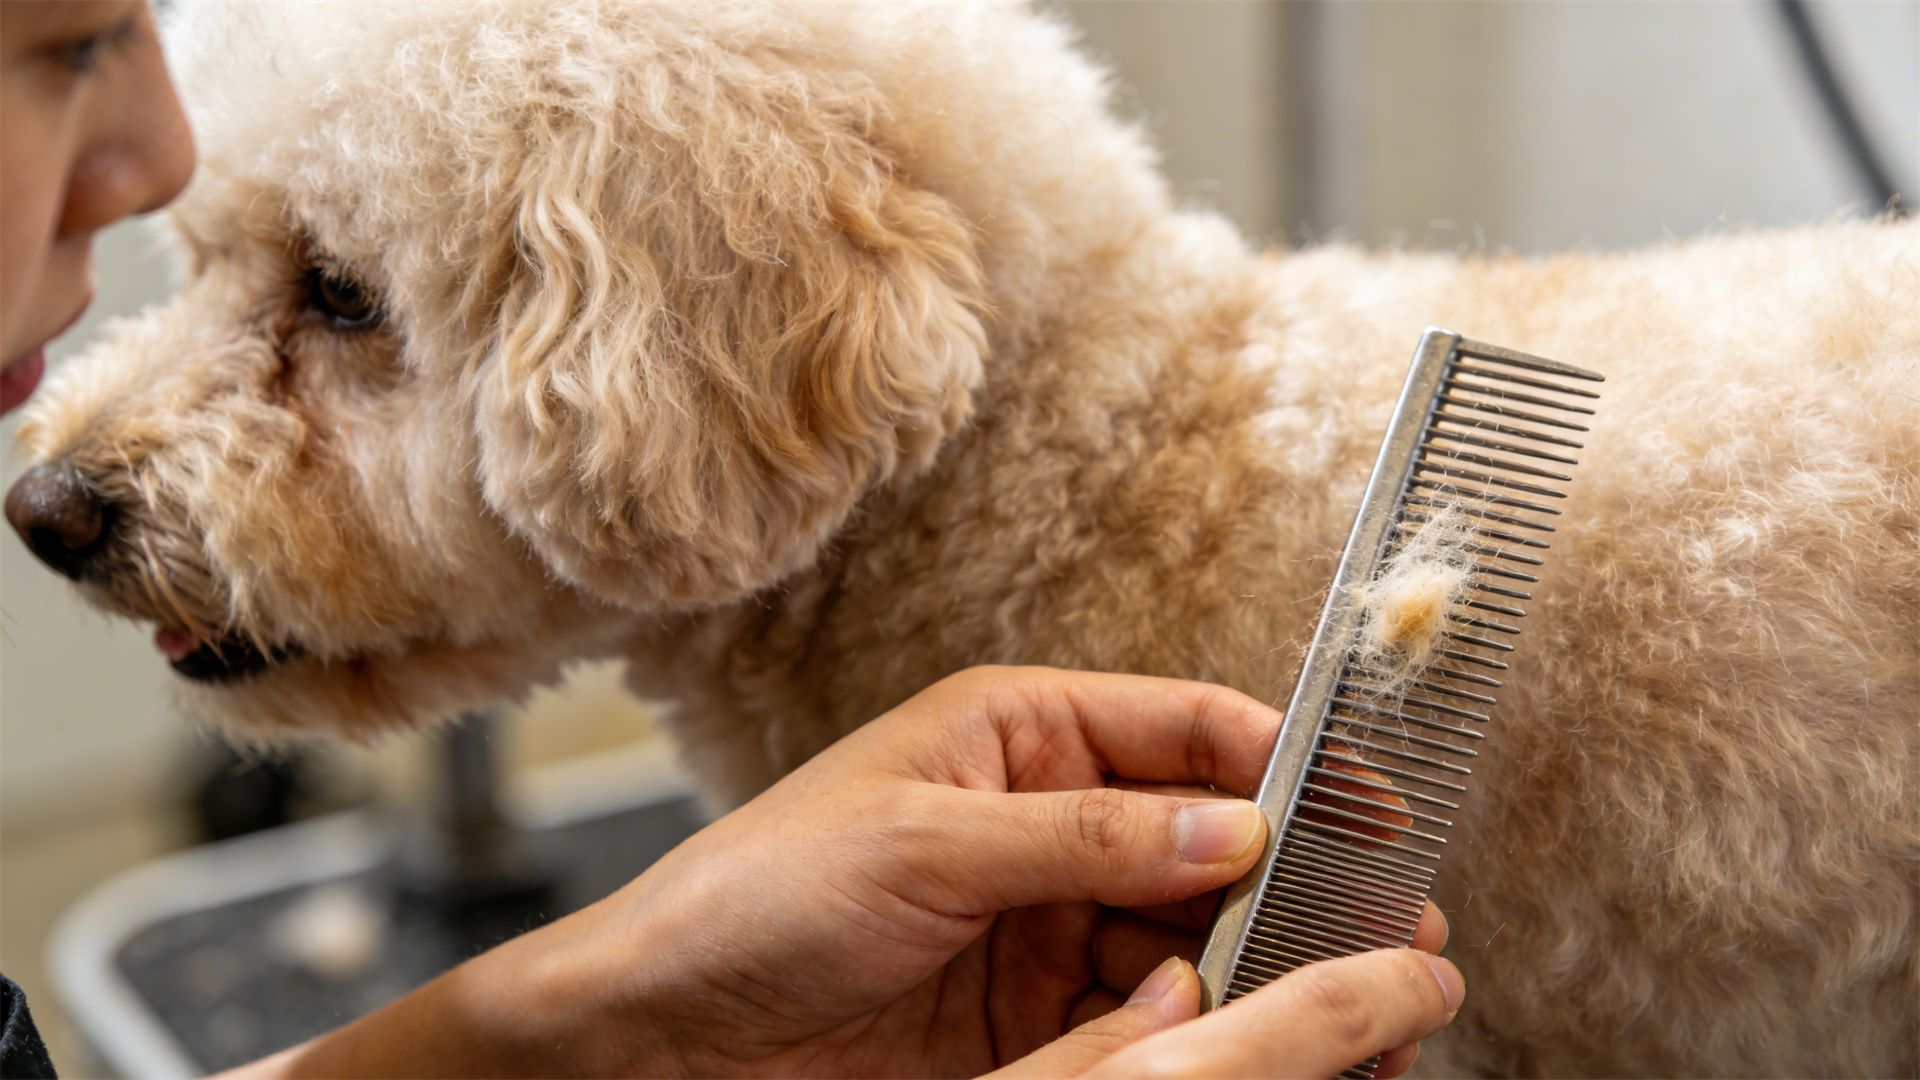
- Slicker Brush and Comb: The coat must be perfectly tangle-free and dry before using thinning shears.
- Straight Shears (for preliminary shaping): Thinning shears are for finishing, not for bulk removal.
- Prior Skills: You should be comfortable holding and operating both straight and thinning shears without straining your hand. Confidence in basic brushing and combing is a must.
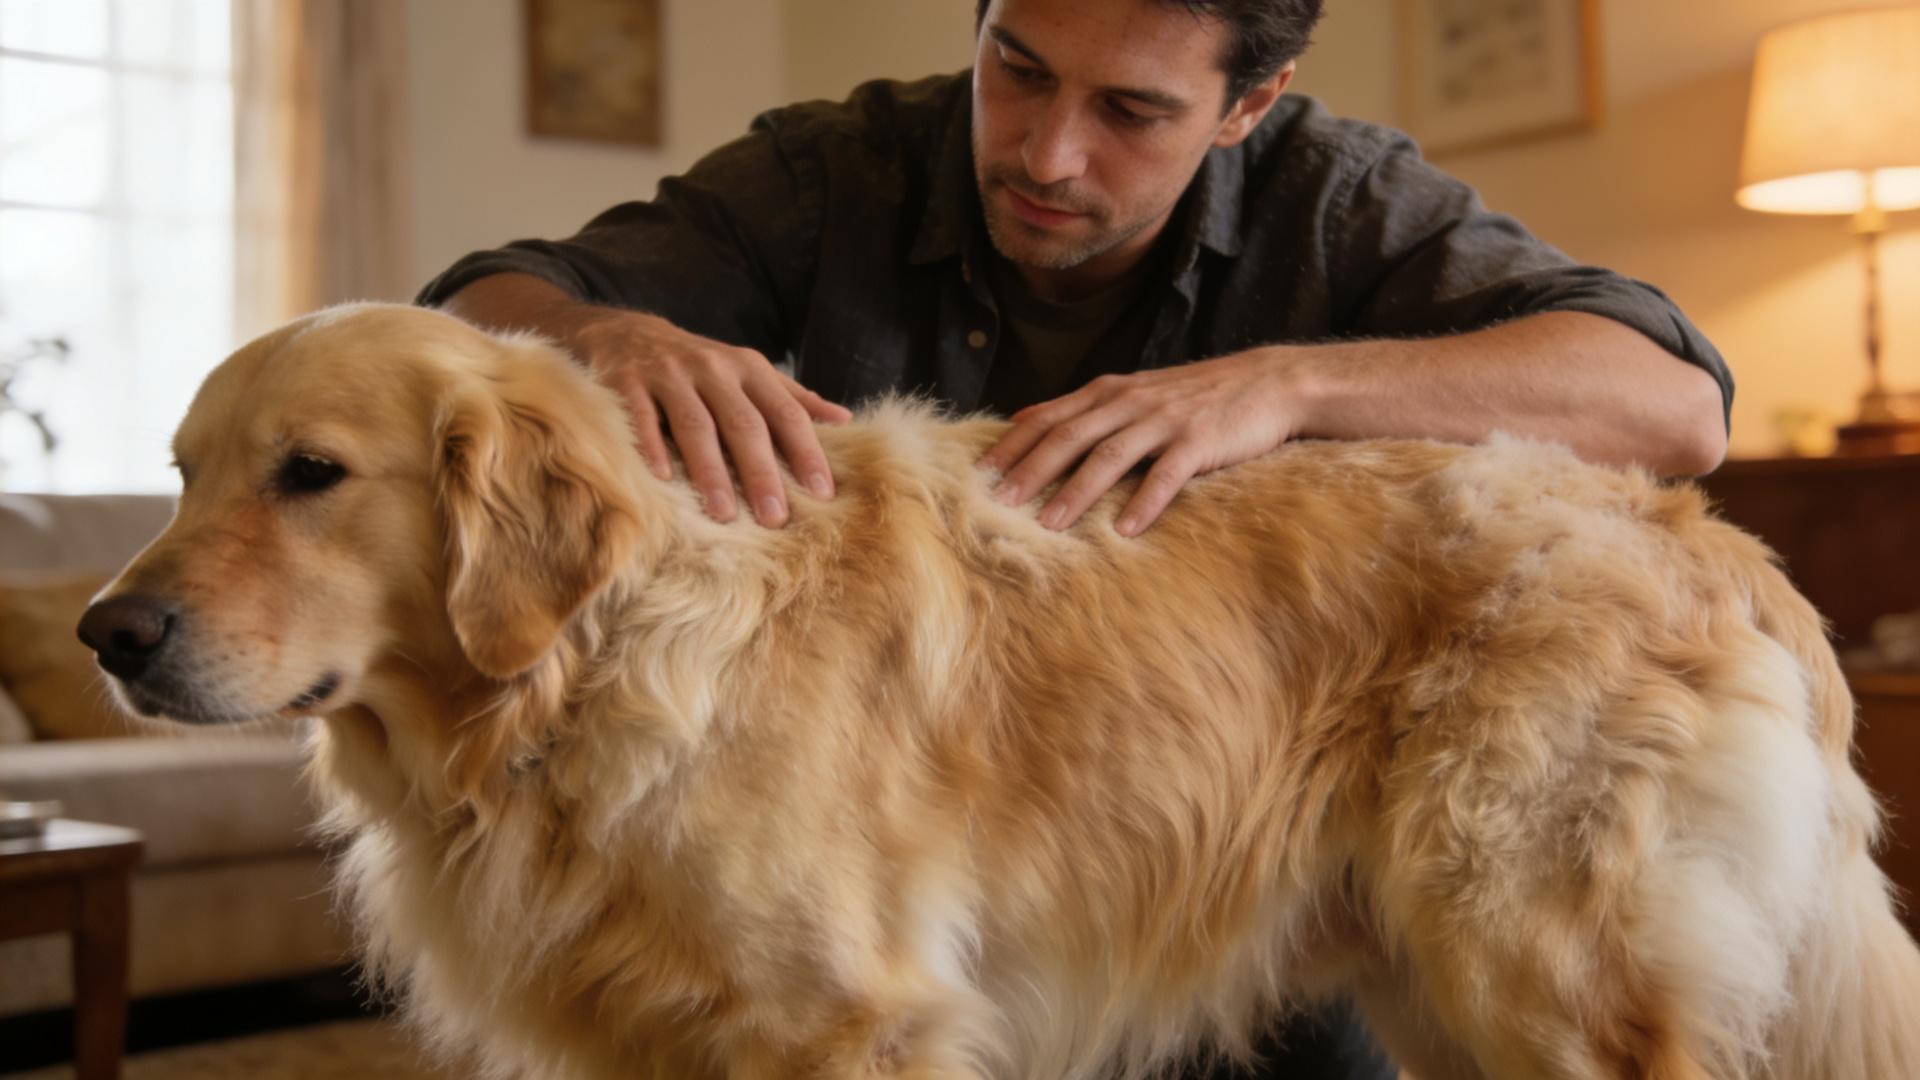
- Ideal Coat Type for Practice: Start on a dog with a medium-length, double coat (like a Golden Retriever, Australian Shepherd, or a mixed breed with similar coat). Avoid practicing on short, single coats (like a Boxer) or severely matted coats.
🐕 Safety and Comfort Check: The Non-Negotiables
Precision cannot exist in a chaotic or stressful environment. This section is mandatory for every technique in this series.
- Restraint & Positioning: Use a secure, non-slip grooming table with a groomer's loop adjusted for safety—snug but not tight. Position the dog so the area you're working on is easily accessible without you twisting your back.
- Environmental Setup: Good, overhead lighting is critical to see lines and coat layers. Ensure your space is quiet and calm.
- Monitoring Canine Stress: Constantly watch for signs of stress: panting, shaking, lip-licking, whale eye (showing the whites of the eyes), or trying to move away. If you see these, stop, reassure, and take a break. Forcing a cut is never an option.
Step-by-Step Breakdown: The Art of the Invisible Blend
Follow these steps to master the hand motion. We'll use the common scenario of blending a shorter clipped body into a longer, scissored leg.
- Establish Your Guide: First, use your straight shears to create a clean, but slightly blunt line where the two lengths meet. This is your starting point. Brush the coat thoroughly.
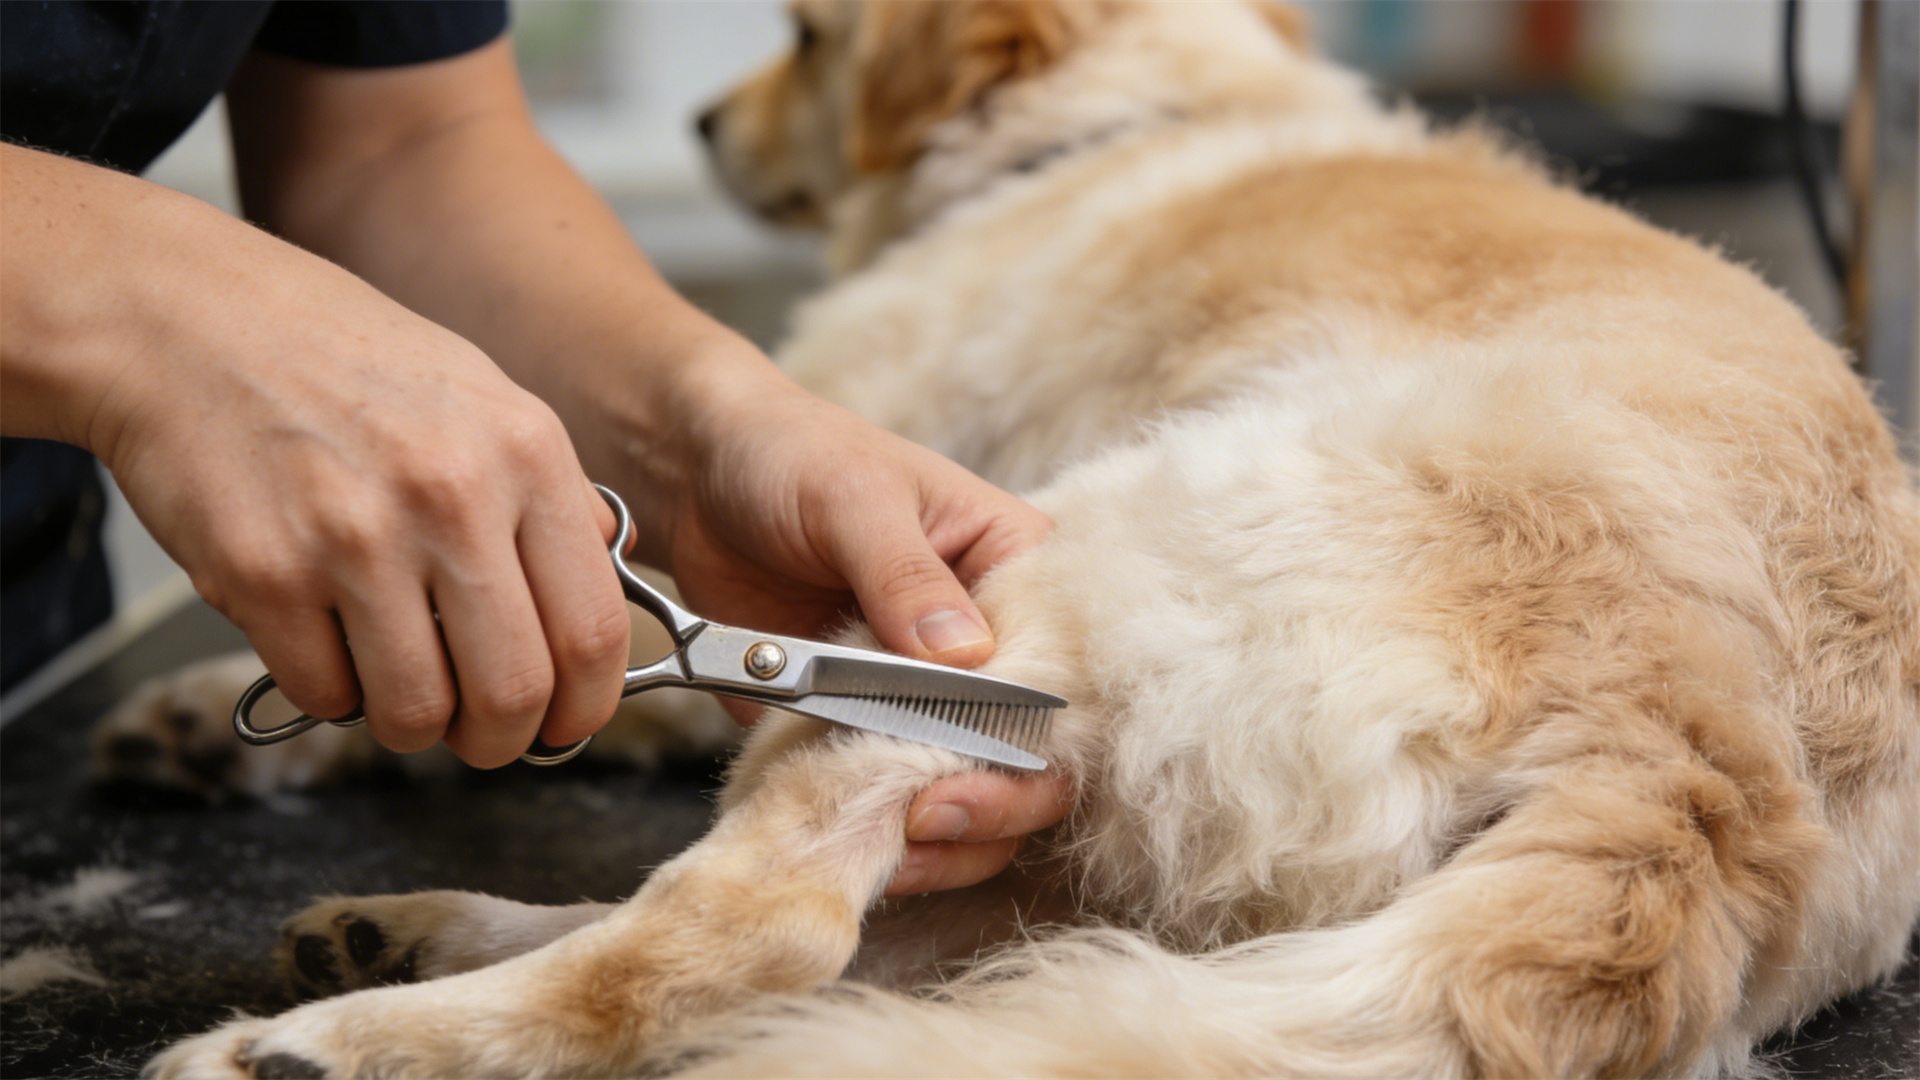
- Hand and Shear Position: Hold the thinning shears in your dominant hand. Your thumb should rest in the smaller, moving finger hole for control. Hold a section of hair out with your comb in your non-dominant hand, perpendicular to the dog's body. Special Reminder: Always point the tips of the thinning shears away from the dog's skin, especially near sensitive areas like the eyes, ears, and groin.
- The "Point and Pivot" Motion: This is the core action. Do not close the shears all the way in a chopping motion. Instead, insert the thinning shears about 1-2 inches into the coat, at the point you want to begin blending. Gently close the shears only 20-30% of the way, then pivot your wrist to pull them out of the coat as you finish the gentle close. Think "snip-and-glide."
- Work in Layers and Sections: Never try to blend the entire line at once. Work in horizontal sections, starting from the bottom of the blend line and moving upward. After each "Point and Pivot" motion, brush and comb the area to assess your progress. The goal is to see the line soften, not disappear instantly.
- Visual Landmarks: Use the dog's anatomy. Blend from the shorter hair into the longer hair. For a leg blend, follow the natural muscling, softening the line from the elbow or stifle downward.
- Body Position: Stand in a way that allows your forearm to be parallel to the section you're cutting. This gives you control and prevents awkward, straining angles that lead to mistakes.
🔍 Common Mistakes and Fixes
Troubleshooting is part of the learning process. Here’s how to identify and correct common errors.
- Mistake: Creating "Chunks" or "Steps": This happens when you close the thinning shears too firmly or too many times in one spot.
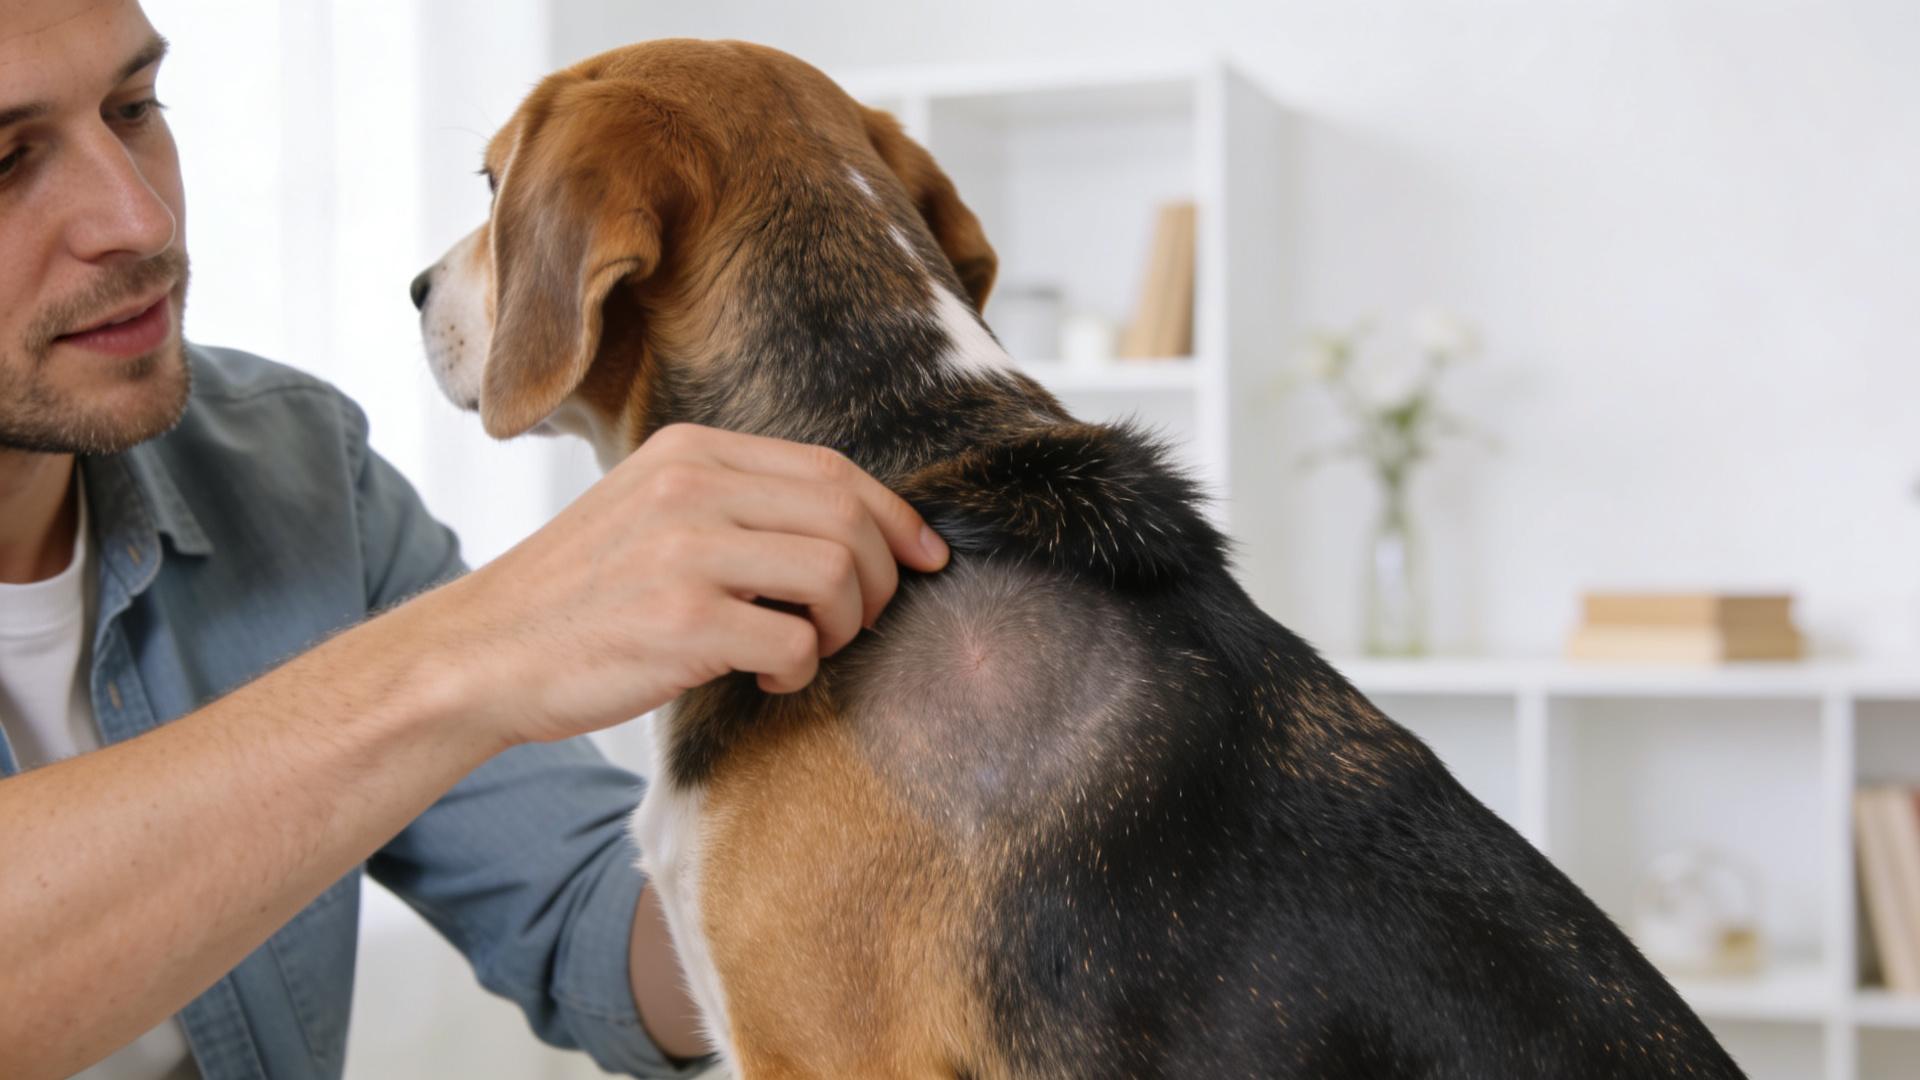
Fix: Use a lighter touch. Remember the 20-30% close rule. Blend over a wider area, not just on the hard line. Step back and look at the dog from a distance. - Mistake: Over-thinning / Making the Coat See-Through: You’ve removed too much hair, creating a weak, sparse patch.
Fix: Stop immediately. You cannot put hair back. The only remedy is to carefully scissor the surrounding longer hair down to match the over-thinned area, creating a smoother, shorter transition. This is a powerful lesson in restraint. - Mistake: Neglecting to Brush Between Cuts: This leads to an uneven, choppy result because you're not assessing the true state of the coat.
Fix: Make brushing and combing an instinctual part of your rhythm: Snip -> Brush -> Comb -> Assess -> Repeat.
Actionable Takeaways: Practice This Now
Don't just read—do. Start building muscle memory today.
- On a practice dog or a stuffed animal with a faux fur coat, practice the "Point and Pivot" motion without even cutting. Focus on the smooth wrist action.
- Take your thinning shears and practice on a small, non-critical area like the very top of the rear leg where it meets the body. Your goal is not to change the shape, but simply to make the existing hair look softer.
- Implement the Snip-Brush-Comb-Assess rhythm on your next groom, even if you're just doing a light tidy-up.

➡️ Your Next Step in the Precision Cutting Series
You've now laid the groundwork for all advanced dog grooming scissoring techniques. Mastery of blending is what separates a basic clip from a precision cut for dogs.
In Precision Cutting Series: Part 2. Sculpting the Perfect "Clean Feet", we will apply this foundational skill to a specific, highly requested task. We'll break down the anatomy of the canine foot, detail the exact scissor holds for tight curves, and show you how to achieve that classic, tidy look safely and confidently. It’s the logical next step in your journey to master canine styling.