Every dog owner is familiar with the symphony of grooming: the frantic shake after a bath, the stubborn burr in a paw, the occasional need for a "sanitary trim." Yet, there's one task that often sits in the shadows, whispered about with a mix of dread and awkwardness—anal gland expression. The very thought can make even seasoned pet parents blush. But what if we reframed this necessary chore? What if, with the right knowledge and approach, it could transform from a cringe-worthy ordeal into a quick, confident act of preventative healthcare? This comprehensive guide is designed to do just that. Let's demystify the process, equip you with professional-grade techniques, and finally say farewell to the embarrassment for good. Your dog's comfort and health are worth it.
🐕 Understanding Anal Glands: The "Scent Business Card"
To master the cleaning, we must first understand the "why." Dogs have two small, grape-sized sacs located just inside the anus, typically at the 4 and 8 o'clock positions. These are anal glands (or anal sacs), and they serve a primal purpose: communication. Each time your dog defecates, a small amount of a pungent, oily fluid is naturally expressed, leaving a unique scent signature—a canine "business card" for other dogs to read.
When Nature Needs a Nudge: The Root of Problems
In an ideal world, these glands self-empty perfectly. However, modern dog diets (often softer, less fibrous), genetics, anatomy, and lifestyle can lead to dysfunction. When the glands don't empty properly, the fluid thickens, leading to impaction. This is not just a minor issue. An impacted gland is uncomfortable, like a persistent, internal itch. If left untreated, it can become infected, forming a painful abscess that may rupture through the skin—a distressing and messy medical emergency requiring immediate veterinary care.
Common signs your dog's glands may need attention include:
- Scooting their rear end across the floor.
- Excessive licking or biting at the anal area.
- A noticeable, foul fishy odor that appears suddenly.
- Difficulty defecating or visibly painful pooping.
- Swelling or redness on one or both sides of the anus.
Regular, preventative maintenance, whether at home or by a groomer, can stop this cycle before it starts, saving your dog discomfort and you from costly vet bills.
🧰 Preparing for Success: Your Pre-Cleaning Checklist
Confidence comes from preparation. Rushing into this task is a recipe for stress (for both of you). Setting the stage is 50% of the battle won.
Gathering Your Arsenal
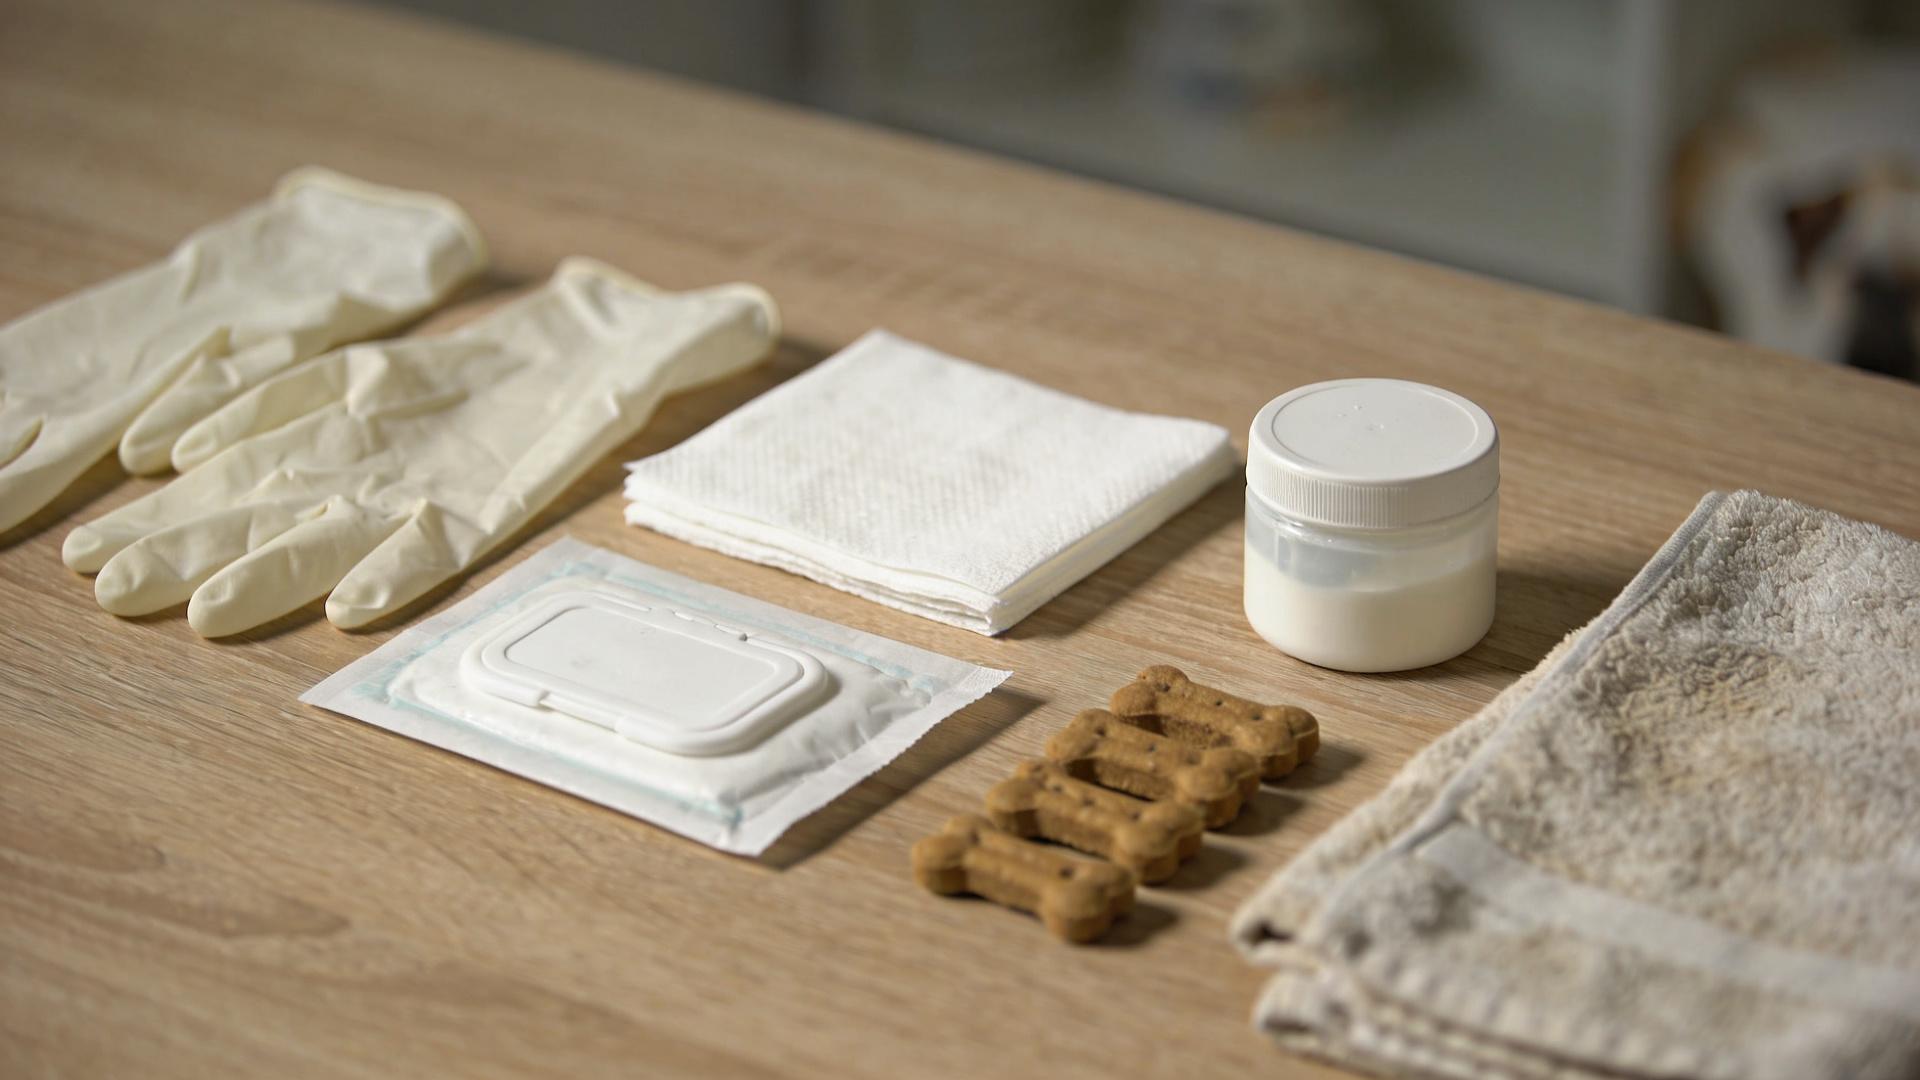
Assemble these supplies before you bring your dog into the area:
- Disposable Nitrile Gloves: Non-negotiable. They provide hygiene and a barrier.
- Paper Towels or Pet Wipes: Plenty of them. Have a stack within arm's reach.
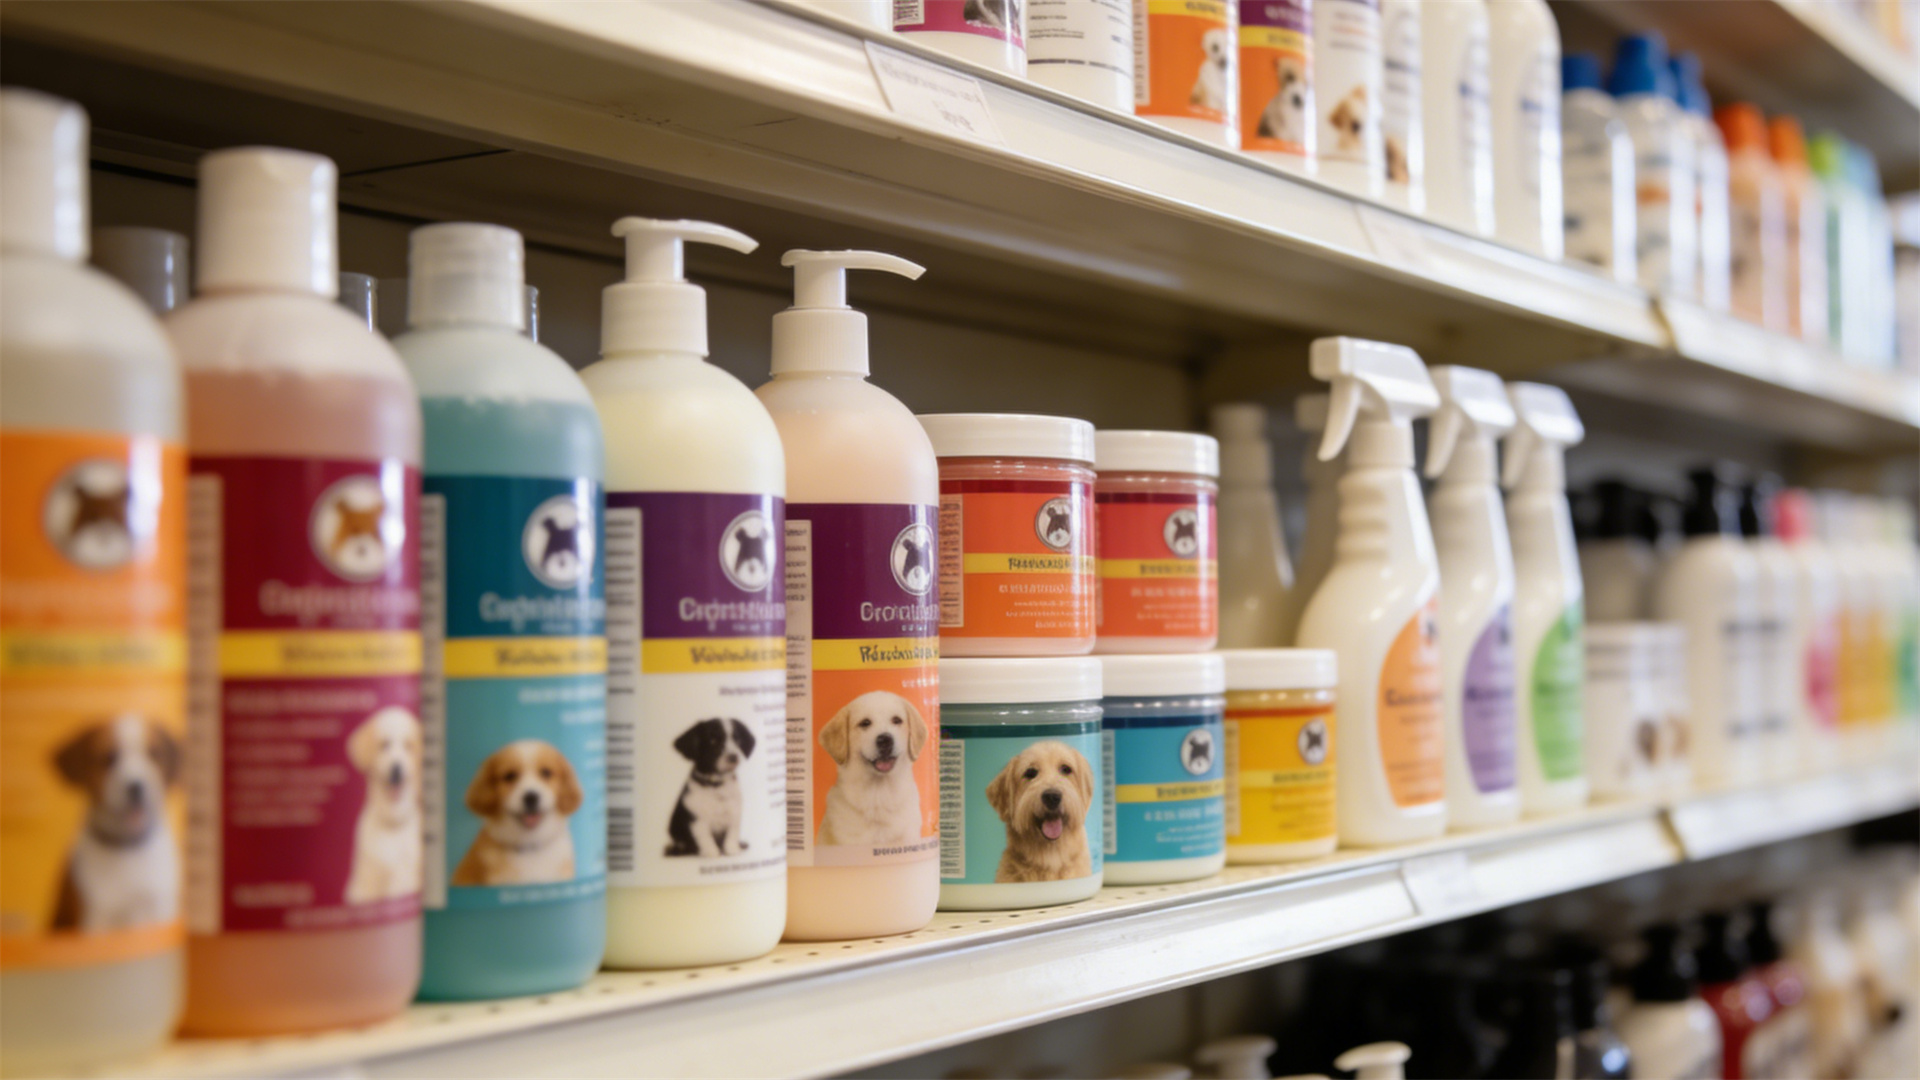
- Mild, Pet-Safe Cleanser: A gentle dog shampoo or specially formulated anal gland wipes. Special Reminder: Never use human soaps or harsh chemicals.
- Warm Water: In a bowl or a spray bottle for rinsing.
- High-Value Treats: Small, delicious morsels reserved for this task.
- Old Towels & a Waterproof Mat: Lay the mat down first, then towels. This protects your floor and contains any mess.
- Bag for Waste: A small plastic bag to immediately dispose of used gloves and towels.
Setting the Scene & Mindset
Choose a quiet, easy-to-clean room like a bathroom or utility room. Ensure good lighting. Most importantly, check your own energy. Dogs are adept at reading our anxiety. Take a deep breath, speak in a calm, cheerful tone, and project an air of "this is no big deal." Your calmness is contagious.

👐 The Step-by-Step Cleaning Process: A Confident Technique
With your prep done and your dog calm, it's time to begin. This DIY dog anal gland care method uses the external expression technique, which is safer for beginners than the internal method often used by vets.
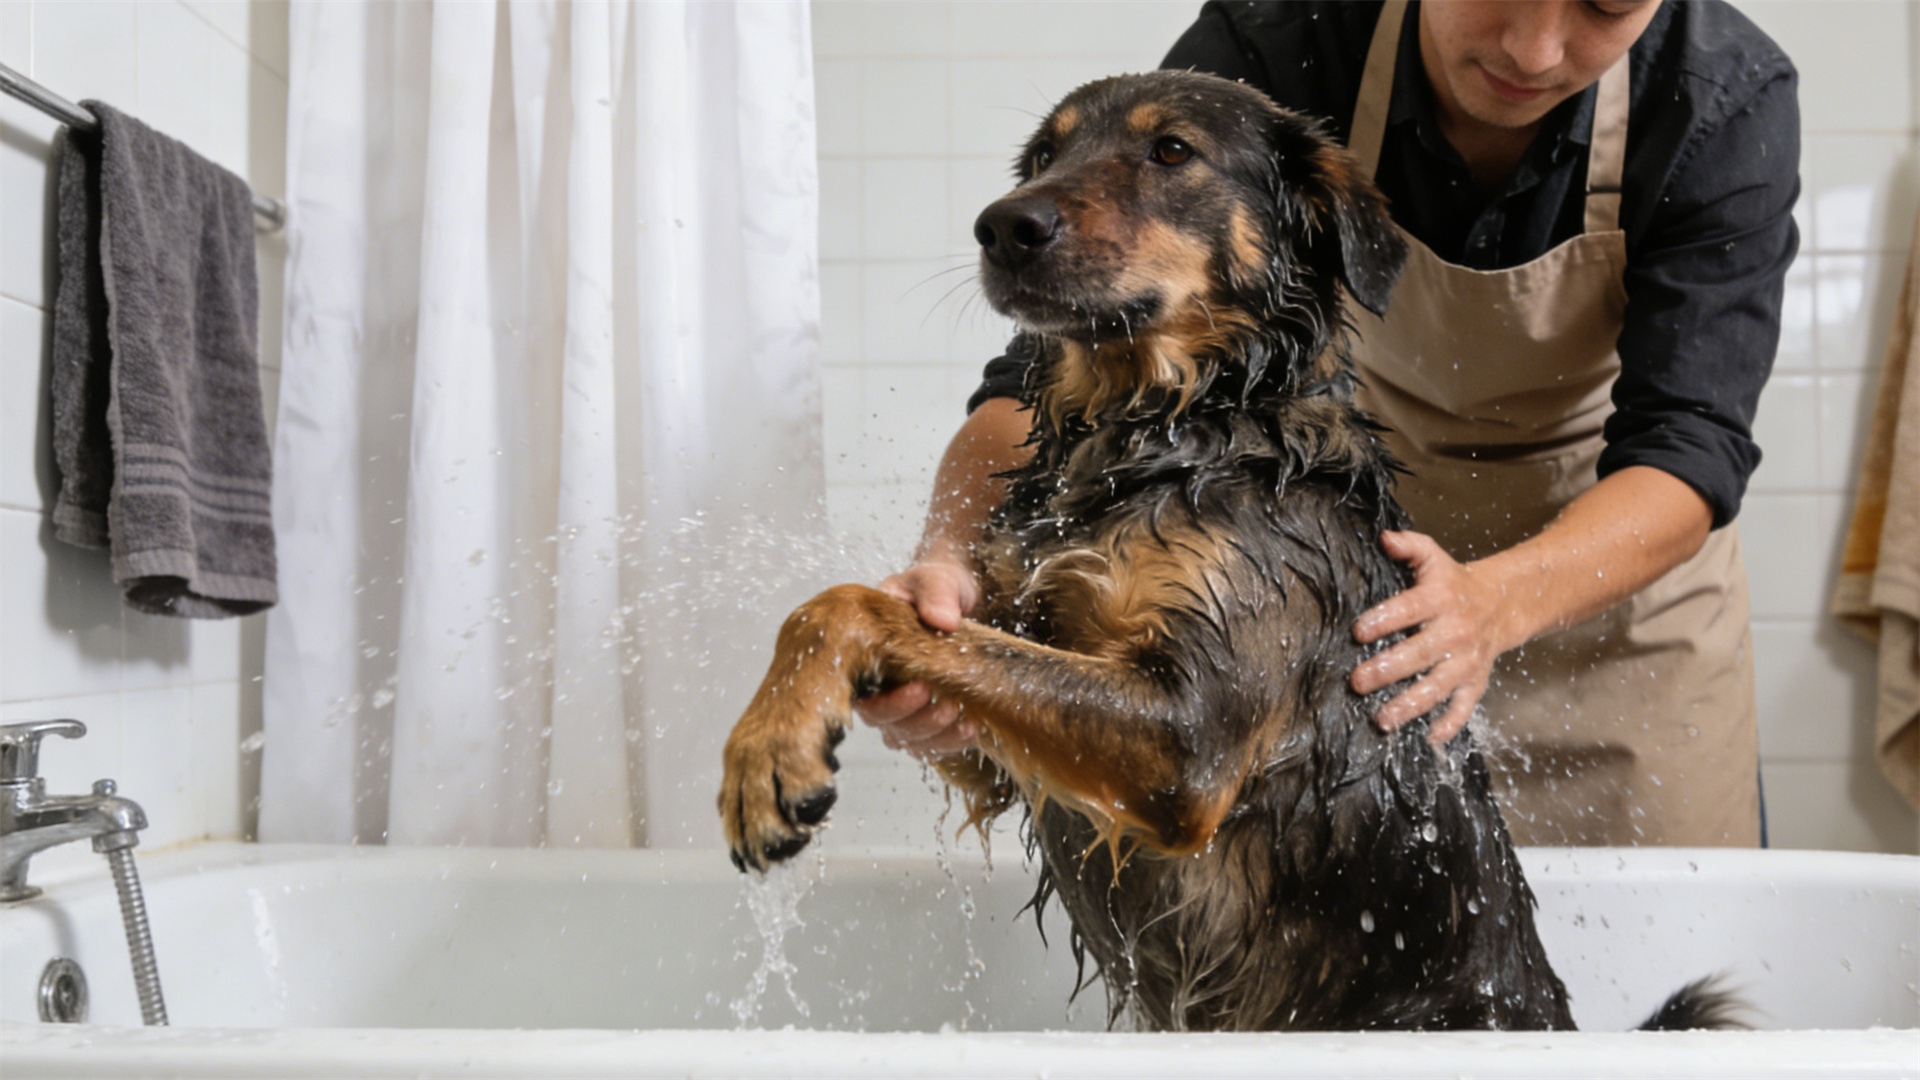
Step 1: Position Your Dog. Many dogs do well standing in a bathtub. For others, having them lie on their side on the towel-covered mat feels more secure. Have your helper gently hold them if needed, focusing on soothing pets, not restraint.
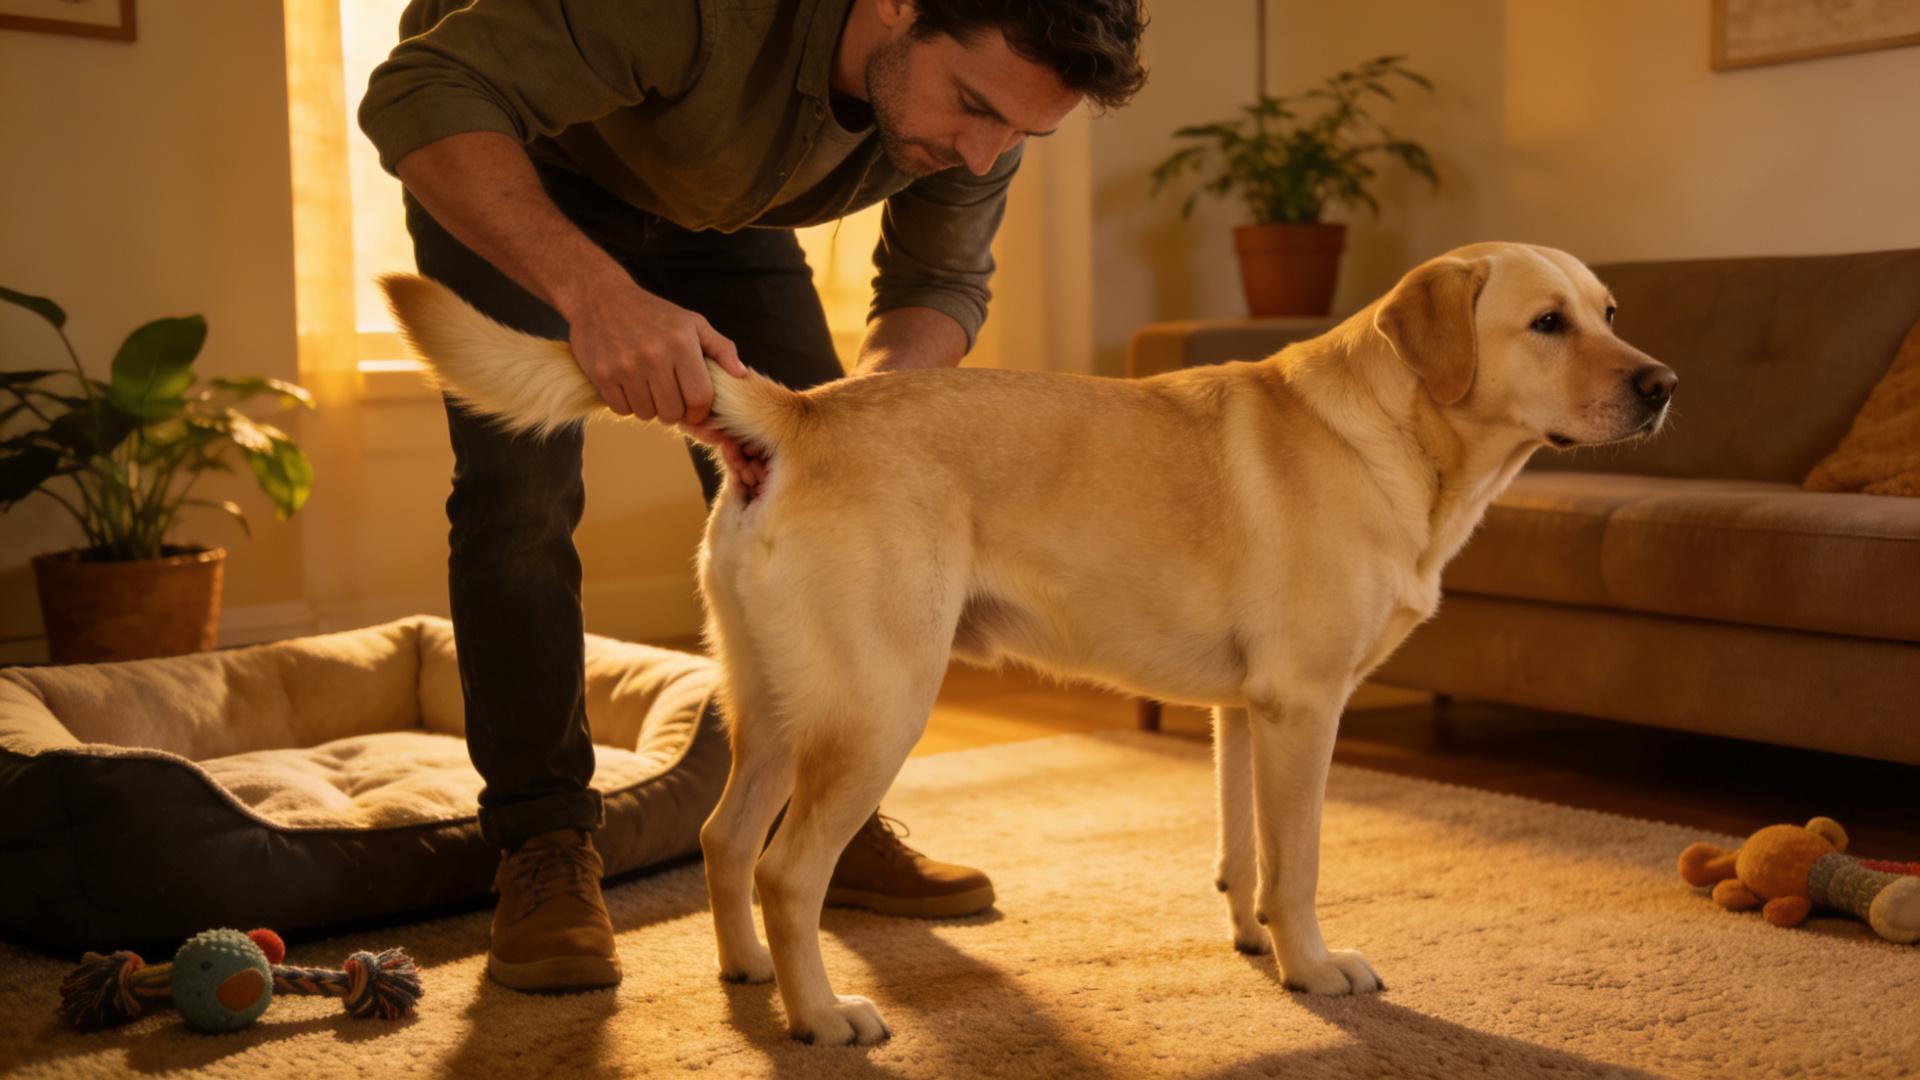
Step 2: Locate the Glands. With a gloved hand, lift your dog's tail gently straight up. You'll see the anus. Visualize a clock face. The glands are just below the skin surface at approximately 4 o'clock and 8 o'clock.
Step 3: Express the Glands.
- Place a thick fold of paper towels directly over the anus to catch the fluid.
- Using your thumb and forefinger, place them on the outside of the gland, not on the anus itself.
- Apply firm, gentle pressure inwards and upwards (toward the anus). Imagine you're gently squeezing a small grape to release its juice.
- You should see a small amount of fluid (ranging from clear to brownish and thick) release onto the paper towel. The odor will be strong and distinct.
- Repeat on the other side.
Step 4: Clean Up. Once expressed, thoroughly clean the area with warm water and your pet-safe cleanser. Pat dry with a clean towel. Immediately dispose of all used materials in the plastic bag.
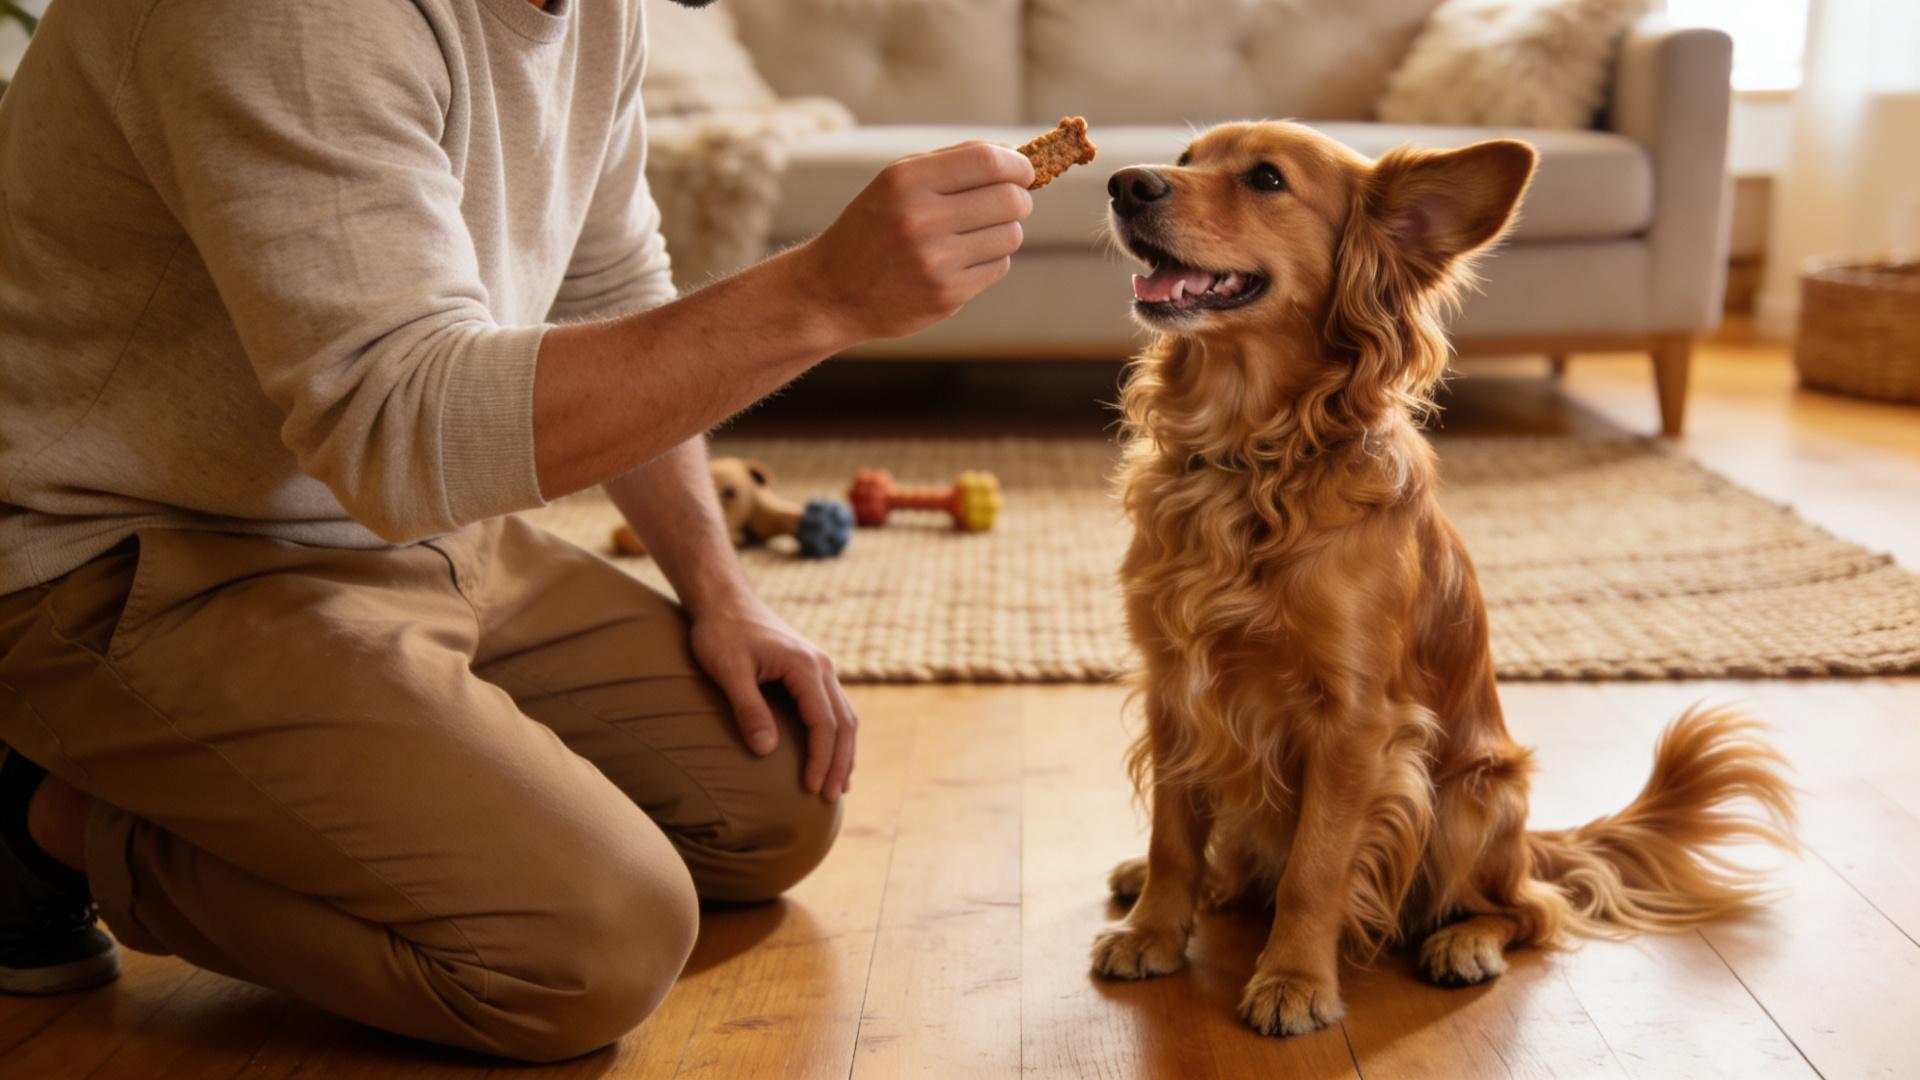
Step 5: The Grand Finale—Praise & Reward! This is crucial. Shower your dog with happy praise and give them that high-value treat. You want them to associate the end of this process with something wonderful.
😳 Overcoming the Awkwardness: Mindset Shifts & Pro Tips
The embarrassment is real, but it's also conquerable. Here’s how to shift your perspective and streamline the routine.
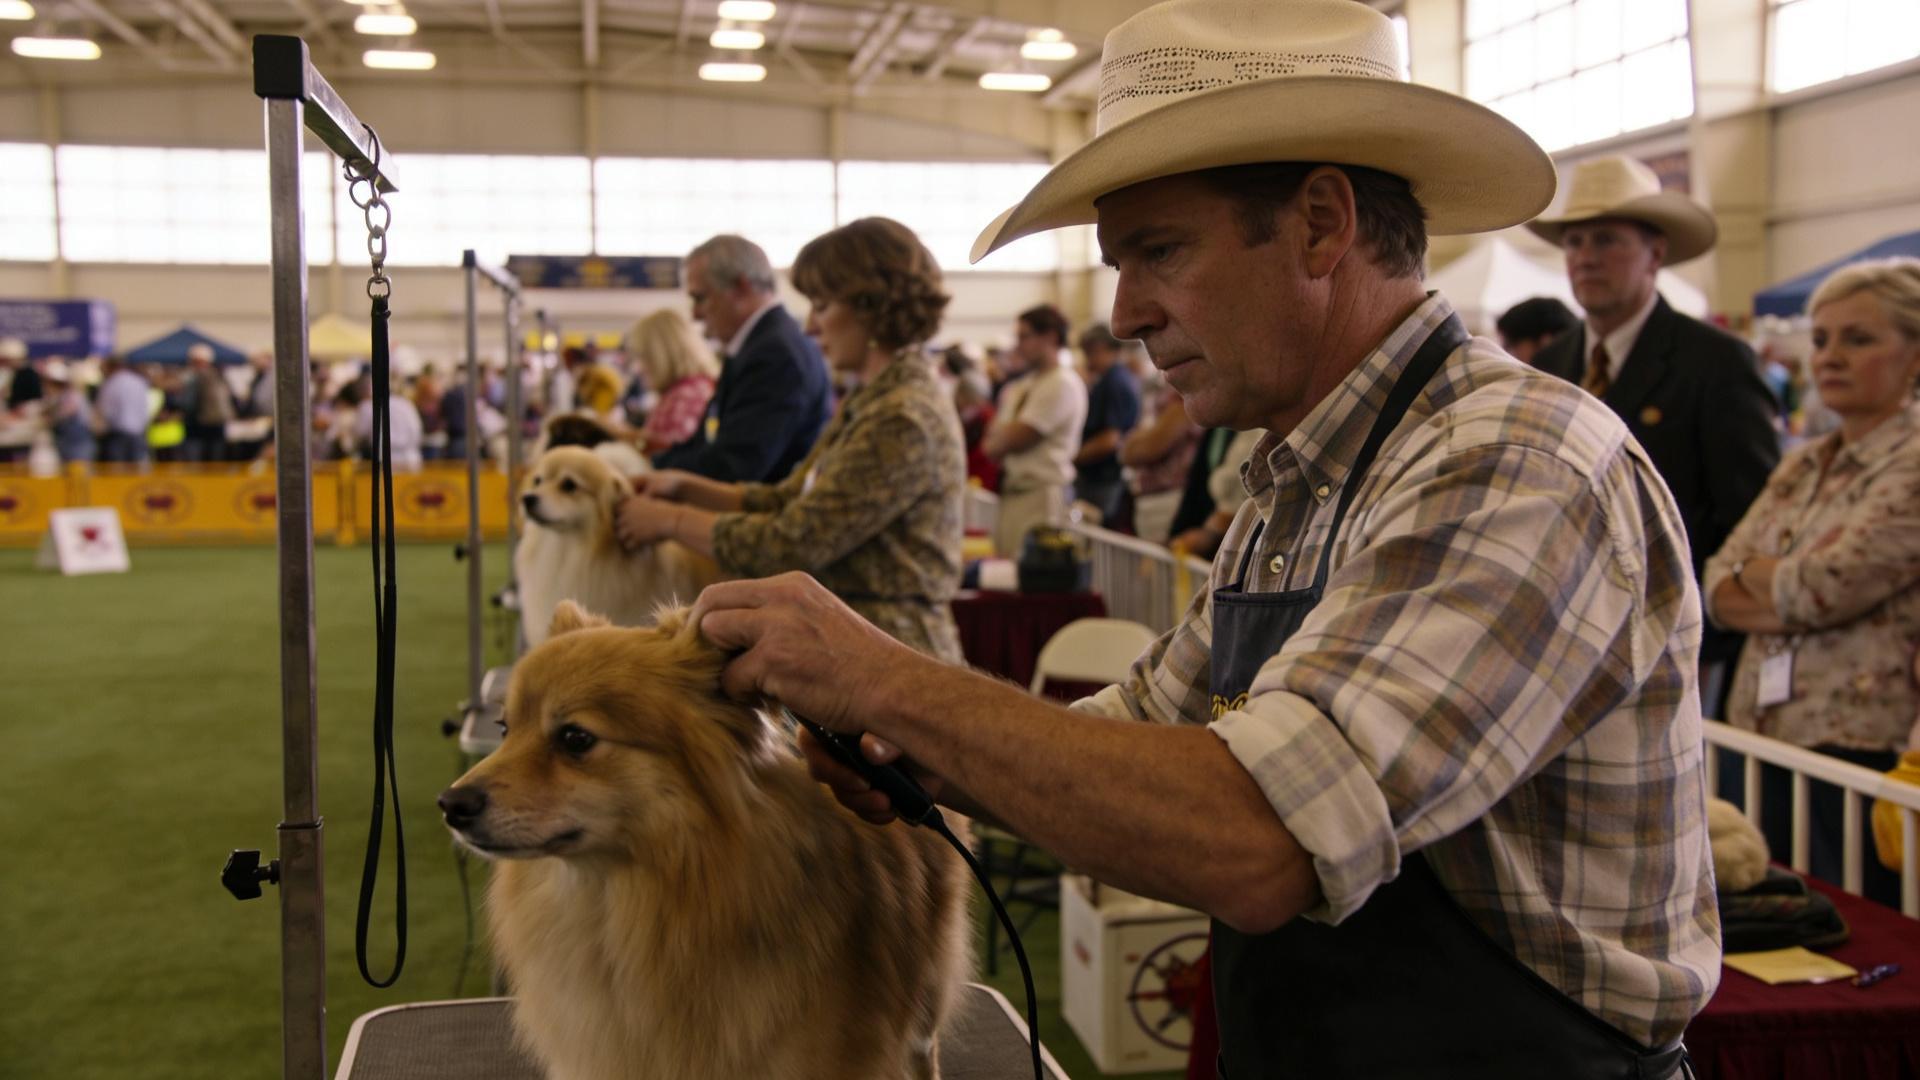
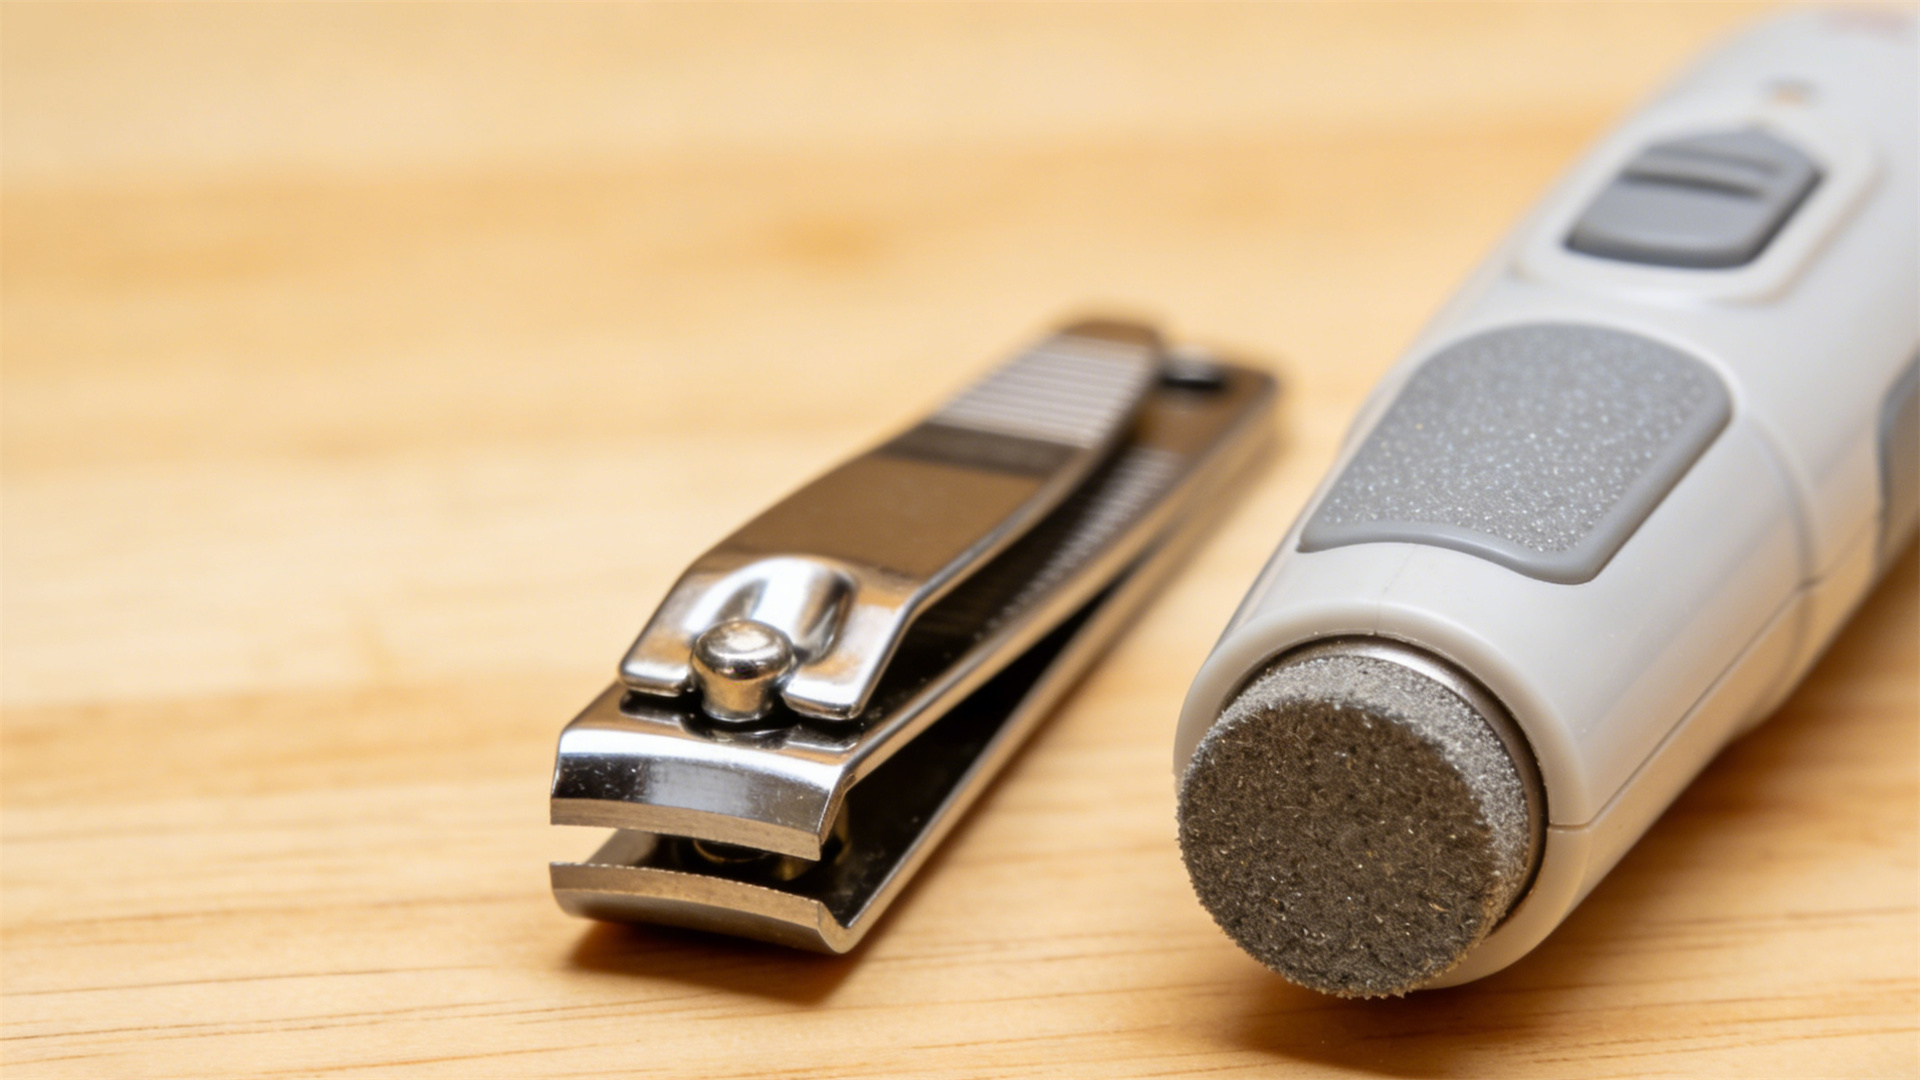
- Normalize It: Vets and groomers do this dozens of times a week. It's a standard part of animal health care, no different than cleaning ears or trimming nails.
- Create a "Spa" Atmosphere: Play some calm music. It soothes your dog and masks any unsettling sounds for you.
- Invest in a Dedicated Kit: Keep all your supplies in one bin in the bathroom. Out of sight daily, but instantly accessible for dog anal gland expression time. No frantic searching.
- Focus on the Benefit: You are directly preventing anal gland issues that cause your dog real pain. This is an act of love and responsible ownership.
- Practice Makes Perfect: The more routinely you do it (e.g., monthly for many dogs), the quicker and more clinical it becomes. It loses its "edge" and becomes just another dog grooming tip in your arsenal.

🚨 Recognizing When to Get Help: Beyond DIY
Even the most skilled pet parent needs backup. Knowing when to call a professional is a sign of strength, not failure.
⛔ Signs You Need a Vet, Not a Tutorial:
- Repeated, failed attempts at expression with no fluid release.
- Blood, pus, or an extremely thick, gritty paste in the expressed material.
- Visible swelling, a palpable hard lump, or redness/hot skin near the anus.
- Your dog shows significant pain (yelping, snapping) when the area is touched.
- Frequent recurrences (needing expression more than once a month).
In these cases, professional anal gland cleaning by a veterinarian is essential. They can safely treat infections with antibiotics, flush impacted glands, and even demonstrate the proper technique on your specific dog. Chronic issues may relate to diet, allergies, or anatomy, and your vet can help develop a long-term management plan, which may include adding fiber to the diet.
🎯 Conclusion: Embrace the Routine, Embrace Confidence
Dog anal gland cleaning is a completely manageable aspect of home care. Armed with the right knowledge, tools, and—most importantly—the right mindset, you can perform this task efficiently and effectively. It’s time to strip away the stigma and view it for what it truly is: a simple, preventative health measure that safeguards your dog's comfort and well-being. By incorporating this into your regular dog health grooming routines, you are actively saying goodbye to embarrassing dog grooming anxieties and stepping into a new era of confident, proactive dog ownership. Your canine companion will thank you with their comfort, health, and boundless loyalty.