If you are a new dog owner, discovering mats and tangles in your furry friend's coat can be daunting. These knotted clumps are not just unsightly. They can pull on the skin, cause discomfort, and even lead to skin infections if left untreated. Mats often form behind the ears, under the armpits, and around the collar area where friction is high. But fear not. With patience, the right approach, and this guide, you can learn to safely detangle your dog's fur at home. This process strengthens your bond and is a vital part of responsible pet care. Let us begin this gentle journey towards a happier, healthier coat.
🛠️ Pre Detangling Assessment and Preparation
Jumping straight into brushing can do more harm than good. Proper preparation sets the foundation for a successful and stress-free grooming session.
🚨 Understanding the Severity: Know When to Call a Pro
Before you touch a brush, assess the mats. Small, loose tangles near the surface are a beginner-friendly challenge. However, severe matting, also called pelting, is a different story. If the mat is thick, feels like a solid pad, or covers a large area, it is time to consult a professional groomer. Attempting to remove these yourself can cause pain, cut the skin, or traumatize your dog. A good rule is if you cannot easily slip a comb under the mat at the skin level, seek help. For example, a mat larger than a coin or multiple mats covering over ten percent of the body should be handled by a pro. Your dog's health and comfort come first.
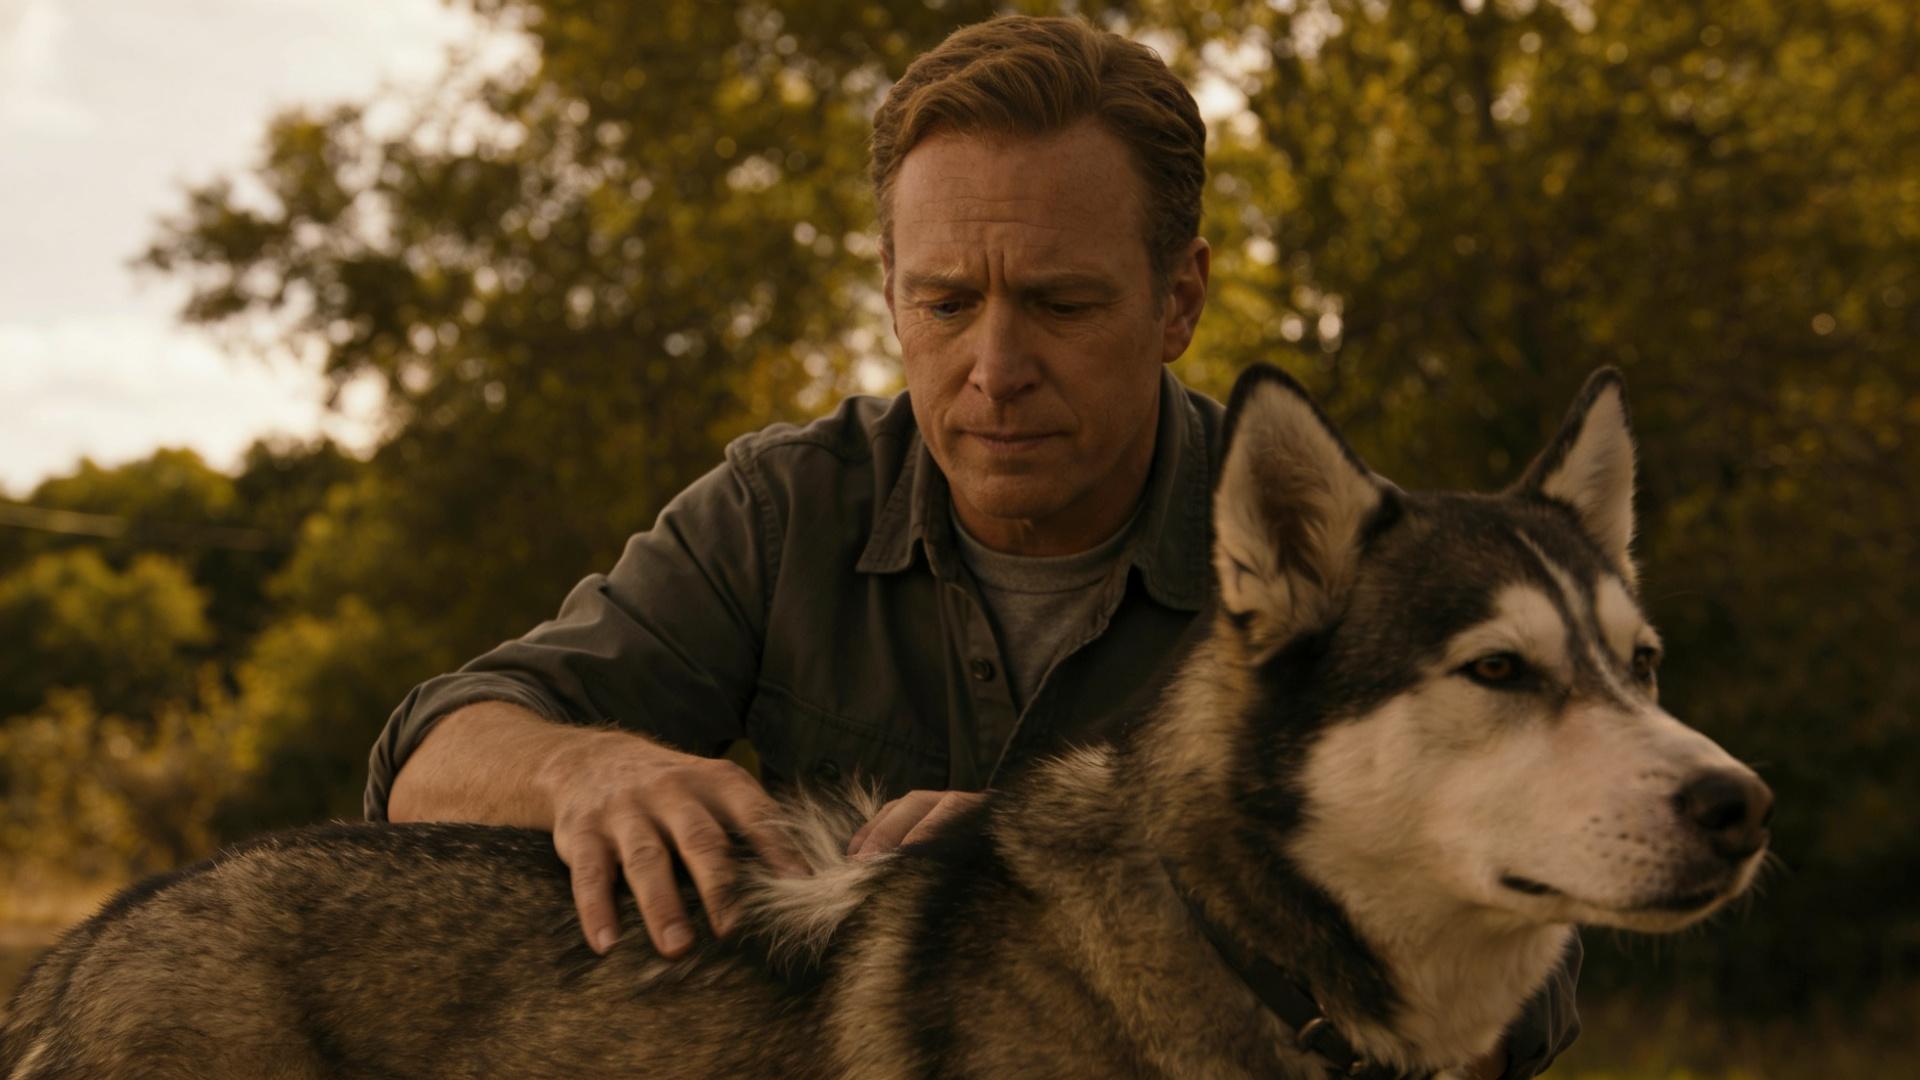
🧘 Creating a Calm Environment
Dogs pick up on our energy. Choose a quiet time when your dog is relaxed, perhaps after a walk. Use a non-slip mat on a table or the floor to prevent sliding. Have a stash of high-value treats ready to reward calm behavior. Speak in a soft, reassuring tone throughout. This sets the stage for a stress-free session for both of you. Patience here pays off in the long run.
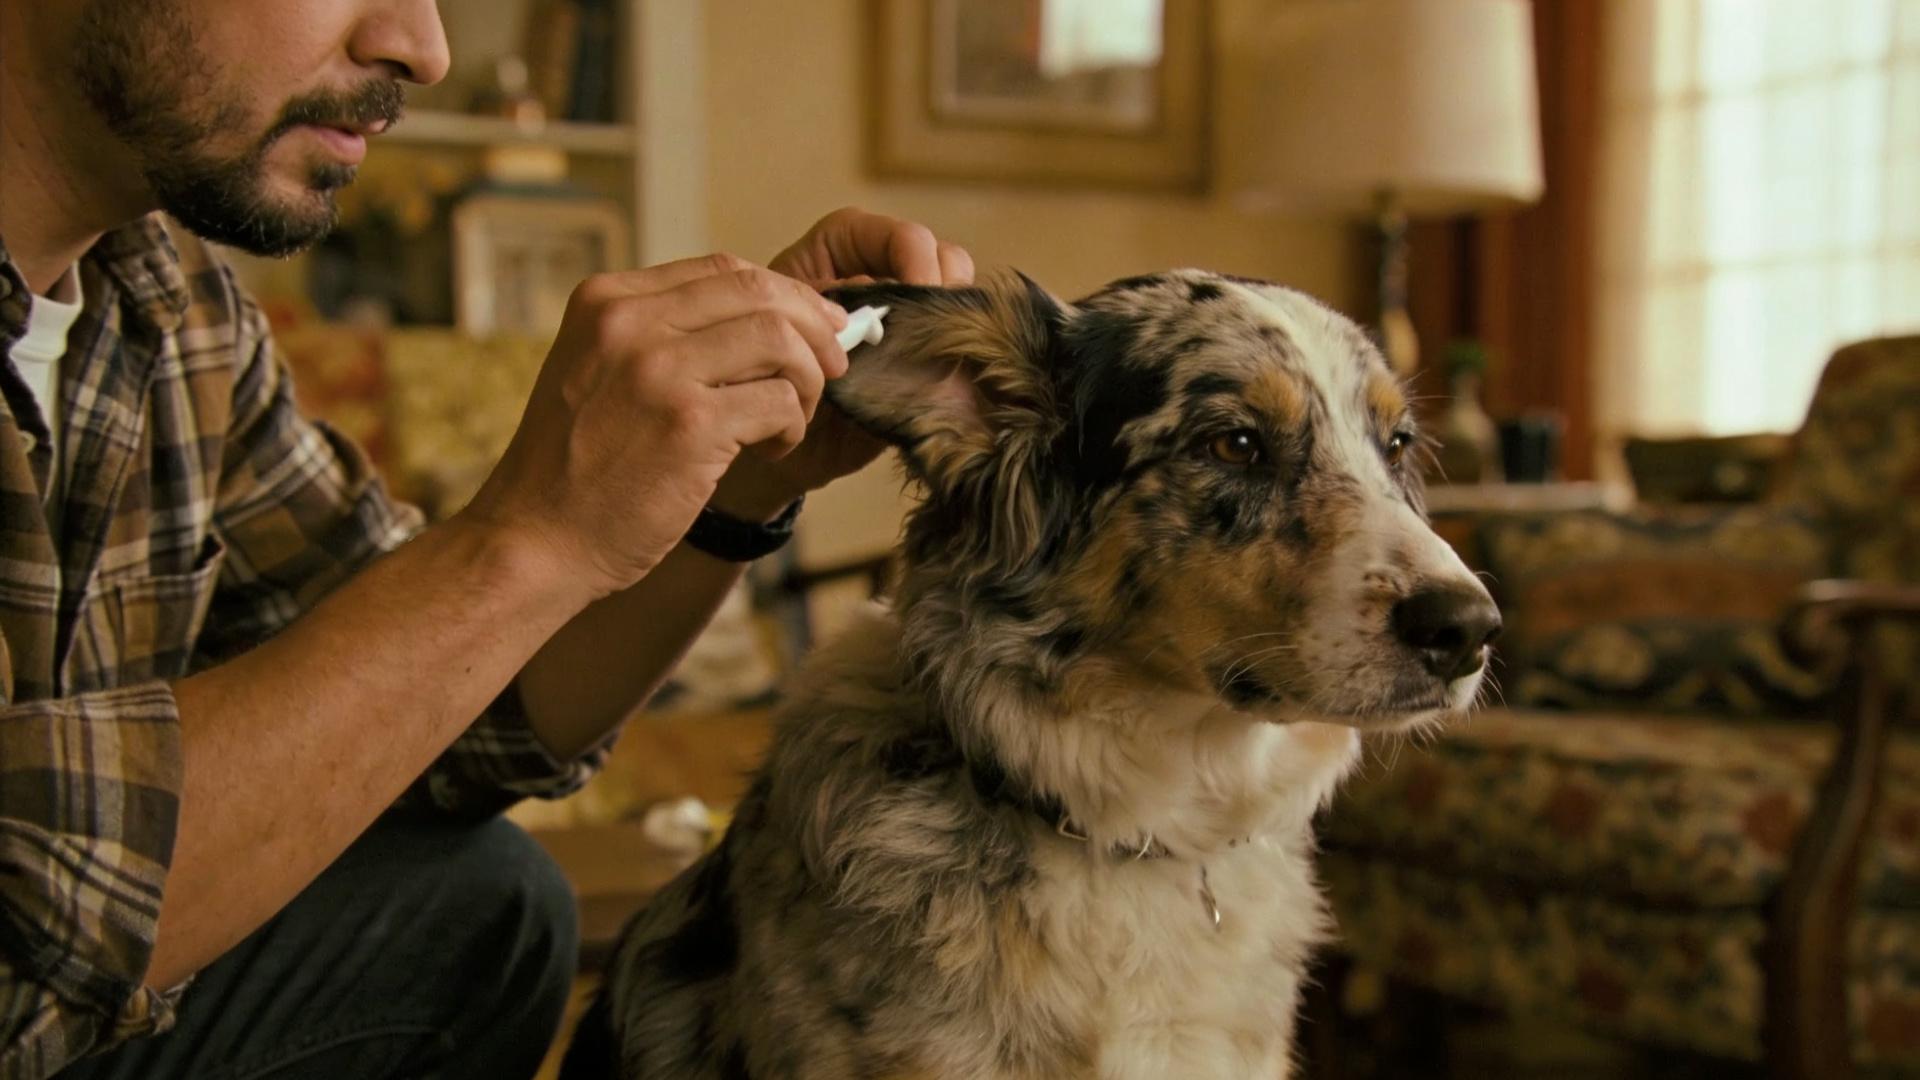
🔍 Pre Brush Check: Inspecting the Skin
Gently part the fur and examine the skin underneath the mats. Look for any redness, sores, hot spots, or signs of parasites like fleas. If you find any wounds or severe irritation, stop and consult your veterinarian before proceeding. Detangling over injured skin can exacerbate the problem and cause significant pain. This step is a non-negotiable part of dog fur care.
🧰 Gathering Your Detangling Toolkit
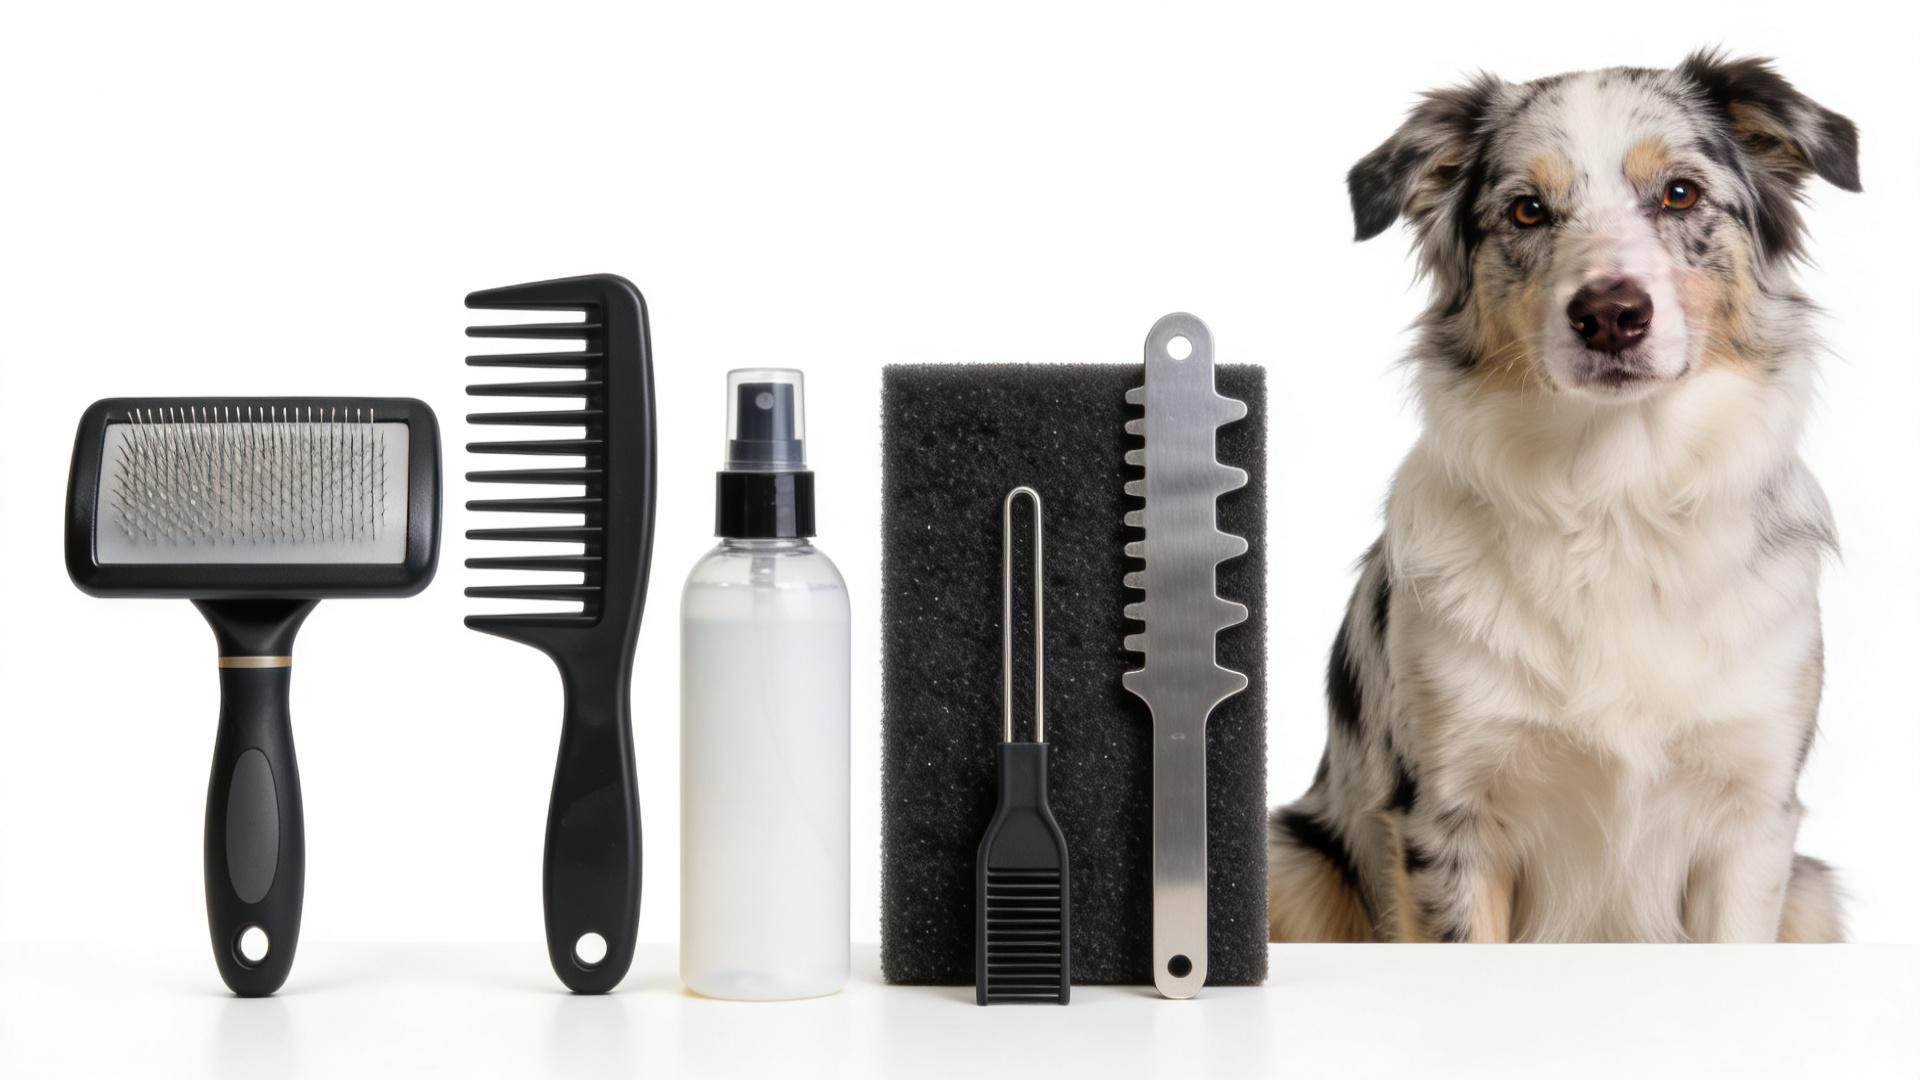
Using the correct tools is not a suggestion. It is essential for safe and effective detangling. Never use human hair products or dull, improper tools on your dog's coat. Here are the items you will need for detangling tools for dogs.
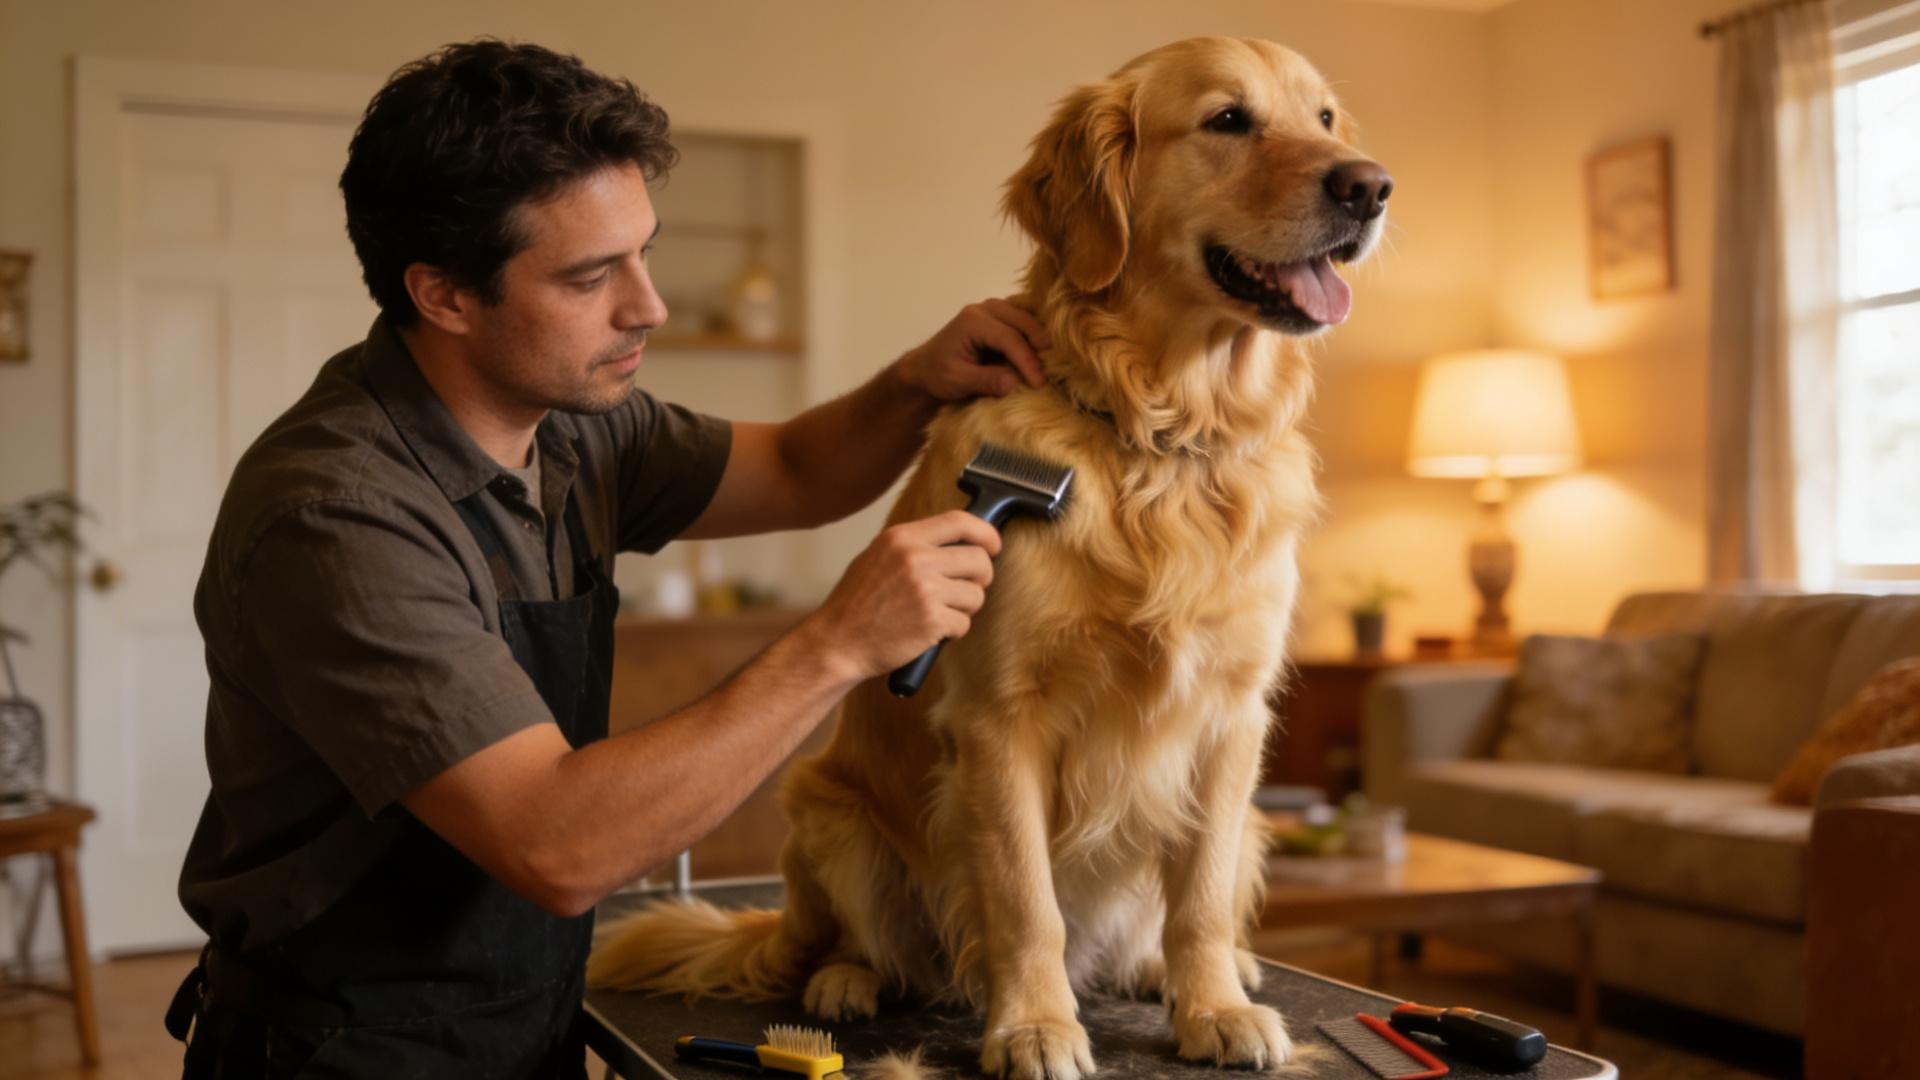
Slicker Brush: This brush has fine, short wires close together on a flat surface. It is excellent for removing loose hair and teasing out minor tangles in the topcoat. Use it after combing. For dogs with sensitive skin, consider a slicker brush with protective plastic tips on the wires to prevent scratching.
Wide-Tooth Comb: Your primary tool for untangling matted dog hair. The wide spacing allows you to work through knots from the tips inward without excessive pulling. Look for one with rounded teeth to protect the skin. A stainless steel comb is durable and easy to clean.
Detangling Spray or Conditioner: A quality, dog-safe detangling spray lubricates the hair shafts, reduces friction, and makes knots easier to separate. Avoid human conditioners as they can soften the coat too much or contain harmful ingredients. Look for sprays with natural oils like aloe vera or oat extract for added skin soothing benefits. Detangling sprays for dogs are a game-changer.
Mat Splitter or Mat Rake: For tougher mats, a mat splitter has a single blade or multiple blades designed to safely cut through the center of a mat. A mat rake has multiple blades to break up mats. Both are safer than scissors when used correctly. Always cut parallel to the skin to avoid injury.
High-Quality Grooming Scissors: If you must use scissors, only use blunt-tipped grooming shears. And a special reminder: never cut into a mat blindly. Always slide a comb between the mat and the skin as a guard. Scissors are a last resort and for professionals. In fact, many groomers recommend beginners avoid scissors altogether.
📝 The Step by Step Detangling Process
Now, with your tools ready and your dog calm, let us walk through the process step by step. Remember, patience is your most important tool. This step by step detangling guide is designed for grooming for beginners.
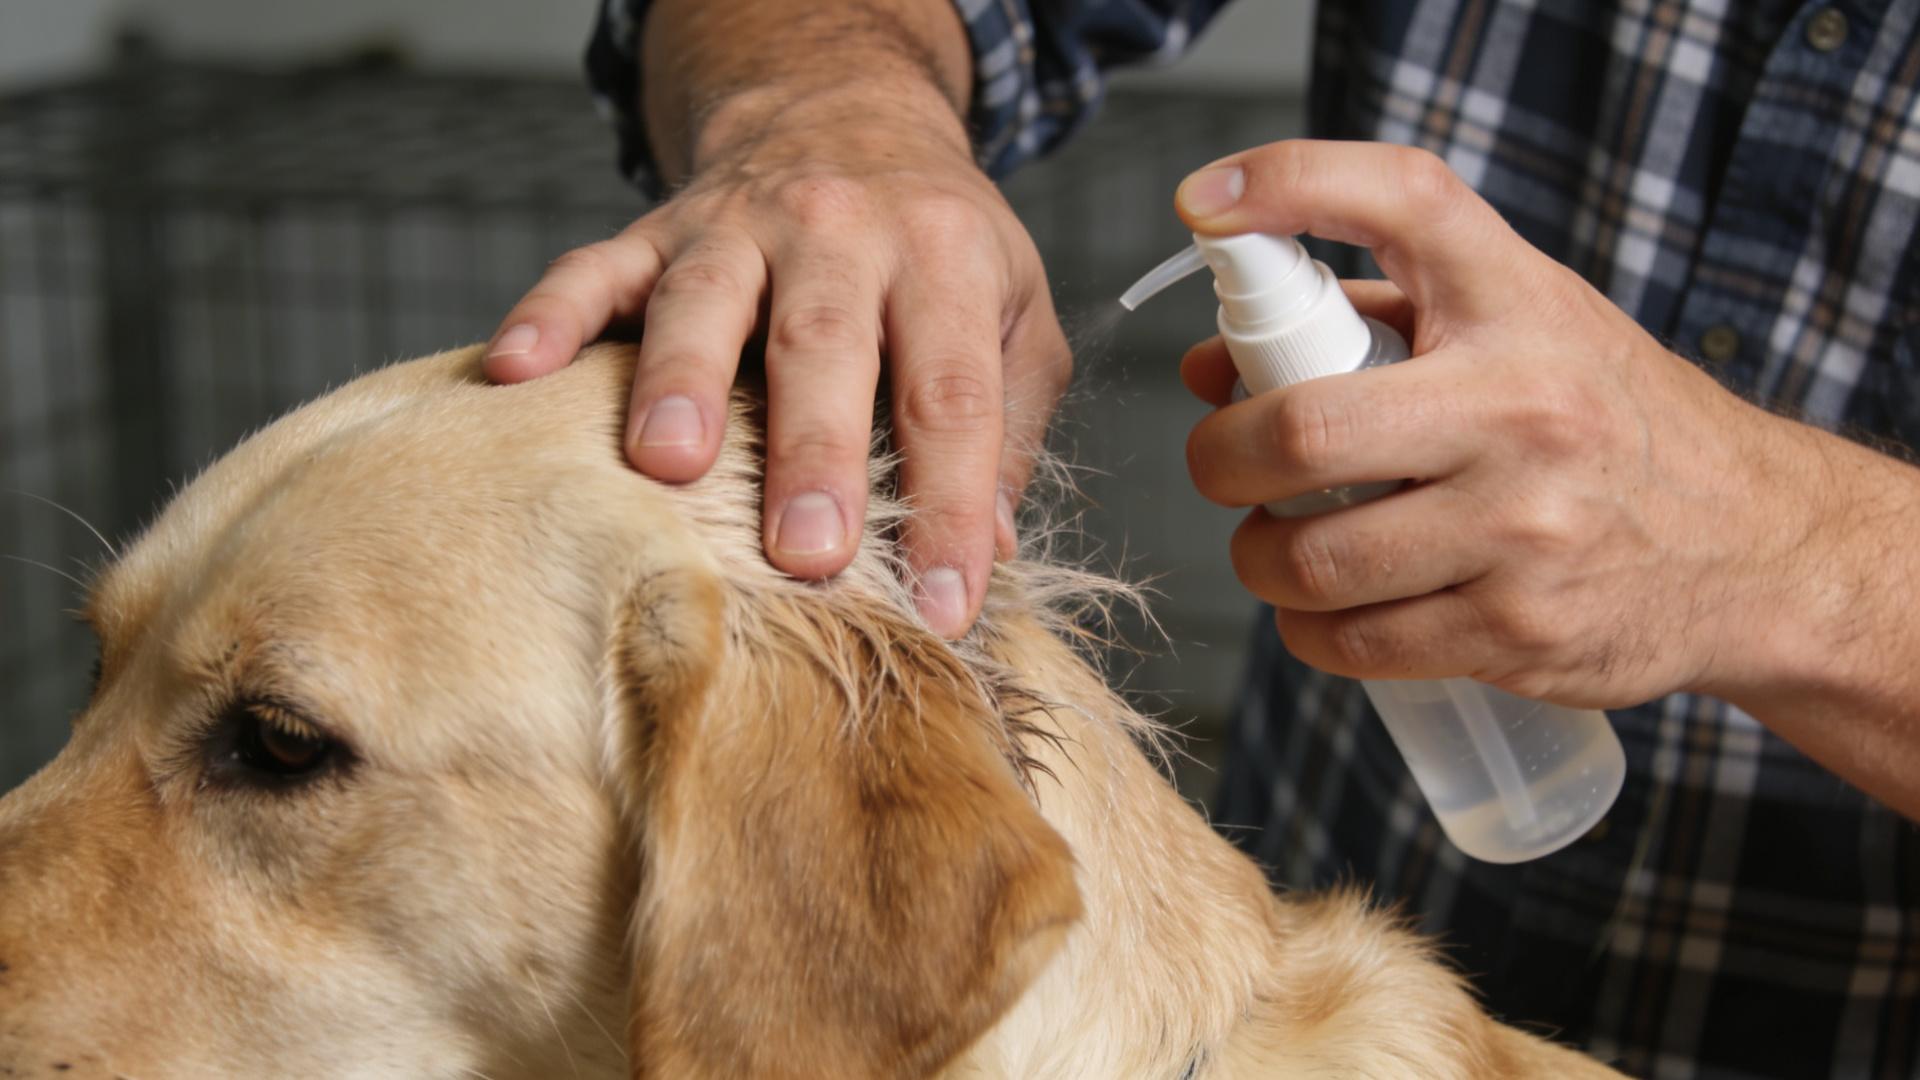
💦 Step 1: Apply a Detangling Agent
Liberally spray a dog-safe detangling solution directly onto the mat. Do not just wet the surface. Use your fingers to work the spray down to the skin level. This lubrication is crucial for pain-free detangling. Allow it to sit for a minute or two to penetrate. This simple step can reduce brushing time by half and is key to untangling without hurting dog.
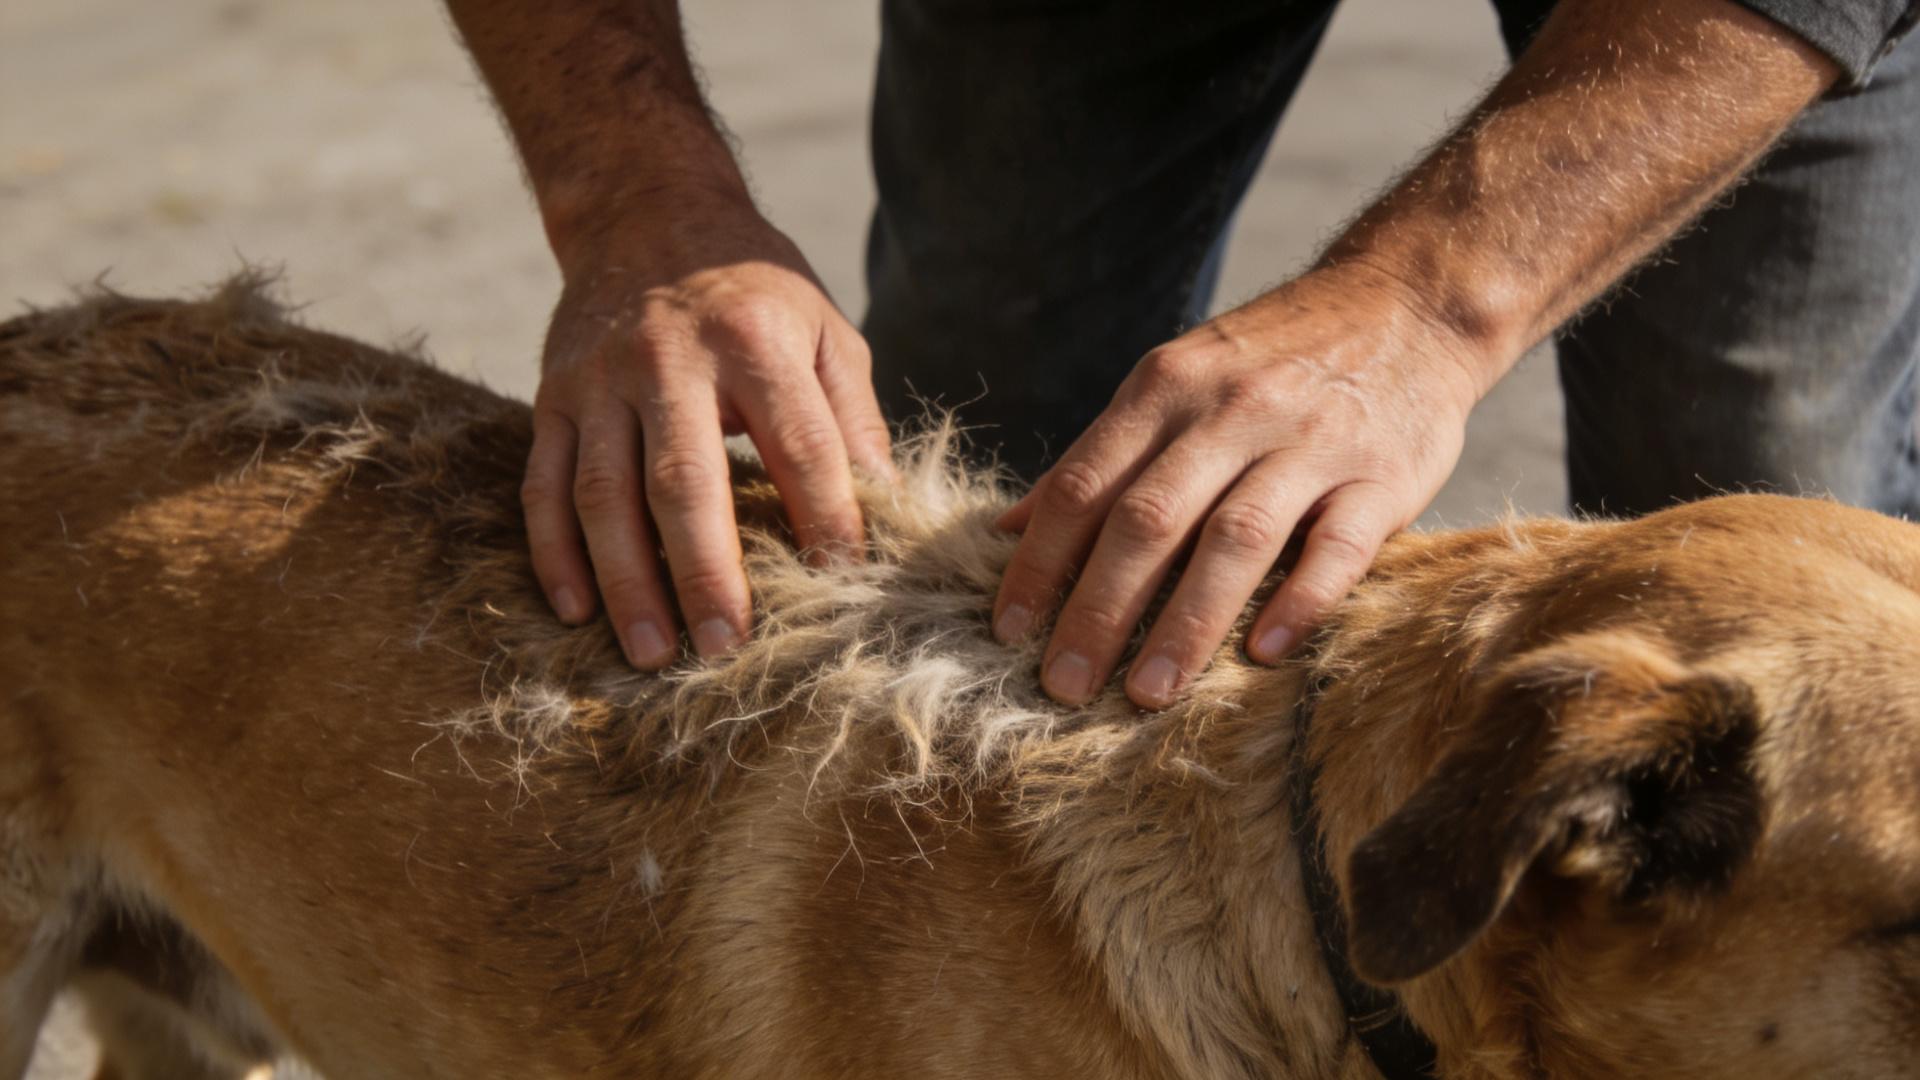
✋ Step 2: Finger Separate First
Before bringing in tools, use your fingers. Gently try to pull the mat apart into smaller, more manageable sections. This gives you a feel for the mat's density and helps identify the direction of the hair growth. It is a gentle way to start the process and can often loosen the outer layers of the tangle.
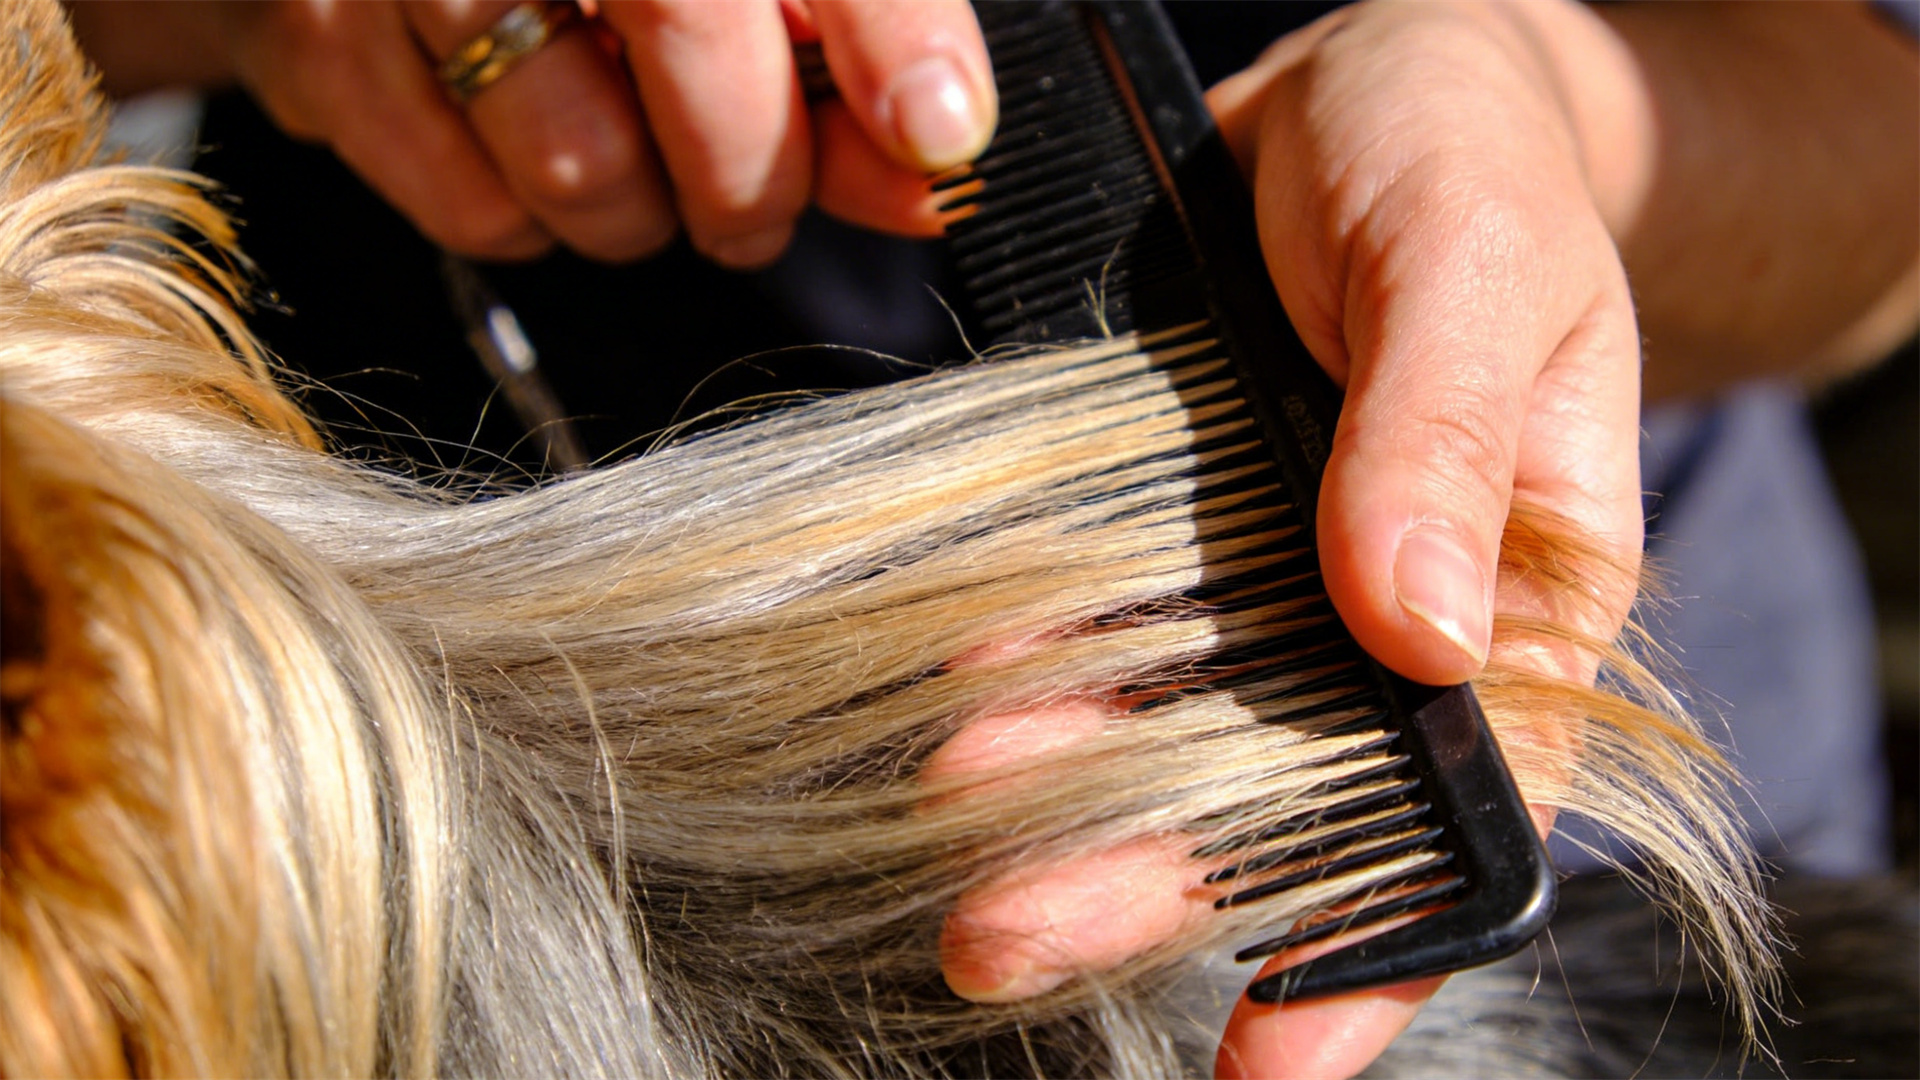
🌿 Step 3: Work from the Ends
This is the golden rule of detangling dog fur for beginners. Always start with your wide-tooth comb at the very tips of the fur, farthest from the skin. Work in tiny, half-inch sections. Gently comb outward to remove the easiest tangles first, slowly working your way inward toward the base. This method prevents pulling hair from the roots. If you encounter resistance, do not force it. Apply more detangling spray and use your fingers to further separate the section.
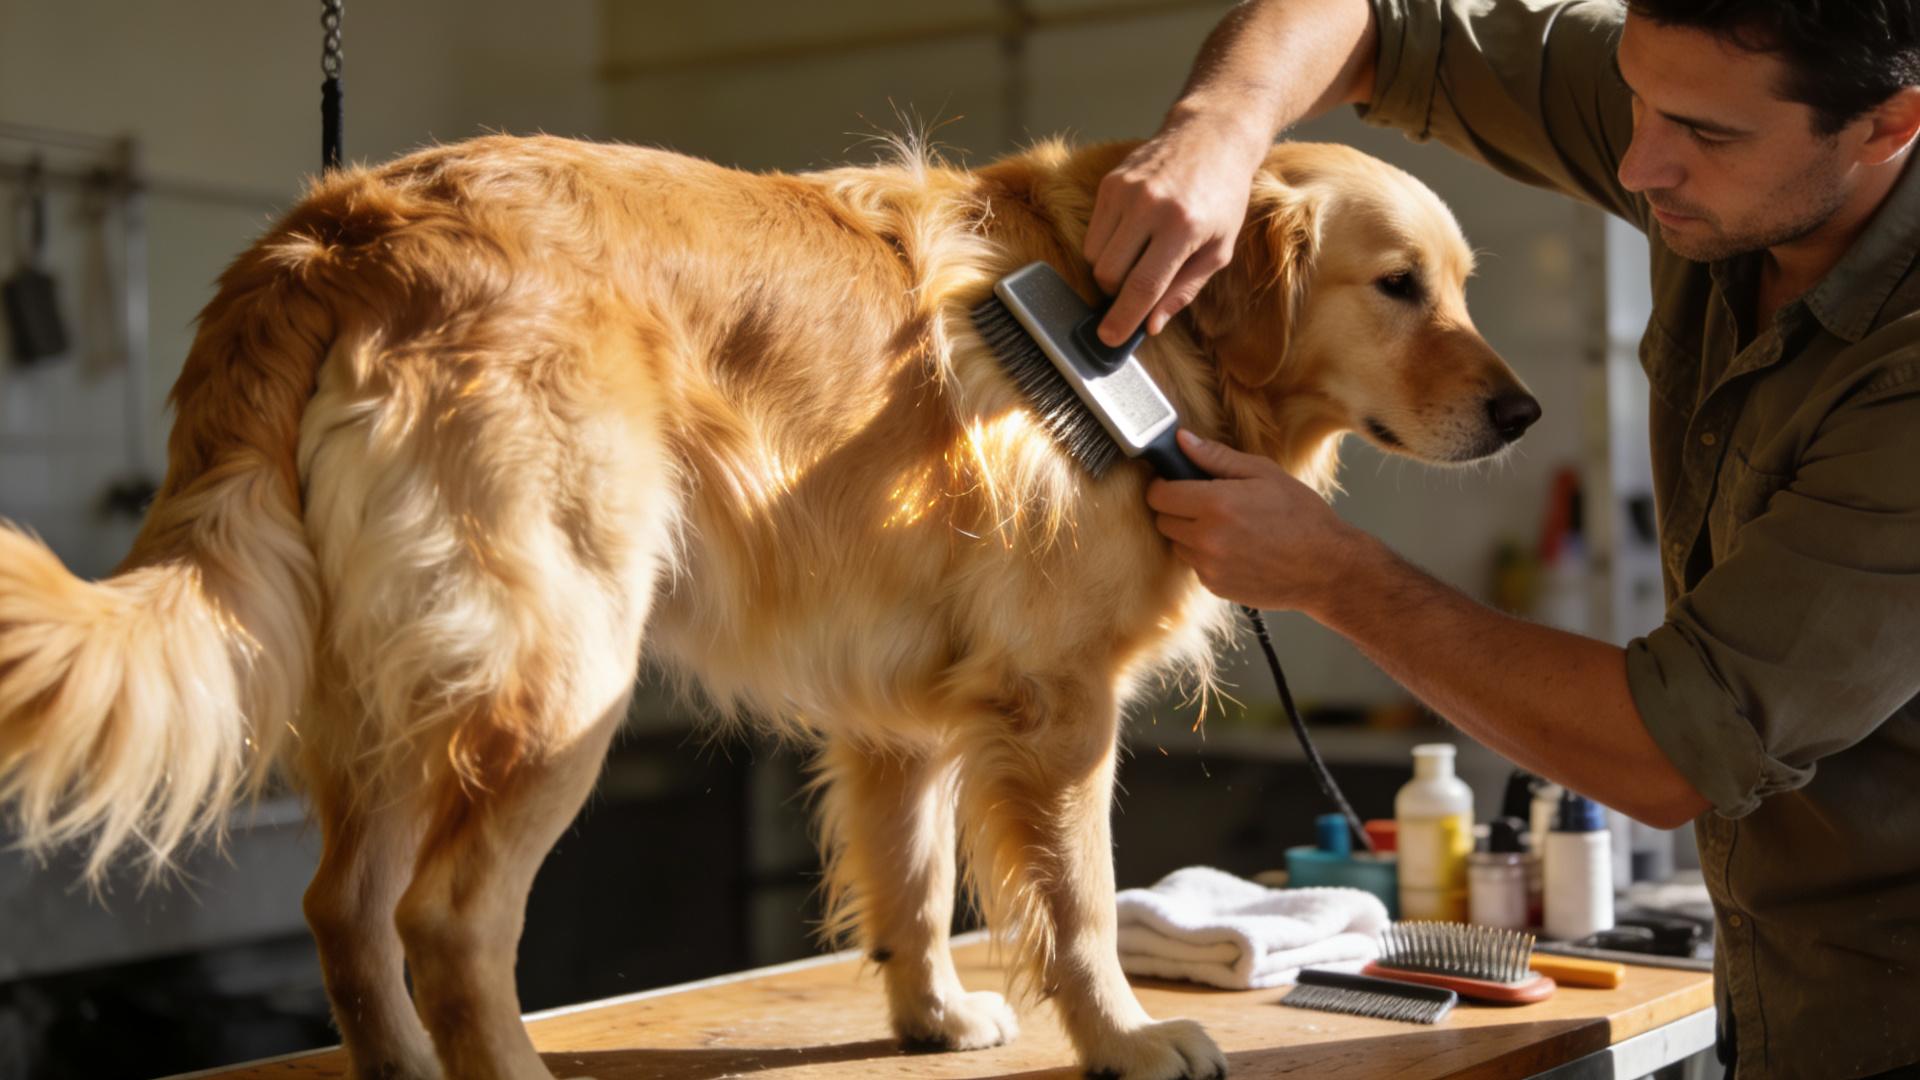
🖌️ Step 4: Use the Brush Strategically
Once a section is loosened with the comb, you can use the slicker brush. Hold the fur at the base near the skin to minimize tugging. Use short, gentle strokes to smooth and finish the area. Do not use the slicker brush on tight mats. It will only hurt your dog. This step is about finishing and polishing the coat after the heavy lifting is done.
⚠️ Step 5: Addressing Tight Mats
For persistent mats, use a mat splitter. Carefully slide the blade under the mat, parallel to the skin. Gently saw back and forth to break the mat into smaller pieces. Then, return to combing from the ends. A strong warning: using standard scissors near the skin is extremely dangerous. You can easily cut your dog's skin, which is often folded and trapped within the mat. According to groomers, scissors account for a significant number of pet grooming injuries. Always prioritize safe detangling techniques.
⏸️ Step 6: Take Frequent Breaks
This process can be tiring for you and your dog. Schedule short sessions of 10 to 15 minutes. Offer praise, pets, and treats throughout. If either of you becomes frustrated, stop. It is better to continue tomorrow than to create a negative association with grooming. This patience is the heart of successful DIY dog detangling.
🌟 Aftercare and Prevention
Once the mats are gone, your job is not over. Proper aftercare and a consistent routine will keep the tangles from returning. This section covers essential beginner dog grooming tips for long-term coat health.
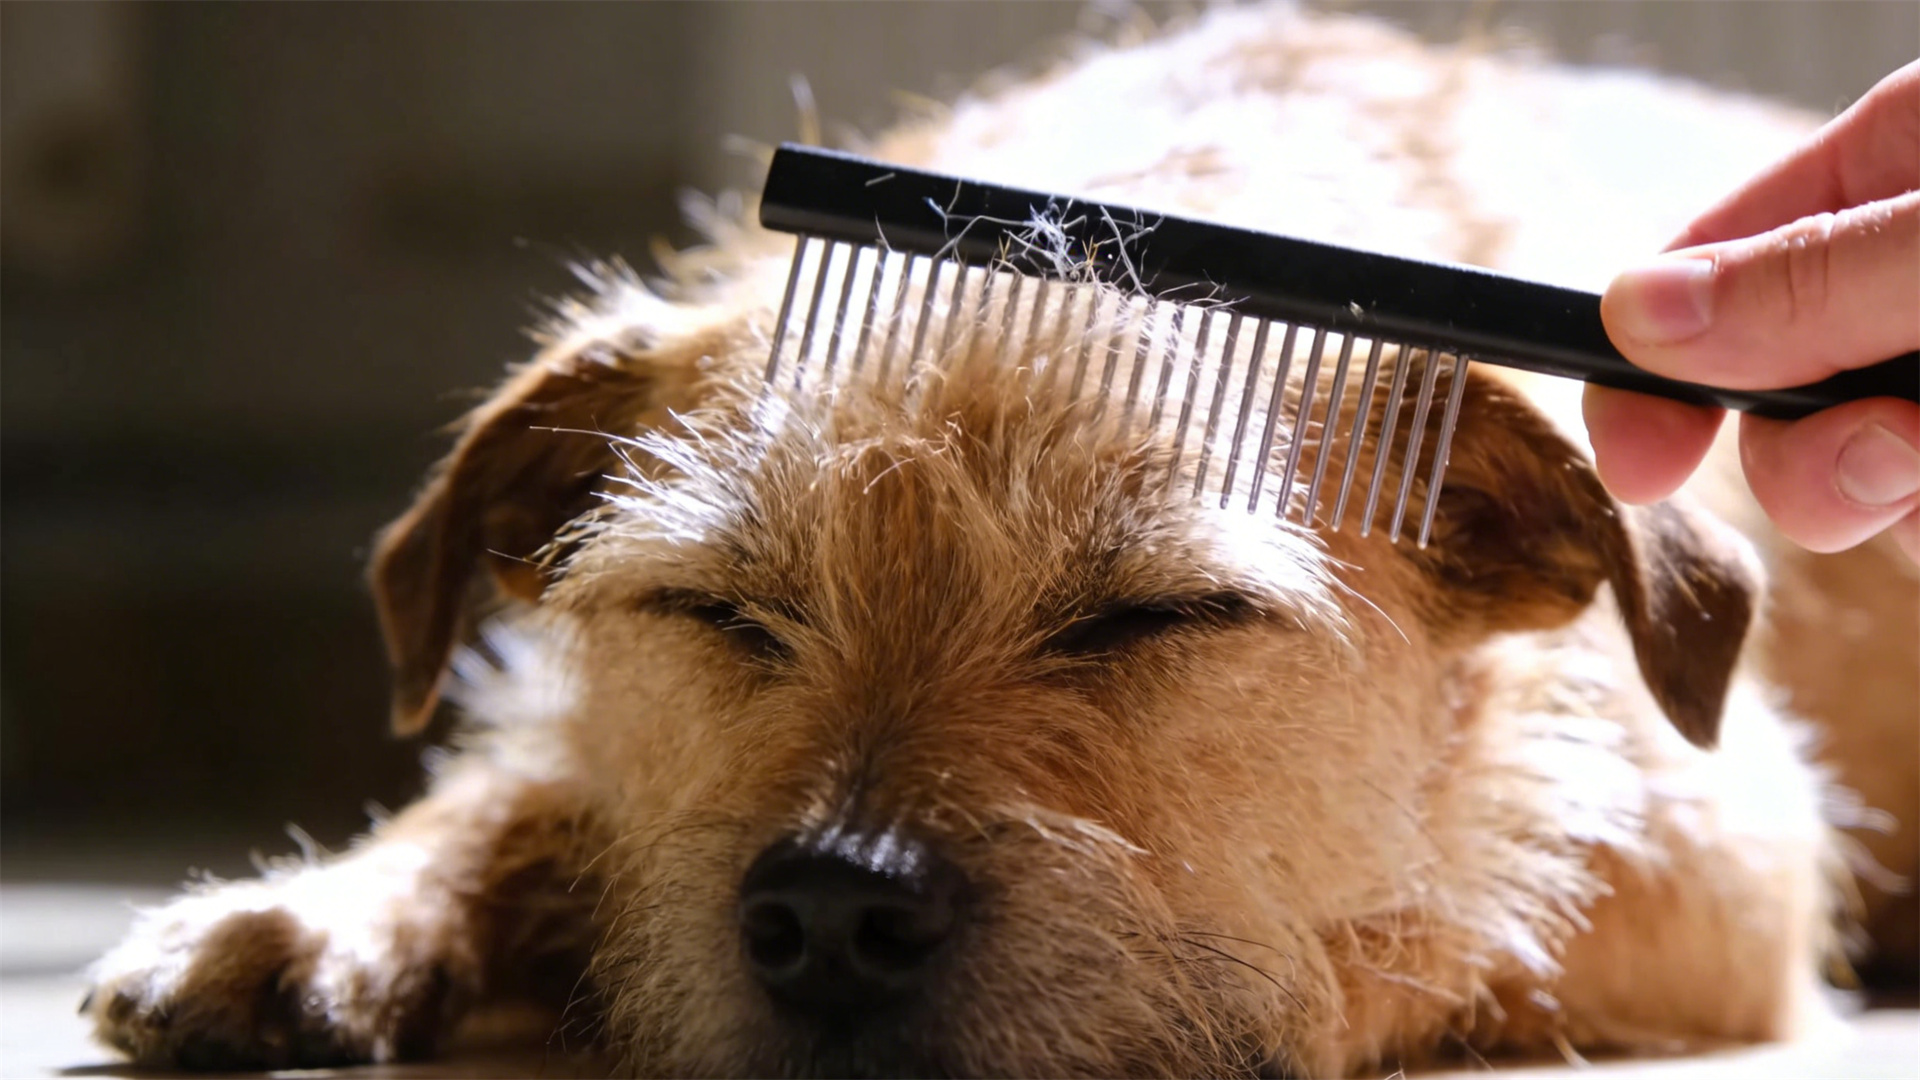
🧹 Post Detangling Brushing
After all mats are removed, give the entire coat a thorough but gentle brush with the slicker brush and comb. This removes any leftover loose hair and ensures the coat is smooth and free of snags. It is a final check for any small tangles you might have missed. Think of it as the calming finale to your grooming session.
🎁 Reward Your Dog
End every grooming session on a positive note. Offer a special treat, engage in a favorite game, or simply cuddle. This reinforces that grooming is a safe and rewarding experience, making future sessions easier. Positive reinforcement is a powerful tool in dog training and care.
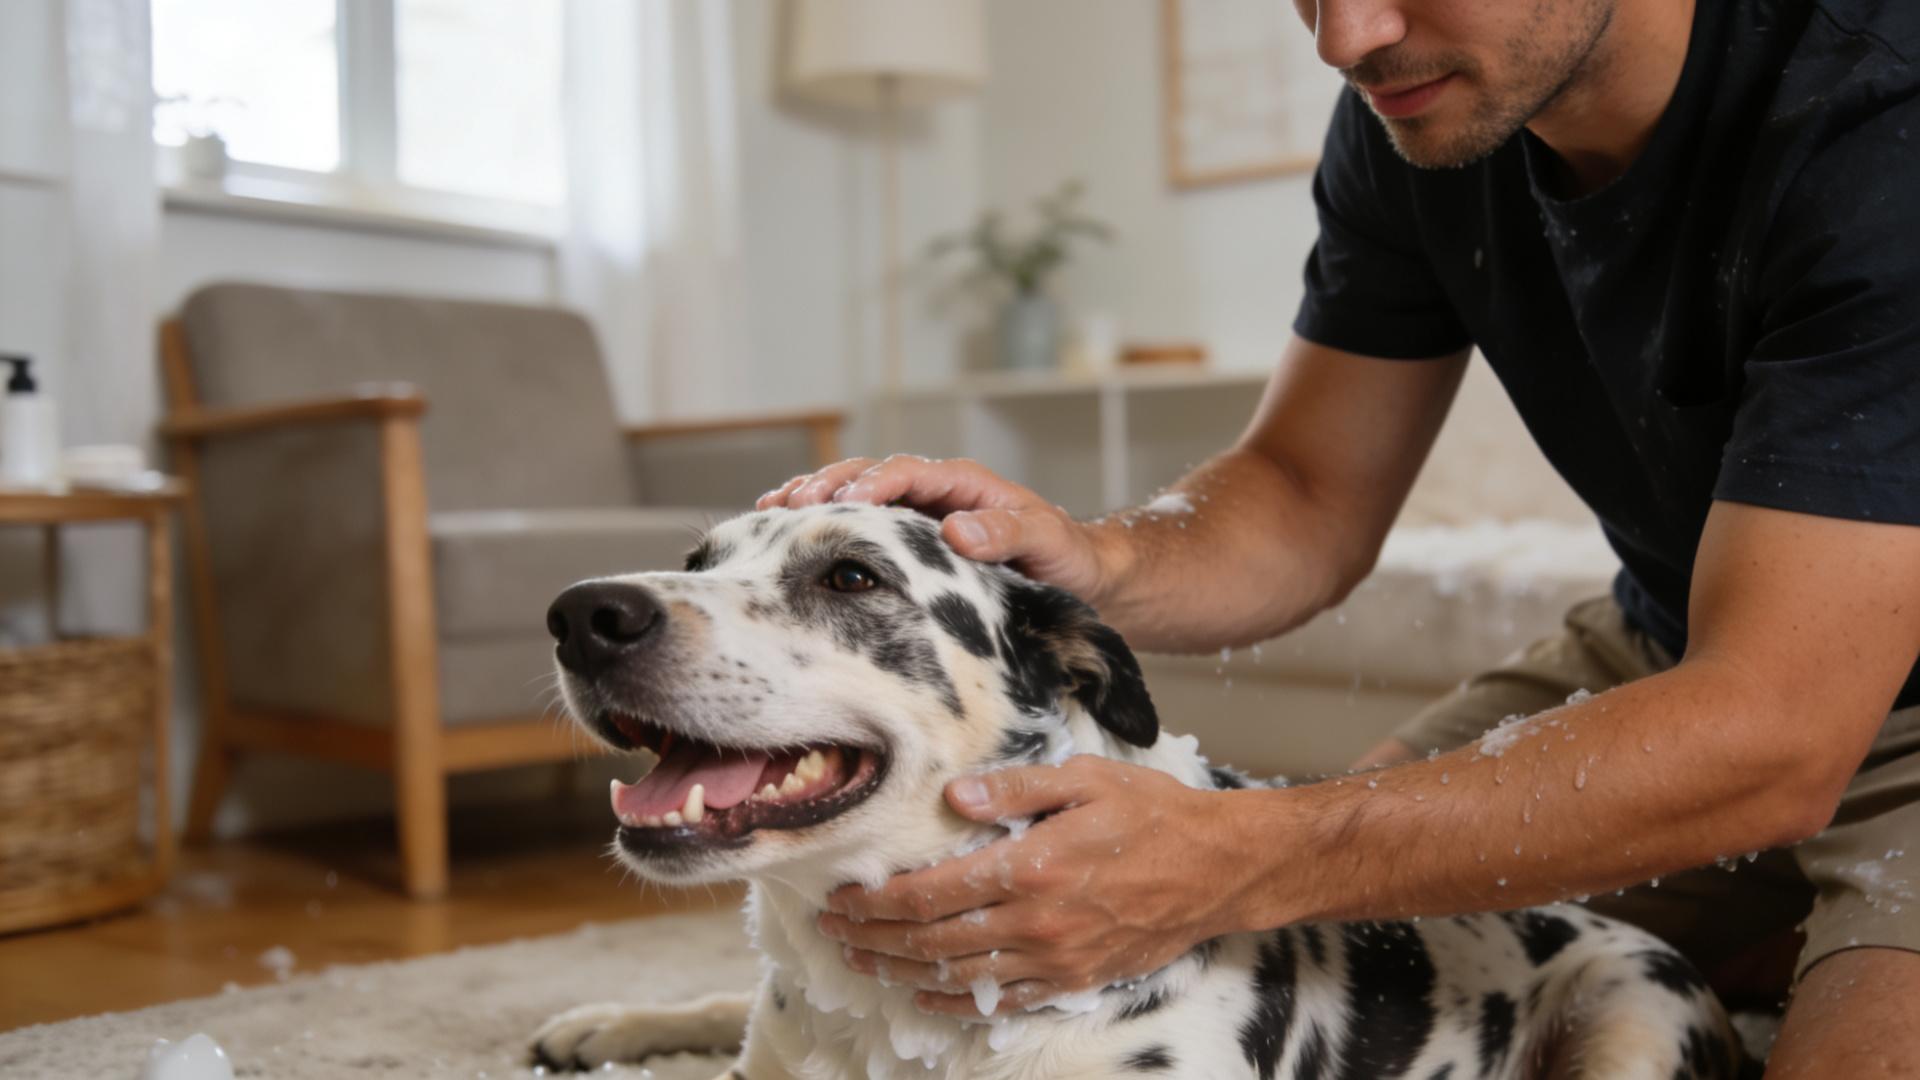
📅 Prevention Routine: The Key to a Tangle-Free Coat
The best way to deal with mats is to prevent them. Establish a regular brushing schedule tailored to your dog's coat type. For long-haired breeds like Shih Tzus or Maltese, daily brushing may be necessary. For medium coats like Golden Retrievers, two to three times a week. Use this time to bond and check your dog's overall health. Consistent grooming is the cornerstone of dog coat maintenance. Additionally, consider a professional grooming every 4 to 8 weeks for breeds prone to matting. Regular baths with a moisturizing shampoo followed by thorough drying and brushing can also prevent tangles from forming. Preventing fur mats is far easier than removing them.

💖 Conclusion
How to detangle your dog's fur is a skill every pet parent should learn. Detangling your dog's fur is an act of love and care. By approaching it with patience, using the correct untangling steps, and investing in the right tools, you can maintain your dog's coat health and comfort. Celebrate this new skill as a milestone in your journey as a pet parent. And always remember, for severe matting, there is no shame in seeking the help of a professional groomer. Your dog's well-being is always worth it. Here is to happy, tangle-free days ahead for you and your furry companion.